


Ever feel like you’re mopping and mopping, but your floors still look… well, a bit grimy? You're not alone. The real culprit is often hiding in plain sight: the grout. It acts like a sponge for dirt, spills, and bacteria, making your beautiful tiles look perpetually dull.
This guide is your complete roadmap to finally winning the battle against dingy tiles and grout for good.
Why Sparkling Floors Start with Clean Grout
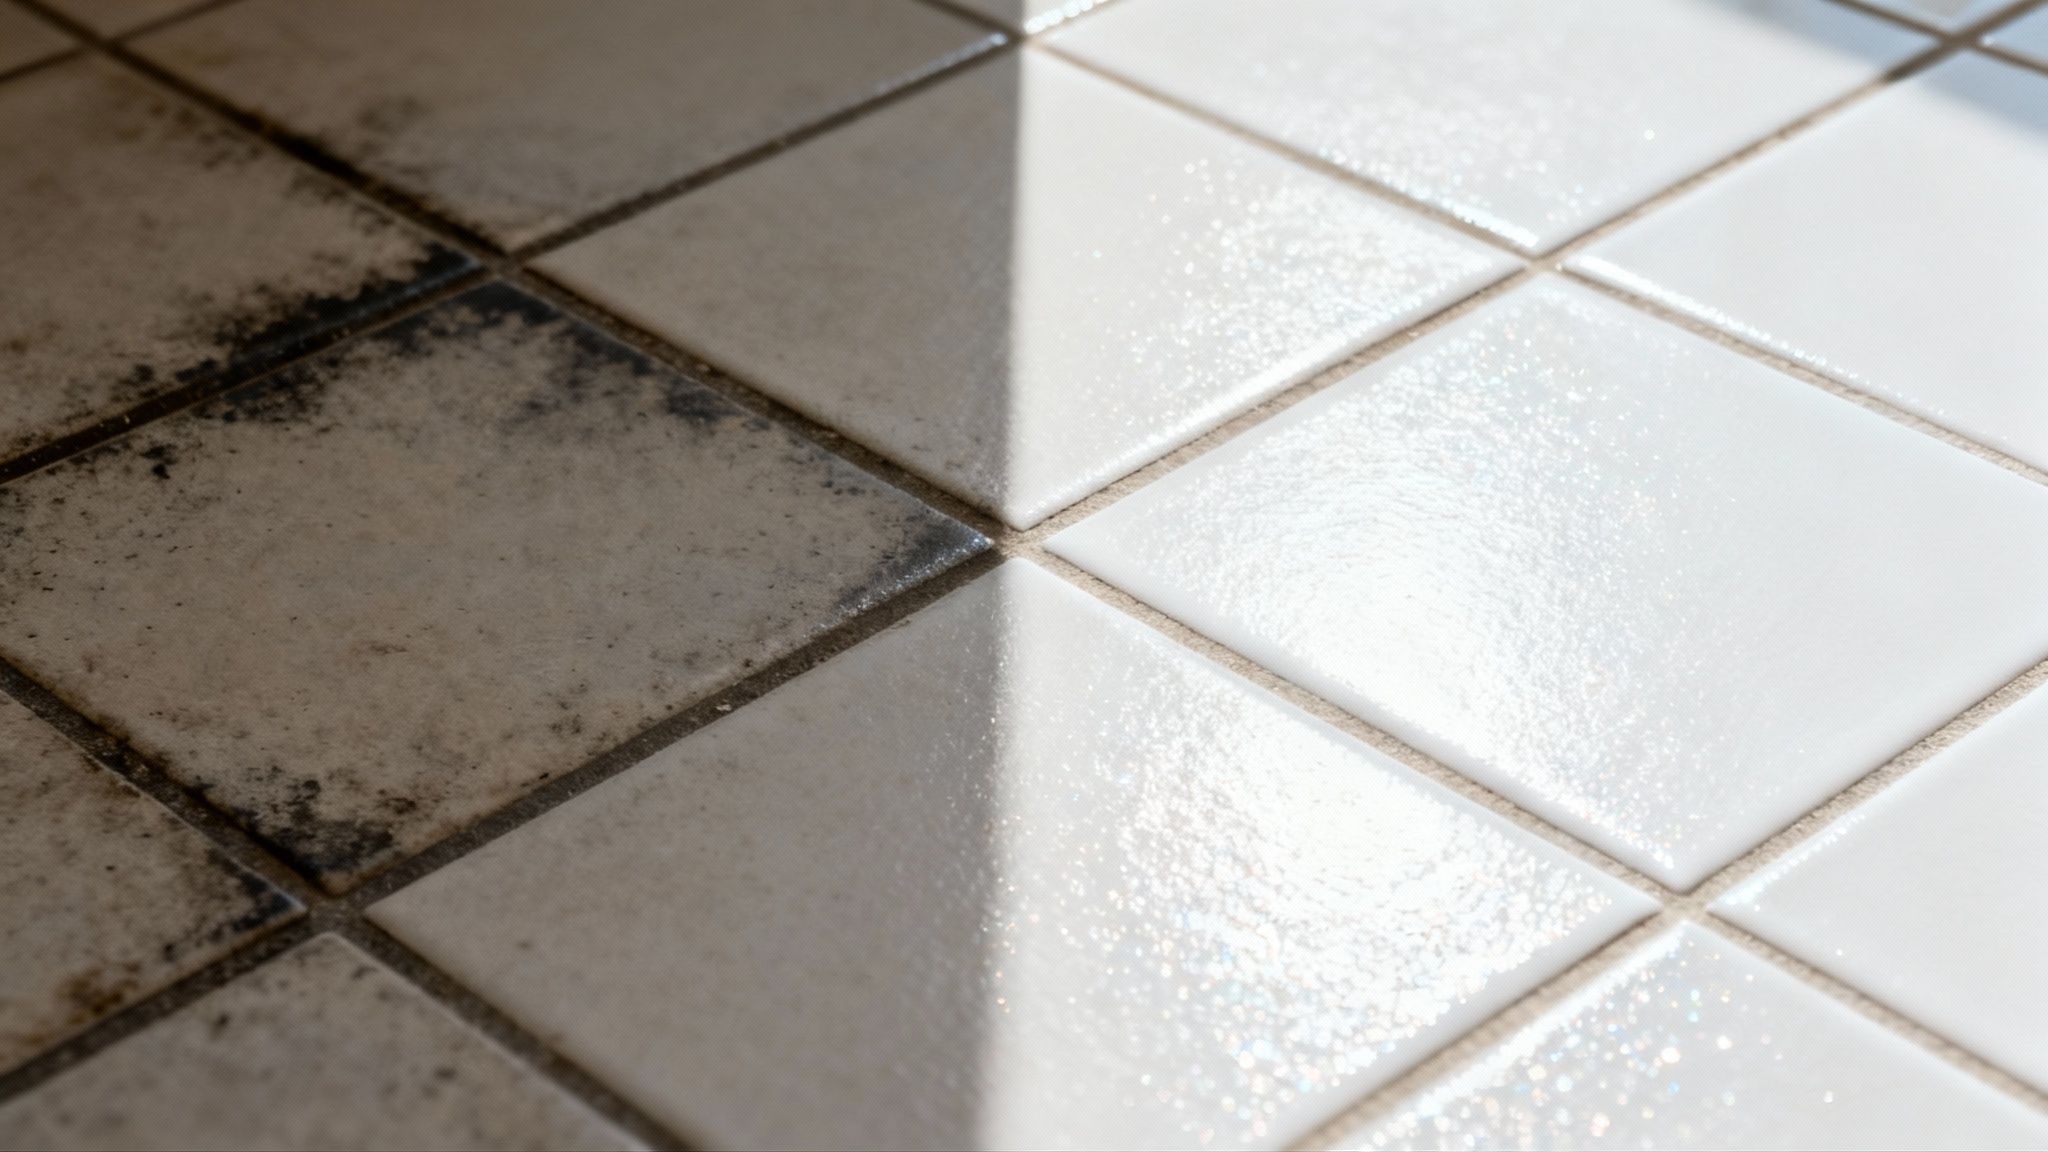
It’s easy to focus on the tile surfaces when you’re cleaning, but the grout lines are what truly make or break the appearance of your floors. Grout is porous by nature. That means its tiny holes absorb everything from muddy footprints and kitchen spills to soap scum in the shower.
Over time, this buildup doesn't just look awful; it can also start to harbour germs and unpleasant odours. A deep clean that tackles both the tile and the grout doesn't just restore your floor's original beauty—it creates a much healthier living environment. This is especially true in those high-traffic or moisture-prone areas of the home.
- Kitchens: Grout lines are notorious for trapping food particles, grease, and bacteria, which is a recipe for stubborn stains and funky smells.
- Bathrooms: With constant exposure to moisture, grout becomes a prime breeding ground for mould and mildew, which can seriously affect your home's air quality.
- Entryways: Think about all the dirt and grime tracked in from outside. It settles straight into the grout, making the whole area look permanently dirty, no matter how often you sweep.
The Growing Demand for Clean Floors
The importance of maintaining clean, hygienic floors isn't just a household concern; it's a trend seen right across Australia. In fact, the national cleaning services market, which includes essential tile and grout cleaning, recently hit AUD 18.05 billion.
This number really highlights how much value homeowners and businesses are placing on professional maintenance, especially in spaces where cleanliness is non-negotiable.
To really grasp why clean floors are so critical, have a look at this ultimate restaurant kitchen cleaning checklist. While it’s geared towards a commercial kitchen, the principles of grout and tile hygiene are universal.
At the end of the day, cleaning tile floors is about more than just aesthetics. It’s about protecting your investment and maintaining a healthy home. In this guide, we'll walk you through everything you need to know.
Gathering Your Floor Cleaning Arsenal
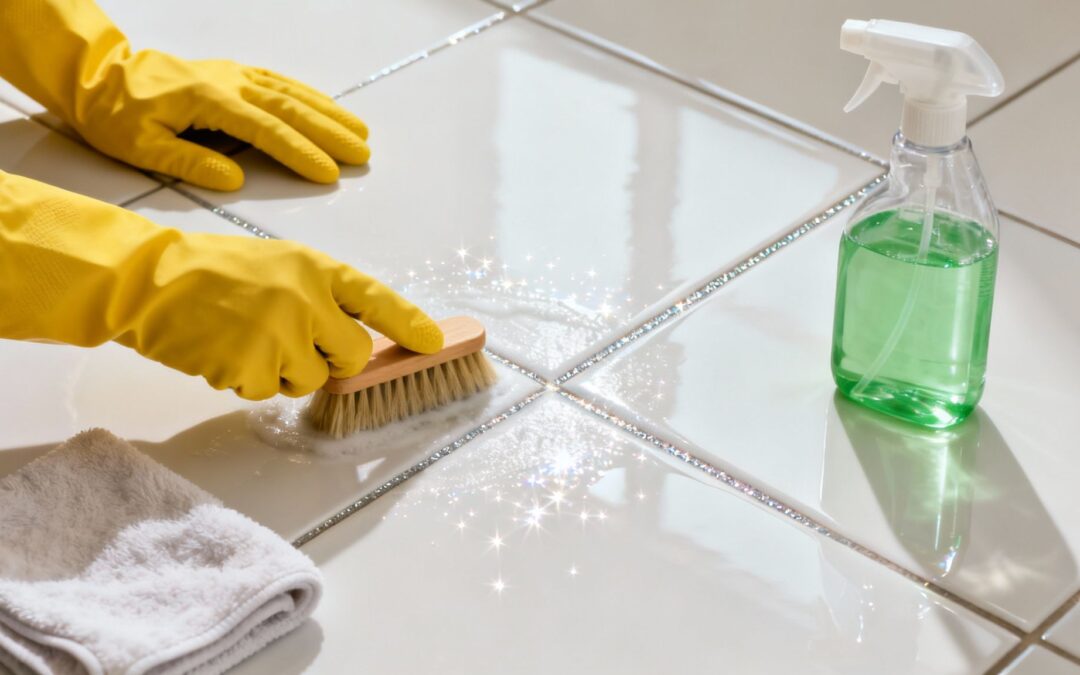
Before you even think about tackling those floors, let's talk prep. Like any job worth doing, a little bit of organisation upfront makes a world of difference. Having all your supplies ready to go means you can get stuck in without any frustrating mid-clean dashes to the cupboard. It turns a chore into a smooth, efficient process.
The essentials are pretty straightforward. You'll want a quality microfibre mop for general cleaning, a vacuum or broom to get rid of all the loose stuff first, and at least two buckets. One is for your cleaning solution, and the other is for clean rinse water—a non-negotiable for a streak-free finish.
Most importantly, you need a decent grout brush. An old toothbrush might work for a tiny spot, but for a whole floor, a proper stiff-bristled brush gives you the leverage to really get into those grout lines and lift the grime.
Choosing Your Cleaning Solution
When it comes to the cleaner itself, you’ve got two main choices: go the DIY route or grab a commercial product off the shelf. There's no single "best" option here; it really comes down to your tile type, how dirty the floor is, and what you're comfortable using.
For a brilliant all-rounder, you can’t go wrong with a simple mix of equal parts warm water and white vinegar. It works wonders on most ceramic and porcelain tiles, and the natural acidity is great at cutting through everyday dirt and grime.
If you’re staring down some tougher stains, especially in the grout, a paste made from baking soda and water will be your secret weapon. Just apply it directly to the grout, let it bubble away for about 15 minutes, and then give it a good scrub. It’s a gentle abrasive that lifts stains without risking scratches.
Pro Tip: Steer clear of vinegar or any other acidic cleaner if you have natural stone tiles like marble, slate, or travertine. The acid can actually etch the surface, causing permanent damage that’s a nightmare to fix. For these floors, always stick to a pH-neutral cleaner made specifically for stone.
DIY vs Commercial Cleaners: Which Is Right for Your Tiles?
Walking down the cleaning aisle can be a bit much, with endless options all promising the world. If you're ever in doubt, the golden rule is to look for pH-neutral formulas. These are the safest bet for almost any tile surface, especially sensitive natural stone, while still packing enough punch to get the job done.
To help you decide which path is right for your floors, here’s a quick breakdown of the pros and cons.
| Factor | DIY Solutions (Vinegar, Baking Soda) | Commercial Cleaners |
|---|---|---|
| Effectiveness | Great for routine cleaning and mild stains. | Often stronger for tackling deep-set grime, mould, and mildew. |
| Cost | Extremely budget-friendly, using common household items. | Higher initial cost, but can be very concentrated and last a long time. |
| Safety | Generally safe and non-toxic, but acid (vinegar) can damage stone. | Must check labels for compatibility with your tile type and ensure proper ventilation. |
| Best For | Regular maintenance, light discolouration, and cost-conscious cleaning. | Stubborn stains, heavily soiled grout, and specific issues like soap scum buildup. |
Ultimately, DIY solutions are fantastic for regular upkeep and keeping costs down. But when you're facing a serious challenge like mouldy grout or stains that just won't budge, a purpose-built commercial cleaner is often worth the investment.
A Practical Guide to Deep Cleaning Your Floors
Right, with your tools and solutions sorted, it’s time to get down to the main event: the deep clean. This is where a bit of technique and patience really pays off, turning those grimy floors into something you can actually be proud of. The secret isn't scrubbing harder; it's about working smarter and letting your cleaning solution do most of the heavy lifting.
First things first, you need a clean slate. Give the entire floor a thorough sweep or vacuum to get rid of all the loose dust, hair, and whatever else has found its way there. This step is non-negotiable. If you skip it, you'll just be turning that surface grit into a muddy paste when you add liquid, making your job ten times harder.
Once the floor is clear, it's time to apply your chosen cleaner. Whether it's a homemade vinegar mix or a commercial product, apply it generously, focusing on one manageable section at a time. The most important part of this stage is to let it dwell.
Give the solution at least 10-15 minutes to sit on the surface. This "dwell time" is absolutely crucial for breaking down stubborn grime and loosening the dirt that’s become embedded in the grout.
The process flow below gives you a good visual of the journey, from picking a solution to getting the right tools for the job.
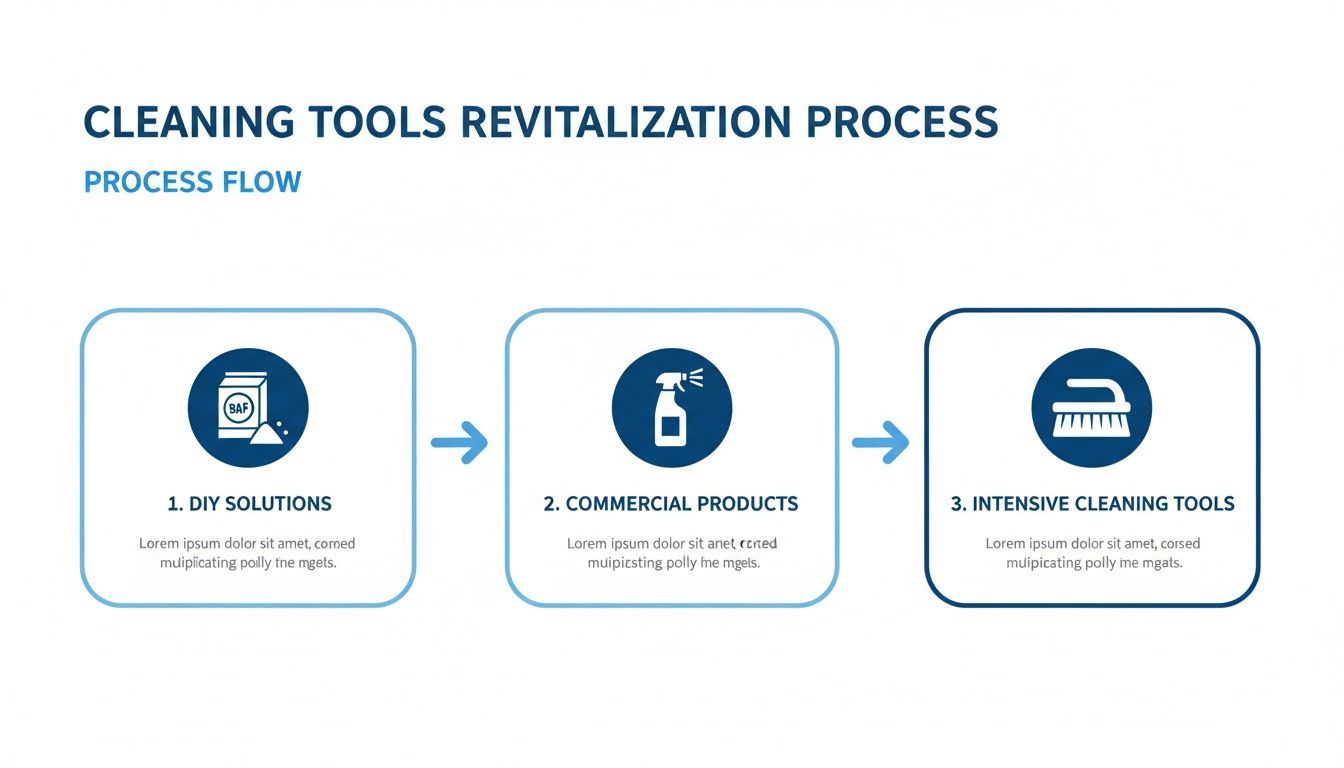
As you can see, whether you start with a simple paste or a store-bought spray, the job always ends with some good old-fashioned manual agitation to achieve that deep clean.
Customising Your Cleaning for Different Tile Types
Not all tiles are created equal, and using the wrong technique can lead to disappointing results or even permanent damage. Adapting your approach based on the tile material is essential for effective and safe cleaning of tile floors and grout.
For common materials like ceramic and porcelain, you can be fairly vigorous. These tiles are tough and non-porous, so a stiff-bristled brush and most standard cleaners will do the trick perfectly. Your real focus here will be the grout lines.
- Ceramic and Porcelain: Get into the grout lines first with your grout brush, using a firm back-and-forth motion. Once that's done, use a mop or a soft-bristled deck brush for the tile surfaces before rinsing the entire section with clean water.
- Slate: This natural stone has a unique, uneven texture that loves to trap dirt. Stick to a soft-bristled brush and a pH-neutral cleaner. Avoid harsh scrubbing, as it can cause the surface to flake.
- Marble and Travertine: These are soft, porous stones that scratch and etch incredibly easily. Never use vinegar, lemon juice, or any other acidic cleaner. Stick strictly to a pH-neutral stone cleaner and use only a soft cloth or microfibre mop.
A one-size-fits-all approach is a recipe for disaster. I once saw a post from a homeowner who used a standard bathroom cleaner on their new marble floor. It left dull, etched spots all over it that needed professional polishing to fix. Always, always test your cleaner on a small, hidden area first.
Rinsing and Drying for a Perfect Finish
After you've scrubbed a section, don't rush the finish. The final steps are just as important as the cleaning itself. Use a separate bucket of clean water and a clean mop head to thoroughly rinse the area. This removes any leftover cleaning solution and suspended dirt, which is what prevents that hazy film from forming as the floor dries.
And be sure to change your rinse water frequently. If it starts looking murky, you're just spreading dirty water back onto your nice clean floor.
Finally, dry the area with a clean microfibre cloth or an old towel. This doesn't just prevent water spots; it also helps highlight any patches you might have missed, letting you do a quick touch-up before moving on. This final detail is what delivers that satisfying, streak-free sparkle.
Winning the Battle Against Stubborn Grout Stains
Sometimes, a general clean just won't cut it. You’re left staring at those frustratingly stubborn spots—a bit of rust under a plant pot, dark mould patches in the shower, or a greasy mark near the cooker. These call for a more targeted approach, moving beyond a simple surface wash to focused stain treatment.
Successfully cleaning tile floors and grout often comes down to tackling these problem areas with the right technique. It’s less about brute force and more about using specific solutions to break down the chemistry of the stain itself. For many common organic stains, a simple yet powerful paste can work wonders.
Creating a Targeted Stain-Fighting Paste
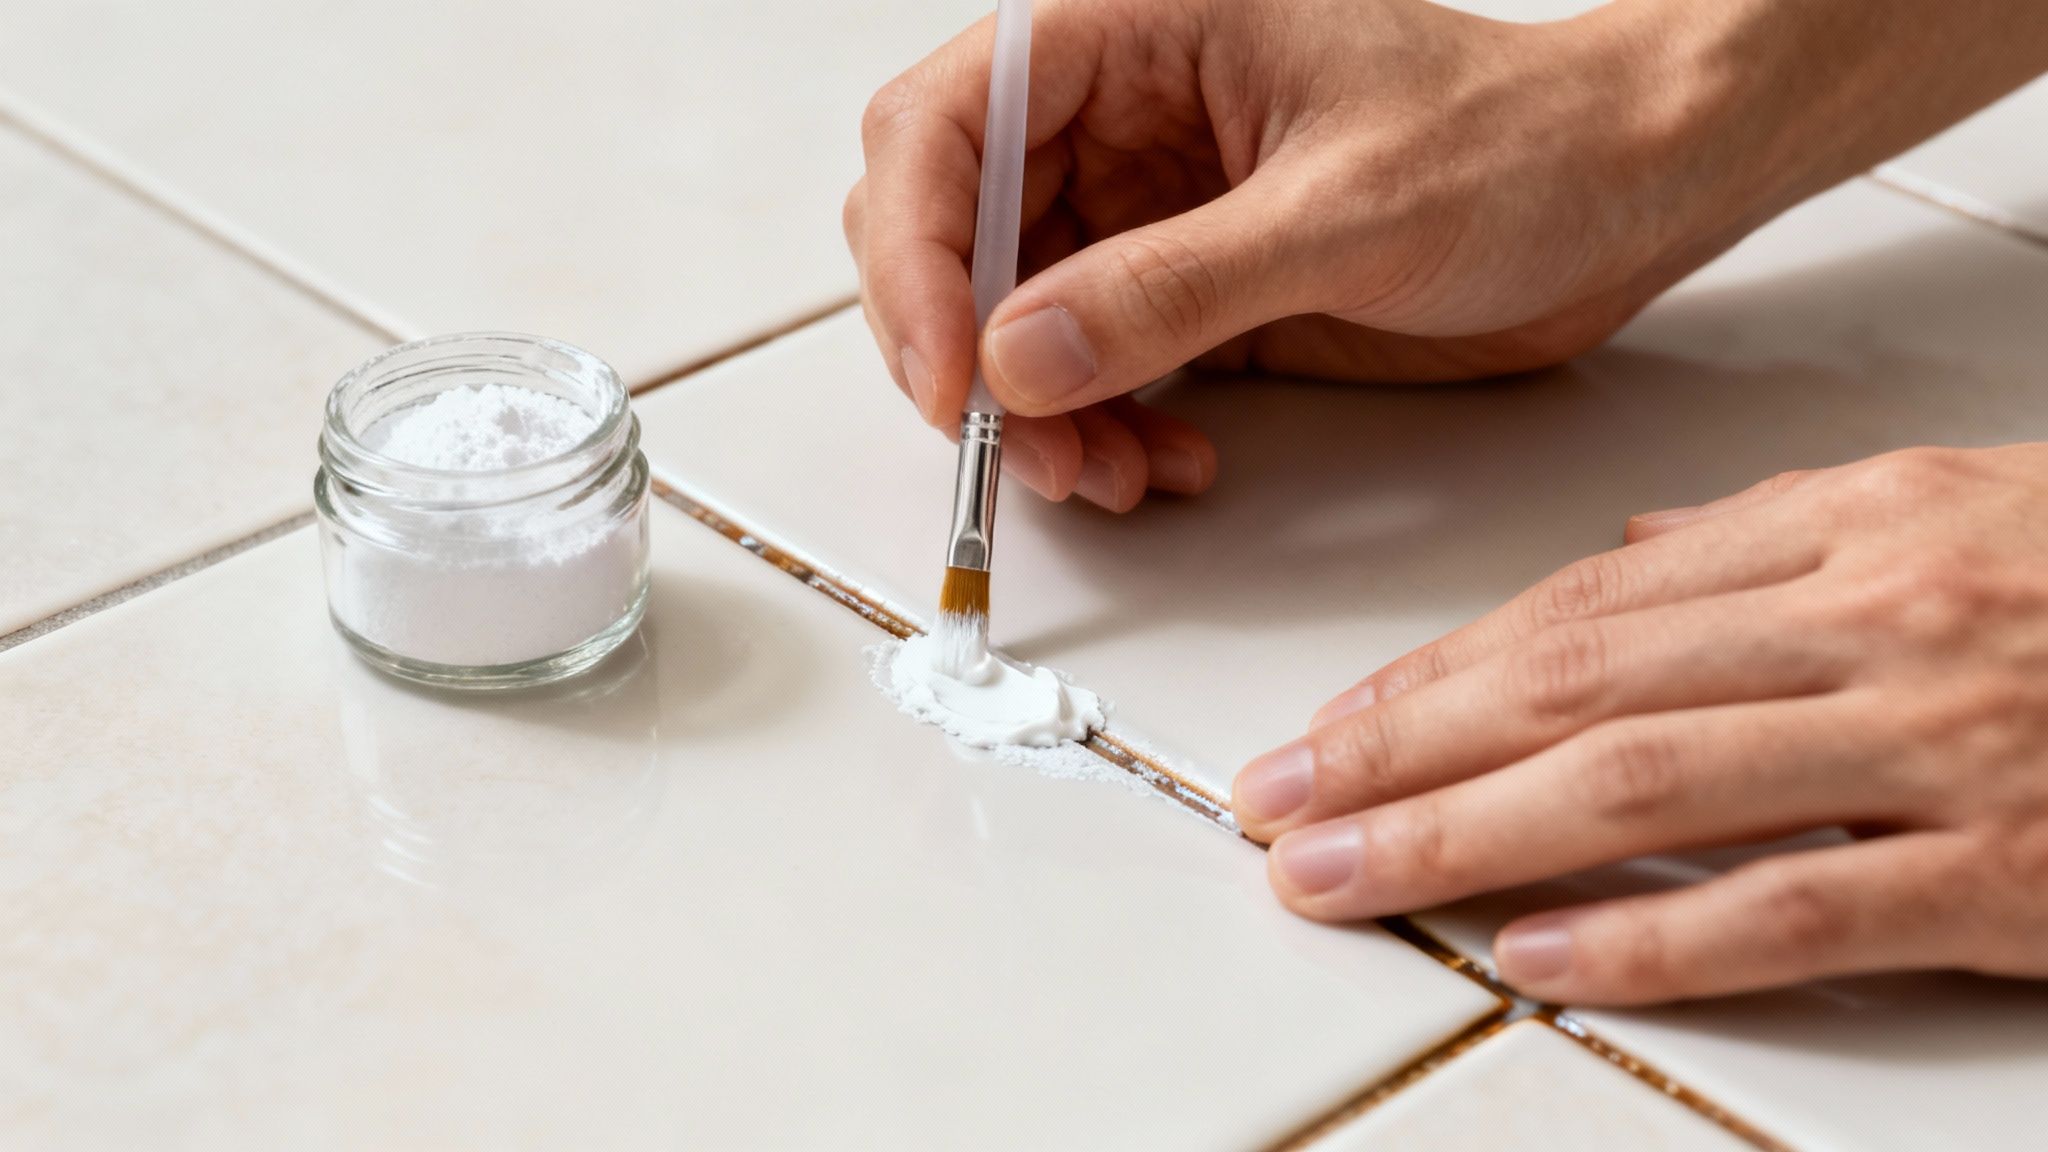
A homemade paste using baking soda is your first line of defence. Its mild abrasive quality helps lift stains without scratching your tiles.
- Mix Your Paste: Grab a small bowl and combine baking soda with a splash of water. You're aiming for a thick, spreadable consistency, almost like toothpaste.
- Apply and Dwell: Using a grout brush or an old toothbrush, work the paste directly into the stained grout lines. Don't be shy with it—a generous coating is what you want.
- Let It Work: Now, let the paste sit and do its thing for at least 15-20 minutes. If you're dealing with really tough customers like old coffee or wine, you can give it a boost by adding a few drops of hydrogen peroxide to the mix.
For discolouration from mould or mildew, an oxygen bleach solution is an excellent alternative to harsh chlorine bleach. It cleans effectively without the toxic fumes and is generally safer for coloured grout. Just mix the powder with water according to the product directions, apply it, let it sit, and then give it a good scrub.
A bit of consistency can be your best friend in stain removal. One homeowner I know noticed their light-coloured shower floor grout was slowly discolouring. They found that a weekly targeted clean was the only way to keep it looking new, proving that a little proactive care prevents bigger headaches down the road.
Protecting Your Hard Work with Grout Sealer
After you’ve put in all that effort to get your grout lines sparkling, the last thing you want is for them to get dirty again in a week. This is where grout sealer becomes your most valuable player. Think of it as an invisible shield for your grout.
Grout is naturally porous, which is precisely why it stains so easily. A good sealer fills in those tiny pores, creating a barrier that repels water, dirt, and grime. It’s a simple step that makes future cleaning infinitely easier and dramatically extends the life of your grout.
Applying Grout Sealer Correctly
Sealing your grout is a straightforward DIY task that pays huge dividends. The golden rule? Make sure the grout is 100% clean and completely dry before you start. If you don't, you'll just end up trapping moisture and dirt underneath the sealer, which defeats the whole purpose.
- Choose Your Sealer: You’ll find two main types—penetrating sealers that soak into the grout, and topical sealers that form a film on the surface. For floor grout that sees a lot of traffic, a high-quality penetrating sealer is usually the best choice for durability.
- Application: Most sealers come with a small brush-tip applicator. Carefully apply a thin, even coat directly onto the grout lines, trying to avoid getting too much on the tile itself.
- Wipe and Cure: Follow the manufacturer's instructions for how long to let the sealer penetrate, which is usually around 5-15 minutes. Then, wipe away any excess from the tile surface with a clean cloth. Let it cure completely (this typically takes 24-48 hours) before you let it get wet.
This final, preventative measure is the real key to maintaining your hard work, ensuring your floors look pristine for months, not just days.
When Professional Steam Cleaning Is Your Best Bet
Even with the best intentions and a solid weekly cleaning routine, there comes a point where DIY methods just can’t cut it. Years of foot traffic, spills, and microscopic grime can get so deeply embedded in porous grout that no amount of scrubbing will ever bring it back to life. This is when calling in a professional for a deep steam clean becomes a smart investment rather than a luxury.
The real difference lies in the equipment. While a home steam mop is great for surface-level sanitising, professional truck-mounted systems operate on another level entirely. They use a combination of extremely high-pressure hot water (we’re talking over 90°C) and powerful suction to blast dirt out of the deepest pores of your grout and tile, pulling it all away instantly. It’s a process that removes grime that household mops and scrub brushes simply can't touch.
Signs It Is Time to Call the Professionals
Knowing when you’ve hit the limit of what you can do yourself is key to preventing permanent staining and damage. If you're nodding along to any of these points, it’s probably time to consider bringing in the experts for your tile and grout floors.
- Widespread Discolouration: Your grout is a completely different colour in the hallways compared to the edges of the room, and nothing you try seems to even it out.
- Stubborn Stains: You’ve got specific stains from oil, rust, or mould that haven’t budged, no matter how many targeted treatments you’ve thrown at them.
- Endless Scrubbing, No Results: You spend what feels like hours on your hands and knees scrubbing, only for the grout to look just as dingy a week later. It's a frustrating cycle.
- A "Sticky" Feeling: Even after you’ve just cleaned, the floor feels slightly tacky underfoot. This often points to a buildup of old cleaning residue that’s now trapping new dirt.
This need for a truly deep, restorative clean is a huge driver in Australia's commercial cleaning industry, which is projected to hit $20.1 billion. Tile and grout care is a critical service, especially for offices and strata properties where hygiene is non-negotiable. When you consider that uncleaned grout can harbour up to 99% more bacteria than the tile surface itself, you can see why professional steam cleaning plays such a vital role in improving air quality and sanitation. You can dive deeper into this growing industry by exploring insights on Australia's commercial cleaning sector.
The Long-Term Benefits of a Professional Clean
Beyond just getting your floors looking brand new again, a professional steam clean offers some serious long-term advantages. By completely removing those embedded allergens, bacteria, and mould spores, it creates a much healthier indoor environment. This is a game-changer for households with pets, young children, or anyone who suffers from allergies.
Investing in a professional clean every 12-18 months can dramatically extend the life of your flooring. It removes the abrasive grit that wears down tile surfaces and prevents the grout from deteriorating, saving you from costly repairs or replacement down the line.
Common Questions About Tile and Grout Care
Even after you've got your cleaning routine down pat, a few questions always seem to pop up. To help you keep your floors looking pristine, I’ve put together some quick answers to the queries we hear most often from homeowners.
Think of this as your go-to guide for troubleshooting those little issues and making smart choices about your floor care.
How Often Should I Deep Clean My Floors?
For most homes, a really good, deep clean of your tile and grout is needed every 6 to 12 months. This schedule is perfect for tackling that slow, stubborn buildup of grime that daily mopping just can’t shift.
But every home is different. If you’ve got high-traffic zones—think a busy kitchen, a muddy entryway, or a house full of kids and pets—you'll probably need to do it more often. In those cases, bumping it up to every 3 to 6 months is a good idea. To really hit the reset button, a professional steam clean once a year is an excellent investment.
Can I Safely Use a Steam Mop on My Tiles?
Steam mops can be a fantastic tool for sanitising sealed ceramic and porcelain tiles without needing harsh chemicals. But you absolutely have to be careful.
Never use a steam mop on unsealed grout. The intense heat and moisture can soak right into the porous material, which can weaken the grout or trap moisture underneath, leading to mould. It's also critical to never use a steam mop on natural stone tiles like marble, slate, or travertine. The high heat can cause thermal shock, which can leave the surface looking dull or even cause it to crack.
Always take five minutes to double-check your flooring manufacturer’s guidelines before you even think about using a steam mop. It’s a classic case where a quick check can save you from a very costly mistake.
Why Does My White Grout Turn Yellow or Brown?
When grout starts to discolour, it’s almost always because something is building up on its surface.
In bathrooms, the usual culprits are soap scum, body oils, and constant moisture, which create the perfect breeding ground for mould and mildew. In kitchens, you're looking at airborne grease particles and food spills. Sometimes, even the cleaning products you use can be the problem—harsh chemicals like chlorine bleach can cause a chemical reaction over time that yellows the grout. A deep clean with a good oxygen-based cleaner will usually lift those stains and bring back the original colour.
Is Professional Tile Cleaning a Worthwhile Expense?
If you're after a true, deep-down restoration, then yes, it's absolutely worth it. Professional services use powerful truck-mounted equipment that home tools simply can't compete with, pulling out deeply embedded grime far more effectively than anything you can do by hand.
With tile cleaning costs in Australia averaging $5 to $15 per square metre, it's a pretty accessible service for most homeowners. This investment really pays for itself over time. Regular professional cleaning can reduce the need for a full tile replacement by up to 30% simply by preventing water damage from old, compromised grout. For homeowners thinking about a renovation, looking at different bathroom shower tile ideas can also help you choose materials that make cleaning and maintenance easier down the line.
For a professional clean that revitalises your floors and protects your investment, trust the experts at Right Price Carpet Cleaning. Our powerful truck-mounted steam cleaning system restores tile and grout to its former glory. Get an instant quote and book your service online at https://rightpricecarpetcleaning.com.au.
Recent Comments