
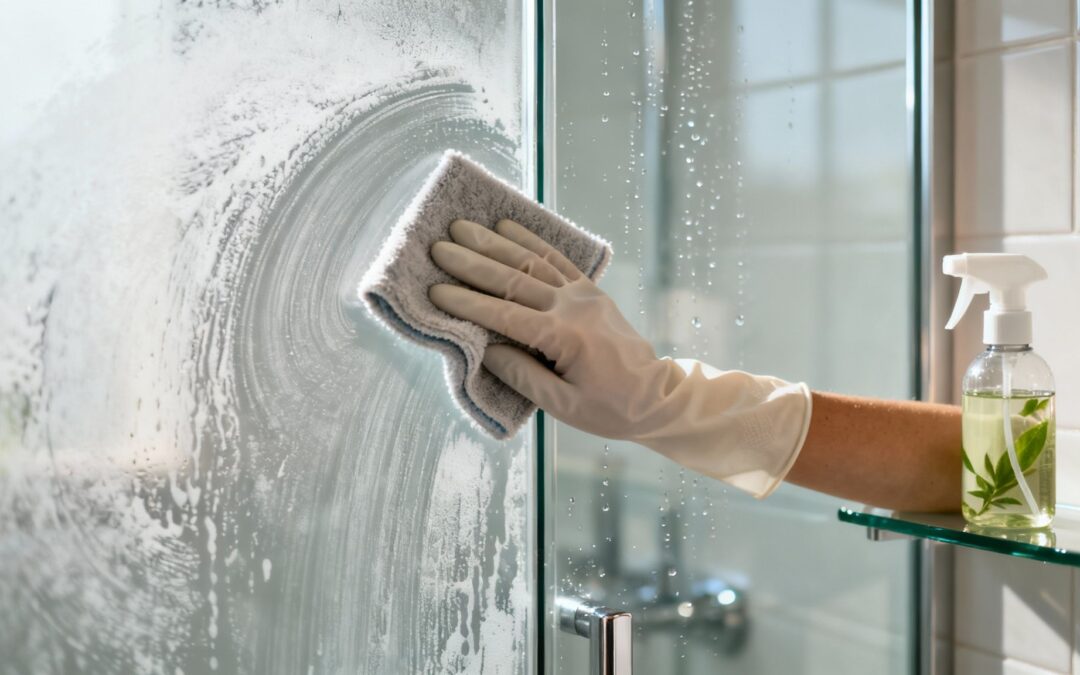
That cloudy, milky film on your shower glass isn't just a bit of grime—it's a stubborn mix of soap residue and hard water minerals that can feel almost impossible to shift. For many homeowners, it's a constant battle to keep glass looking clean and clear.
This guide gives you a direct, actionable plan to reclaim your shower's sparkle. We'll walk through two incredibly effective DIY solutions, one using vinegar and the other with baking soda, and I'll explain exactly why they work so well against that chalky buildup.
Choose Your DIY Cleaner
The key to beating soap scum is understanding what you're up against. The acidic nature of vinegar is fantastic for dissolving the mineral deposits from hard water, while the gentle abrasiveness of baking soda is perfect for scrubbing away caked-on soap residue without scratching the glass. Getting your entire bathroom up to scratch is a big job, but a good ultimate bathroom deep cleaning checklist can help break it down.
Here’s a quick look at how the two methods stack up.
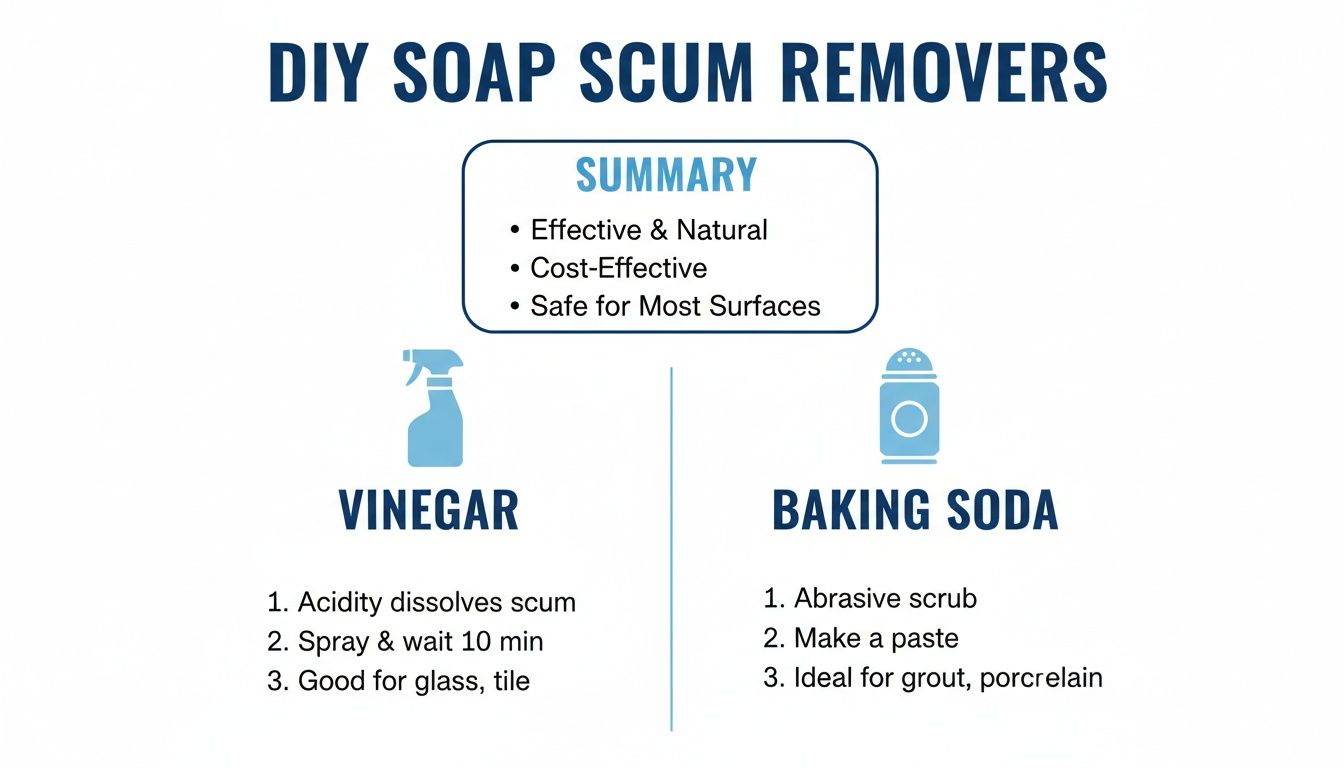
Quick Guide to DIY Soap Scum Removers
To make the choice even simpler, here's a quick comparison of the two powerhouse solutions you can mix up right now.
| Cleaning Method | Main Ingredients | Best For | Time Required |
|---|---|---|---|
| Vinegar Spray | White Vinegar & Water | General soap scum, hard water spots, light haze | 5–15 minutes |
| Baking Soda Paste | Baking Soda & Water | Thick, stubborn buildup, textured glass | 15–30 minutes |
Ultimately, the vinegar spray is your go-to for regular maintenance and lighter jobs, while the baking soda paste offers the muscle needed for more serious, layered-on scum.
If you let it go for too long, the problem gets much worse. In fact, untreated soap scum can reduce shower glass clarity by up to 70% within just six months. Some people I've spoken to describe it as a "cemented" deposit that seems as tough as the glass itself. It's a common frustration, but it doesn't have to be permanent.
Key Takeaway: The battle against soap scum is won with consistency. Choosing the right DIY method for your level of buildup and using it regularly is far more effective than an occasional, aggressive scrubbing session. This is your starting point for transforming your shower from dull and grimy to brilliantly clean.
The Vinegar Method: A Natural Soap Scum Dissolver
Before you reach for harsh chemicals, take a look in your pantry. That humble bottle of white vinegar is often the best place to start when you're figuring out how to remove soap scum from shower glass. It’s natural, cheap, and surprisingly effective, especially for the light-to-moderate buildup that plagues most showers.
The science behind it is pretty simple. That cloudy film on your glass is a mix of soap residue and mineral deposits—mostly calcium and magnesium from hard water. Vinegar is a mild acid, which is perfect for breaking down and dissolving these alkaline mineral bonds without needing anything stronger.
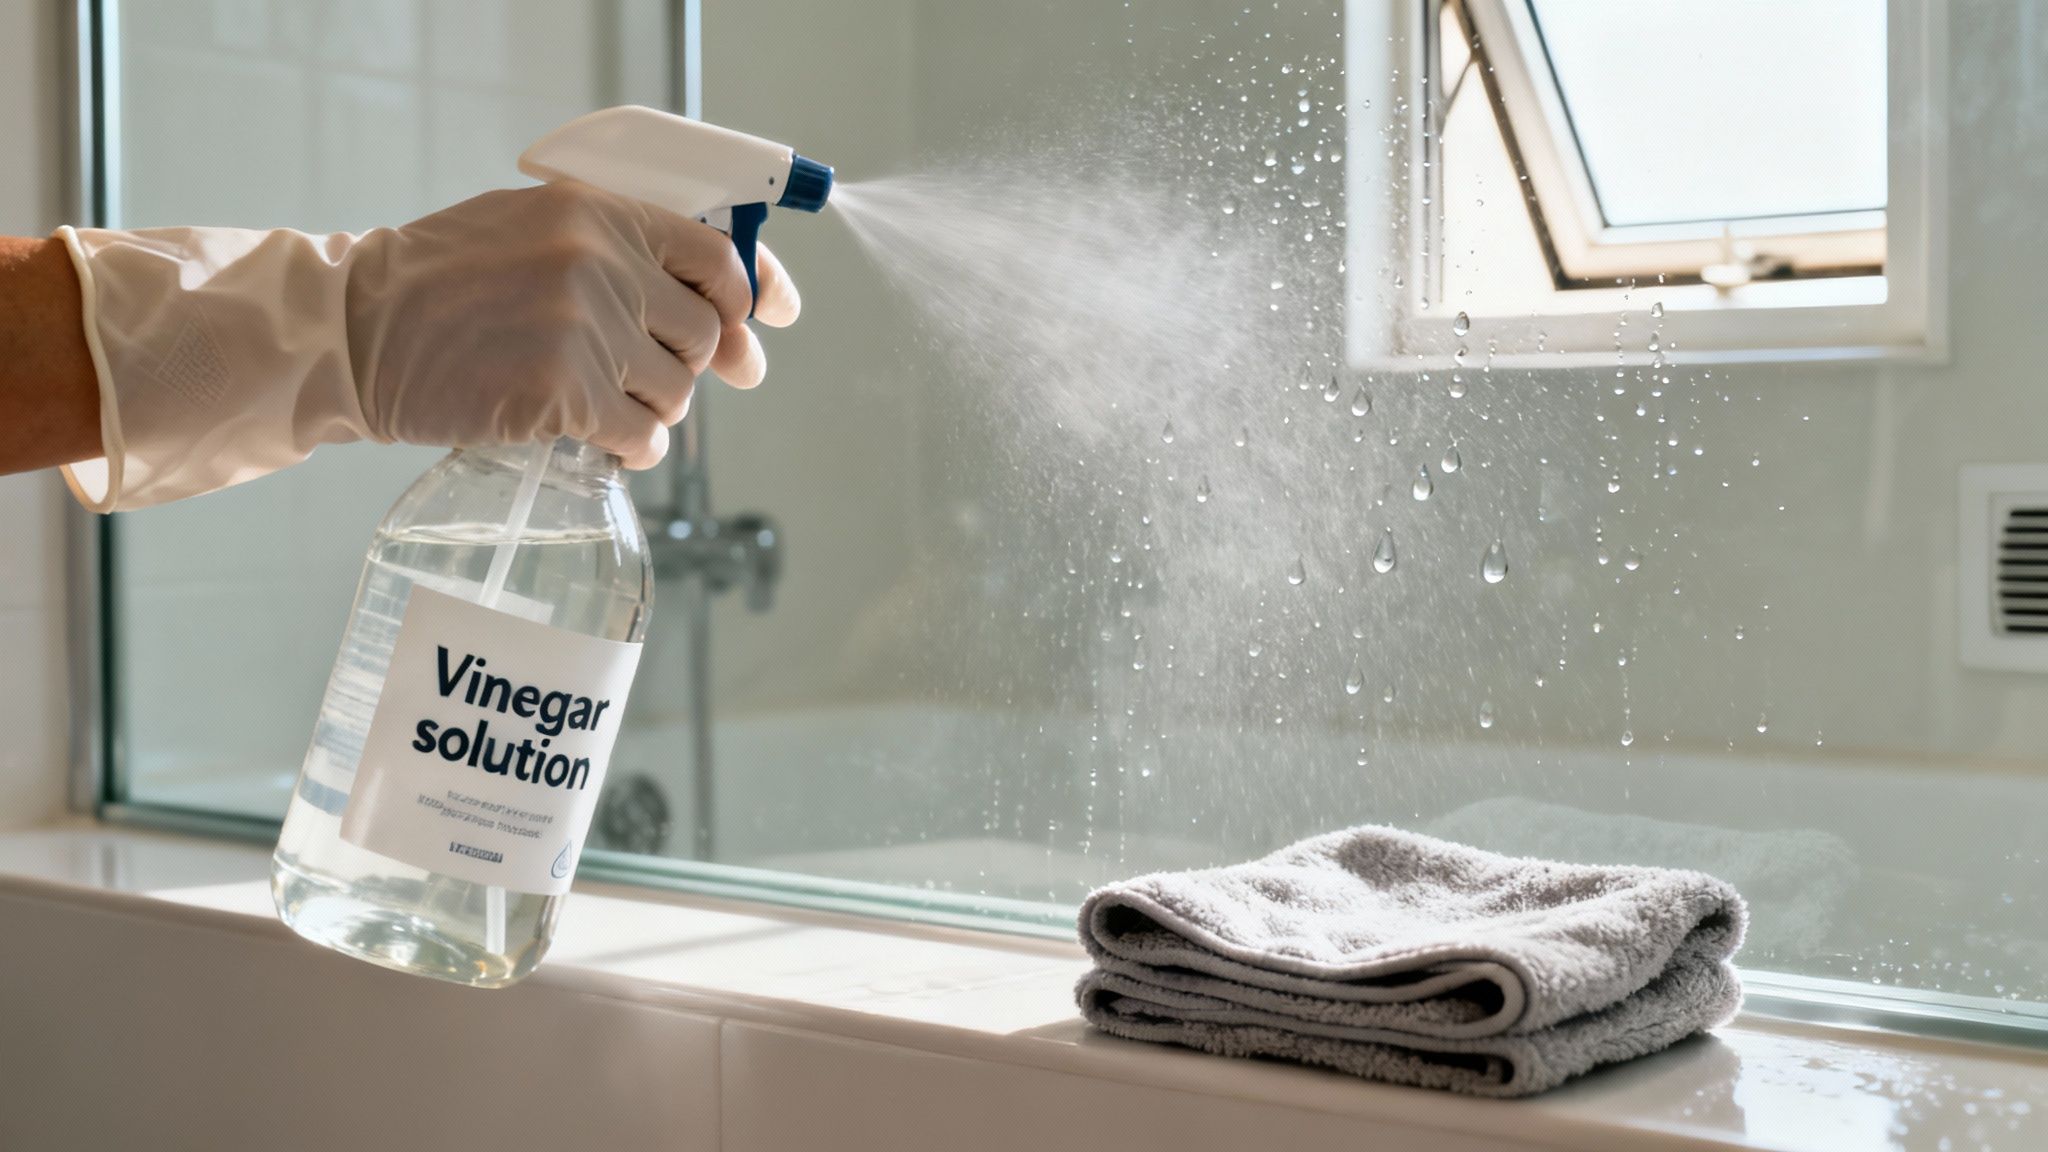
Preparing Your Vinegar Solution
Whipping up your cleaning spray couldn't be easier. Just mix equal parts plain white vinegar and warm water in a clean spray bottle. Using warm water gives the vinegar a bit of a head start, helping it dissolve the grime faster.
If your scum has a greasy feel from body oils, add a few drops of dishwashing liquid to the mix. The soap acts as a surfactant, which is just a fancy way of saying it helps cut through the oily components of the scum.
Pro Tip: Gently warm the vinegar in the microwave for about 30 seconds before mixing it with water. The added heat significantly accelerates the chemical reaction, making it more effective at dissolving stubborn soap scum on contact.
Once you’ve mixed it all together, give the bottle a gentle shake. Now you're ready to tackle that cloudy glass.
Application and Dwell Time
With your solution ready, generously spray the entire surface of the shower glass. Make sure you cover every single area where you see buildup. Don’t be shy here; the glass should be thoroughly wet.
Now for the most important part: let it sit. This is what we call "dwell time," and it's where the magic really happens. The acidic solution needs time to get to work on those mineral deposits.
For a light haze, 5-10 minutes is often enough. If you’re dealing with more stubborn layers, you might need to leave it for up to 15 minutes.
Scrubbing and Rinsing for a Streak-Free Finish
After the solution has had time to do its thing, it's time to scrub. The key here is to use a tool that's effective but won't scratch the glass.
- For light scum: A simple microfibre cloth or a non-scratch sponge is all you need.
- For tougher spots: A non-scratch scourer will give you more scrubbing power without causing any damage.
Work in small, circular motions with gentle but firm pressure. You should actually feel the gritty scum start to break down and lift away from the glass.
Once you’ve scrubbed the entire surface, give the glass a thorough rinse with warm water—your shower head is perfect for this. Rinsing is crucial because it removes all the vinegar and loosened grime, preventing new spots from forming as it dries.
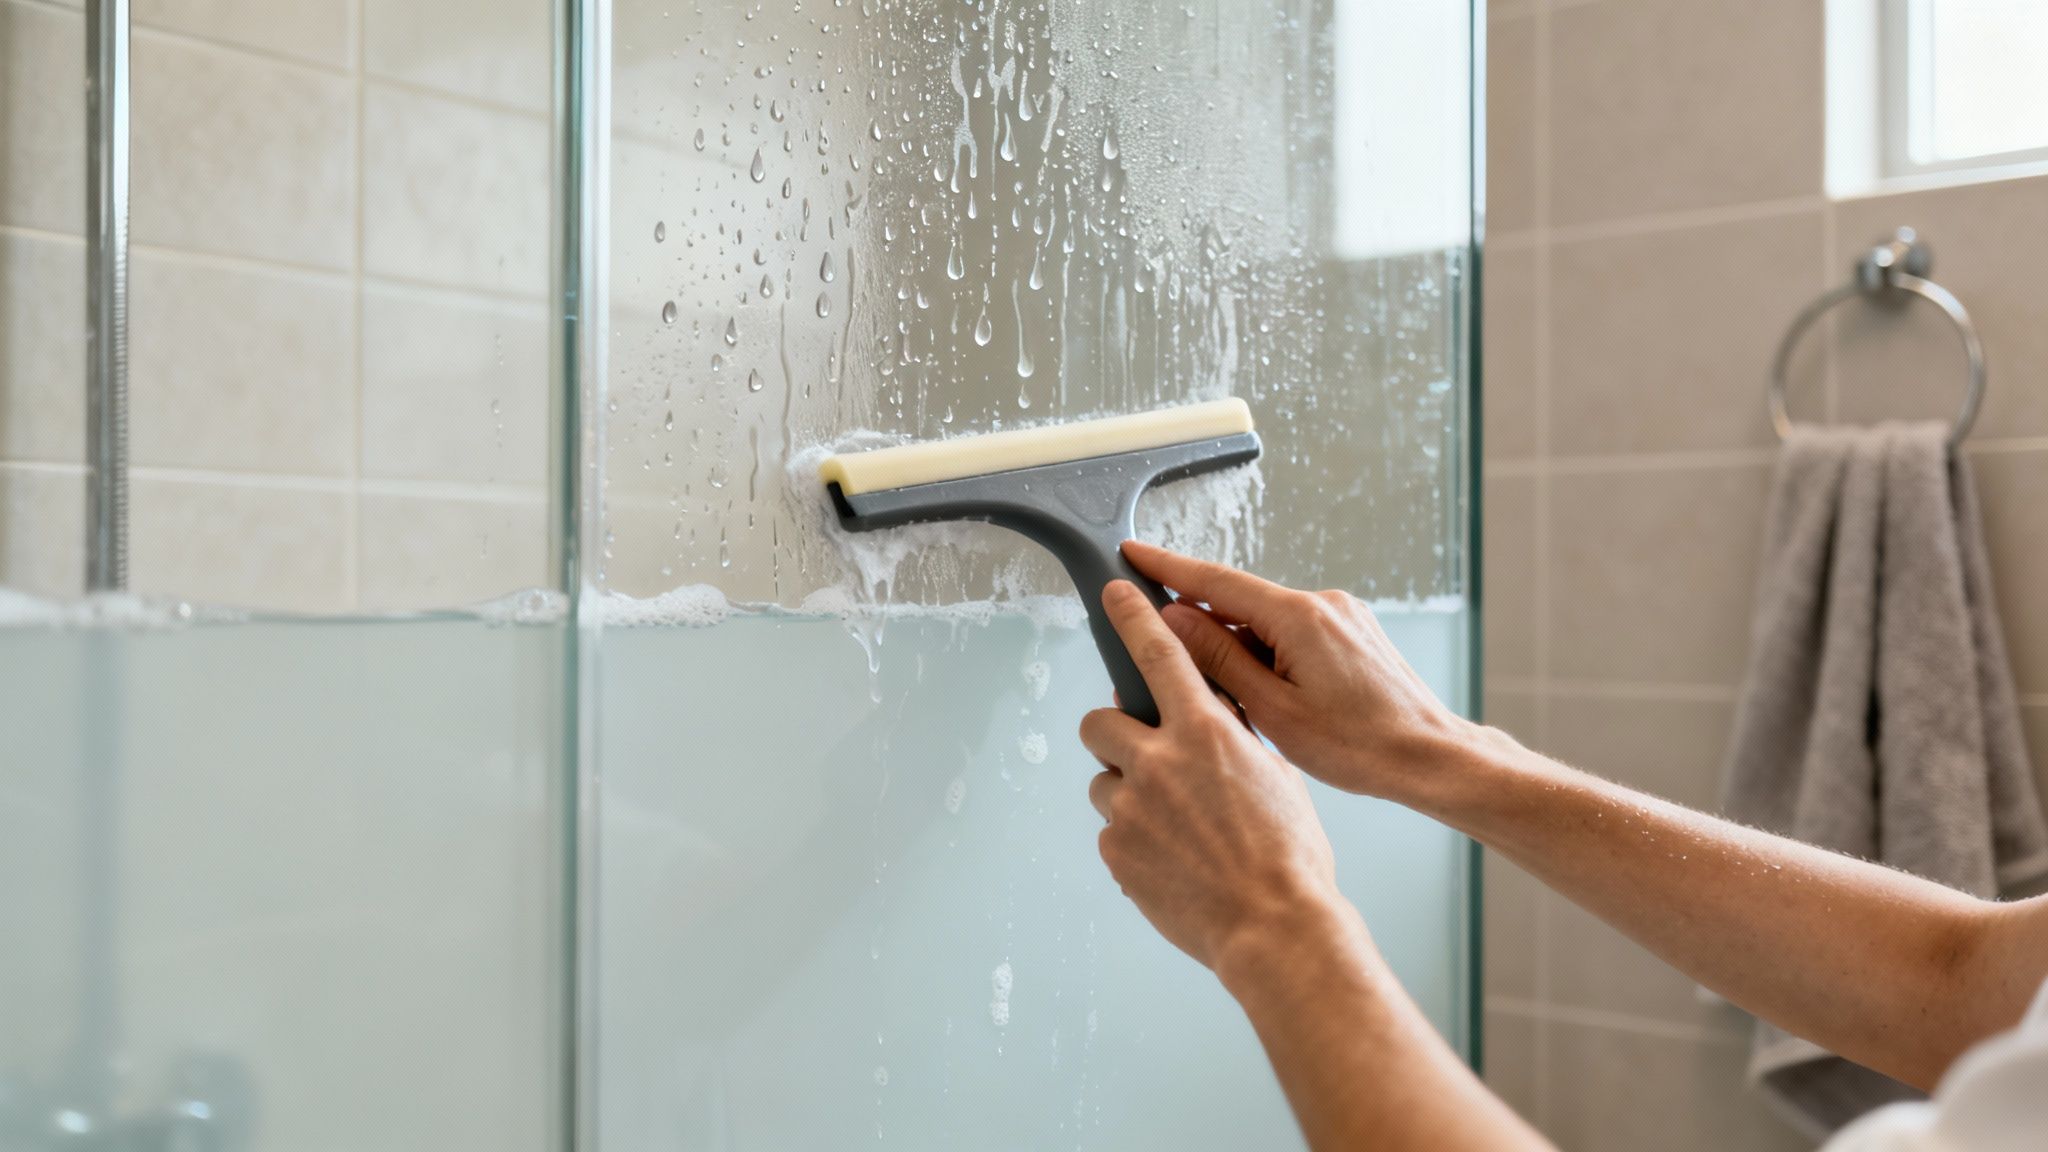
Finally, dry the glass completely with a clean, dry microfibre cloth or a squeegee. This last step is what guarantees a sparkling, streak-free finish and is a fantastic habit to get into. Just be careful not to overspray onto natural stone surfaces like marble or travertine, as the vinegar can cause damage.
For Tough, Caked-On Buildup, Bring Out the Baking Soda Paste
When you're up against soap scum that’s had months—or even years—to set in, a simple vinegar spray just isn't going to cut it. This is where you need a bit more muscle, and a thick baking soda paste is the perfect, all-natural solution for the job.
This method gives you the gentle abrasion needed to physically scrub away stubborn, layered-on grime without scratching your shower glass. While acidic cleaners dissolve minerals, baking soda is a mild alkali, which means it gets to work breaking down the fatty acids in soap scum. It’s brilliant for tackling that greasy, waxy residue that vinegar often struggles with on its own.
Mixing and Applying the Perfect Paste
Whipping up this powerful cleaner couldn't be easier. You only need a couple of common household items to create a paste that will slice right through the toughest buildup.
Here’s what you do:
- Mix your ingredients: In a small bowl, combine equal parts baking soda and a basic dishwashing liquid.
- Get the right consistency: You’re aiming for a thick, spreadable paste—something like the consistency of toothpaste. If it’s too runny, sprinkle in a bit more baking soda. Too thick and crumbly? Just add another drop or two of dish soap.
Once your paste is ready, scoop it onto a non-scratch scourer or sponge. Apply it directly to the shower glass using small, circular motions. You want to cover the entire surface with a thin, even layer, making sure to focus on the spots with the worst buildup. Don't be afraid to put a bit of elbow grease into it as you scrub.
Let the Paste Do the Hard Work
After you’ve applied the paste, just let it sit for about 15–20 minutes. This dwell time is crucial. It gives the dish soap a chance to penetrate and break down the oily parts of the scum, while the baking soda works on loosening the hardened mineral deposits.
Expert Tip: This method is a game-changer for textured or frosted glass. The fine particles in the baking soda paste get right into those tiny grooves and patterns where scum loves to hide, giving you a much deeper clean than a liquid spray ever could.
For those extra-stubborn patches that have laughed at all your other attempts, try this little trick: after applying the paste, spritz a small amount of white vinegar directly onto it. It’ll create a satisfying fizzing reaction that helps lift the most resilient grime. Just be prepared for the foam!
Rinsing Your Way to a Flawless Finish
Now for the most important part: rinsing thoroughly. If you don't, you’ll be left with a chalky, hazy film. Use your shower head to spray the glass with warm water until every last bit of the paste is gone.
For an extra-clear result, follow up the rinse by spraying the glass with your 50/50 vinegar and water solution. This final acidic spritz helps dissolve any lingering baking soda particles and guarantees a streak-free shine.
Finally, dry the glass completely with a squeegee or a clean, dry microfibre cloth. This last wipe-down is the key to preventing new water spots from forming and revealing the brilliantly clean glass underneath. It's a simple, eco-friendly method that's perfect for anyone wanting to avoid harsh chemicals. For more techniques like this, especially for bathrooms with sensitive surfaces, it’s always a good idea to explore cleaning tips from home improvement experts.
How to Prevent Soap Scum from Coming Back
You’ve won the battle against that stubborn soap scum, and your shower glass looks fantastic. So, how do you keep it that way? The real victory is making sure that cloudy film never gets a foothold again.
Let’s be honest: preventing buildup is a whole lot easier than spending an afternoon scrubbing it away. It all comes down to a few simple habits that will save you hours of work down the track.
The single best thing you can do is also the quickest: get a squeegee and use it after every single shower. It takes less than 30 seconds and wipes away the water droplets that carry all those minerals and soap bits. When water evaporates, it leaves that residue behind to form scum. No water, no scum. It’s that simple.
Build Your Prevention Toolkit
Beyond the daily squeegee, a few other proactive moves can make a huge difference in keeping your shower glass pristine. Once you get into the rhythm, they’ll feel completely effortless.
-
Daily Shower Sprays: A quick mist of a daily shower spray after the last shower of the day works wonders. These sprays are designed to stop mineral deposits and soap residue from sticking to the glass. You can grab one from the shops or make your own by mixing one part white vinegar with three parts water in a spray bottle.
-
Switch Your Soap: This is a big one. Bar soaps are a major culprit behind soap scum because their fatty acids react with hard water minerals to create that waxy gunk. Switching to a liquid body wash or shower gel will dramatically cut down on the amount of residue left on your glass.
-
Improve Ventilation: Lingering moisture is soap scum’s best friend. Always run your bathroom’s exhaust fan during your shower and for another 20-30 minutes after you get out. It helps dry out the whole space—including the glass—much faster.
Long-Term Solutions for Hard Water Woes
If you live in an area with particularly hard water, it can feel like you’re fighting a losing battle. The high concentration of calcium and magnesium in your water is constantly working against you, no matter how much you clean.
In this case, investing in a home water softener can be a complete game-changer. A water softener removes these excess minerals before they even get to your shower. Not only does this stop soap scum in its tracks, but it also protects your plumbing and other appliances from limescale buildup.
By making these small changes, you shift from a frustrating cycle of deep cleaning to a simple, proactive maintenance routine. To keep your shower doors sparkling and minimise future scrubbing, understanding proper upkeep is key. You can learn more about effective shower door maintenance to protect your investment.
Advanced Tactics for Tough Soap Scum (and When to Call a Pro)
Sometimes, no matter how much elbow grease you put in, the soap scum just won't budge. This is usually when you’re up against years of thick, mineralised buildup that feels more like cement than a simple film. When your go-to DIY methods aren’t making a dent, it’s time to bring out the heavy hitters.
For those incredibly stubborn, rock-hard deposits, you can very carefully try Grade #0000 steel wool. It has to be this specific extra-fine grade—often called "four-ought"—because anything coarser will leave permanent, heartbreaking scratches on your glass.
Before you go all-in, always test it on a small, out-of-the-way corner. Get both the glass and the steel wool pad wet, then gently rub in a small circular motion. If it lifts the scum without scratching, you’re good to go, but proceed with caution.
Choosing a Commercial Cleaner That Actually Works
If you’ve exhausted the DIY route, a powerful commercial cleaner might be your next best step. The trick is to look past the marketing hype and check the ingredients list for things like sulfamic acid or hydroxyacetic acid. These are the active ingredients specifically formulated to break down and dissolve the tough calcium and magnesium bonds from hard water.
A Quick Word on Safety: When you bring out these stronger chemicals, make sure your bathroom is well-ventilated. Crack open a window and switch on the exhaust fan. The fumes can be pretty potent, and you don’t want to be breathing them in. Always double-check the label to ensure the product is safe for glass and won't damage your shower fixtures.
Knowing When It’s Time to Wave the White Flag
There’s a point where no amount of scrubbing is going to solve the problem. If soap scum is left for too long, it can cause etching—permanent damage where the minerals have literally eaten into the surface of the glass. No cleaner, no matter how strong, can reverse that.
Here are the tell-tale signs that it’s time to call in the professionals:
- Permanent Cloudiness: The glass still looks hazy or cloudy after a thorough clean, even when it’s completely dry.
- A Rough, Gritty Feel: You run your hand over the glass and feel a rough texture that simply won’t scrub off.
- The Job is Just Too Big: The buildup is so thick and widespread that tackling it yourself feels like an endless, overwhelming task.
In these cases, a professional cleaning service is your best bet. They have the industrial-strength tools and specialised knowledge to handle damage that household products just can't touch. For example, a company with deep expertise in revitalising home surfaces can bring a level of cleaning power that household products simply can't match.
Many Melbourne homeowners also find that when the shower is in bad shape, so are the surrounding tiles and grout. This is where a comprehensive service truly shines. For instance, Right Price Carpet Cleaning extends its expertise to tile-and-grout cleaning, using truck-mounted steam machines to deep-clean bathrooms, removing 99% of embedded dirt and allergens with flat-rate pricing and a 100% satisfaction guarantee. To get a better sense of how such industries are growing, you can read more about Australia's cleaning product manufacturing sector.
Got Questions About Cleaning Your Shower Glass? We've Got Answers
Even with the best game plan, a few questions always pop up when you're trying to get your shower glass looking brand new. Getting the little details right is what separates a pretty good result from a flawless one. Here are some of the most common things people ask, answered to help you clean safely and get the job done right.
Let's clear up a few things so you can get back to your cleaning routine with confidence.
How Often Should I Really Be Deep Cleaning My Shower Glass?
For most homes, giving your shower a proper deep clean every 2 to 4 weeks is plenty to keep that cloudy film at bay. This is assuming you’re giving the glass a quick once-over with a squeegee after each shower to handle the daily moisture.
Now, if you live in an area with particularly hard water, you might find that soap scum builds up much faster. In that case, you may need to bump up your deep clean to a weekly job to stop that film from getting a foothold. The secret is consistency—it's so much easier to wipe away a fresh, thin layer than it is to battle thick, hardened deposits that have been sitting there for months.
Your daily squeegee is your number one weapon in the war against soap scum. It’s that small, consistent habit that saves you from a massive scrubbing session down the track.
Are These DIY Cleaners Safe for My Taps and Tiles?
Generally speaking, the vinegar solution is a safe bet for most common bathroom materials. Think ceramic and porcelain tiles, and your standard chrome fixtures. It’s a great all-rounder for the majority of modern showers.
The big exception here is natural stone. You must avoid using acidic cleaners like vinegar on surfaces like marble, travertine, or granite. The acid can cause permanent chemical burns on the stone, a type of damage known as etching. For these more delicate materials, the gentle baking soda paste is a much safer option.
No matter what cleaner you're using, it’s always a good idea to test it on a small, hidden spot first. This is especially true if you have fixtures with special finishes—like matte black, brushed nickel, or oil-rubbed bronze—as they can sometimes react in surprising ways.
What’s the Best Tool for Scrubbing Off Soap Scum?
The right tool really depends on how bad the buildup is. If you go in with something too aggressive, you could end up with permanent scratches. But if your tool is too gentle, you’ll just be wasting your time and energy.
- For light scum and regular upkeep: A non-scratch sponge or a good-quality microfibre cloth is all you need. They have just enough texture to lift the grime without harming the glass.
- For tougher, caked-on layers: Step it up to a non-scratch scourer. These are designed to give you more scrubbing power on stubborn spots without scratching up the surface.
- For extreme, mineralised deposits: As a last resort, you can very carefully use Grade #0000 steel wool on standard glass. It absolutely has to be this ultra-fine grade, and you should always test it first. Never, ever use regular steel wool or those common green abrasive scourers on glass.
Why Does This Stuff Reappear So Quickly?
Soap scum isn't just everyday dirt; it's the result of a chemical reaction. The fatty acids in traditional bar soaps mix with the calcium and magnesium minerals in hard water, creating that waxy, insoluble gunk you see on your shower glass.
Basically, every time you use a bar of soap, you’re creating the perfect recipe for more soap scum. It can feel like a never-ending cycle, which is why prevention is the only real way to win.
By squeegeeing the glass dry after every shower, you’re removing the water droplets before they can evaporate and leave their mineral deposits behind. This simple action stops that chemical reaction in its tracks, keeping your glass crystal clear for much, much longer.
If you're dealing with etched glass or stubborn buildup that DIY methods just can't shift, it might be time to call in the professionals. Right Price Carpet Cleaning provides expert tile and grout steam cleaning services that restore your entire shower area to a pristine condition. Discover how our powerful, truck-mounted equipment can revitalise your bathroom by visiting us at https://rightpricecarpetcleaning.com.au.
Recent Comments