



You notice Venetian blinds when the sun hits them side-on. What looked fine yesterday suddenly shows every line of dust, every greasy fingerprint, and every patch you missed the last time you rushed through the job.
That’s how most blind cleaning starts in Melbourne homes. A quick glance becomes annoyance, then sneezing, then the realisation that the blinds in the lounge, kitchen, and bedrooms all need attention at once. The good news is you don’t need one cleaning method for every situation. You need a progressive system that matches the level of dirt and the blind material, so you can go from a fast weekly dust-off to a proper deep clean without bending slats, streaking finishes, or warping anything.
Tackling Dust Before It Takes Over
A lot of people leave Venetian blinds until they look visibly dirty. By then, the job feels bigger than it is.
In Melbourne, that delay matters more than most homeowners realise. Dust accumulation on Venetian blinds can account for up to 80% of total indoor dust within six months in Australia, particularly in Melbourne’s variable climate, according to Veneta Blinds’ guide to cleaning and maintaining Venetian blinds. Wind, traffic grime, and fine outdoor particles all end up settling on slats because they’re horizontal, exposed, and rarely cleaned properly.
That’s why we don’t treat blind cleaning as one big occasional chore. We treat it in layers.
The system that actually works
Most homes only need three levels of care:
- Quick weekly dust-off for light surface dust
- Routine wipe-down when fingerprints, light grime, or kitchen residue start showing
- Full deep clean when the blinds feel sticky, look patchy, or haven’t been touched in ages
If you skip the first level, you make the third one much harder. That’s the trade-off. A few minutes now saves a much messier job later.
Practical rule: If your cloth is turning grey after one or two slats, you’ve waited too long for a simple dusting.
This matters for allergy management too. If you’re trying to cut down indoor triggers, it helps to think beyond floors and bedding. Window areas catch and hold more particles than people expect. For broader ideas on reducing allergens around the house, Premier Screens guide for a sneeze-free home is a useful read, especially if dust keeps returning after you clean.
A cleaner result also starts with reducing what settles in the first place. If you’re fighting dust across the whole house, not just on the blinds, this guide on how to control dust in home helps put the blind problem in context.
Start with the material, not the mess
Before you touch a blind, identify what it’s made from.
| Blind type | Safe regular method | Main risk |
|---|---|---|
| Aluminium | Vacuum, microfibre wipe, careful wet cleaning | Bending, etching from over-wiping |
| Timber | Dry dusting, very light wiping only if needed | Warping from moisture |
| Faux wood | Vacuum and lightly damp microfibre | Over-wetting and swelling around edges |
That’s the whole mindset for how to clean venetian blinds properly. Don’t start scrubbing because they look dirty. Start by matching the method to the material.
Your Essential Venetian Blind Cleaning Kit
A good result starts before the first wipe. If your kit is wrong, blinds get scratched, cords get grubby, and a quick clean turns into a longer job than it needed to be.
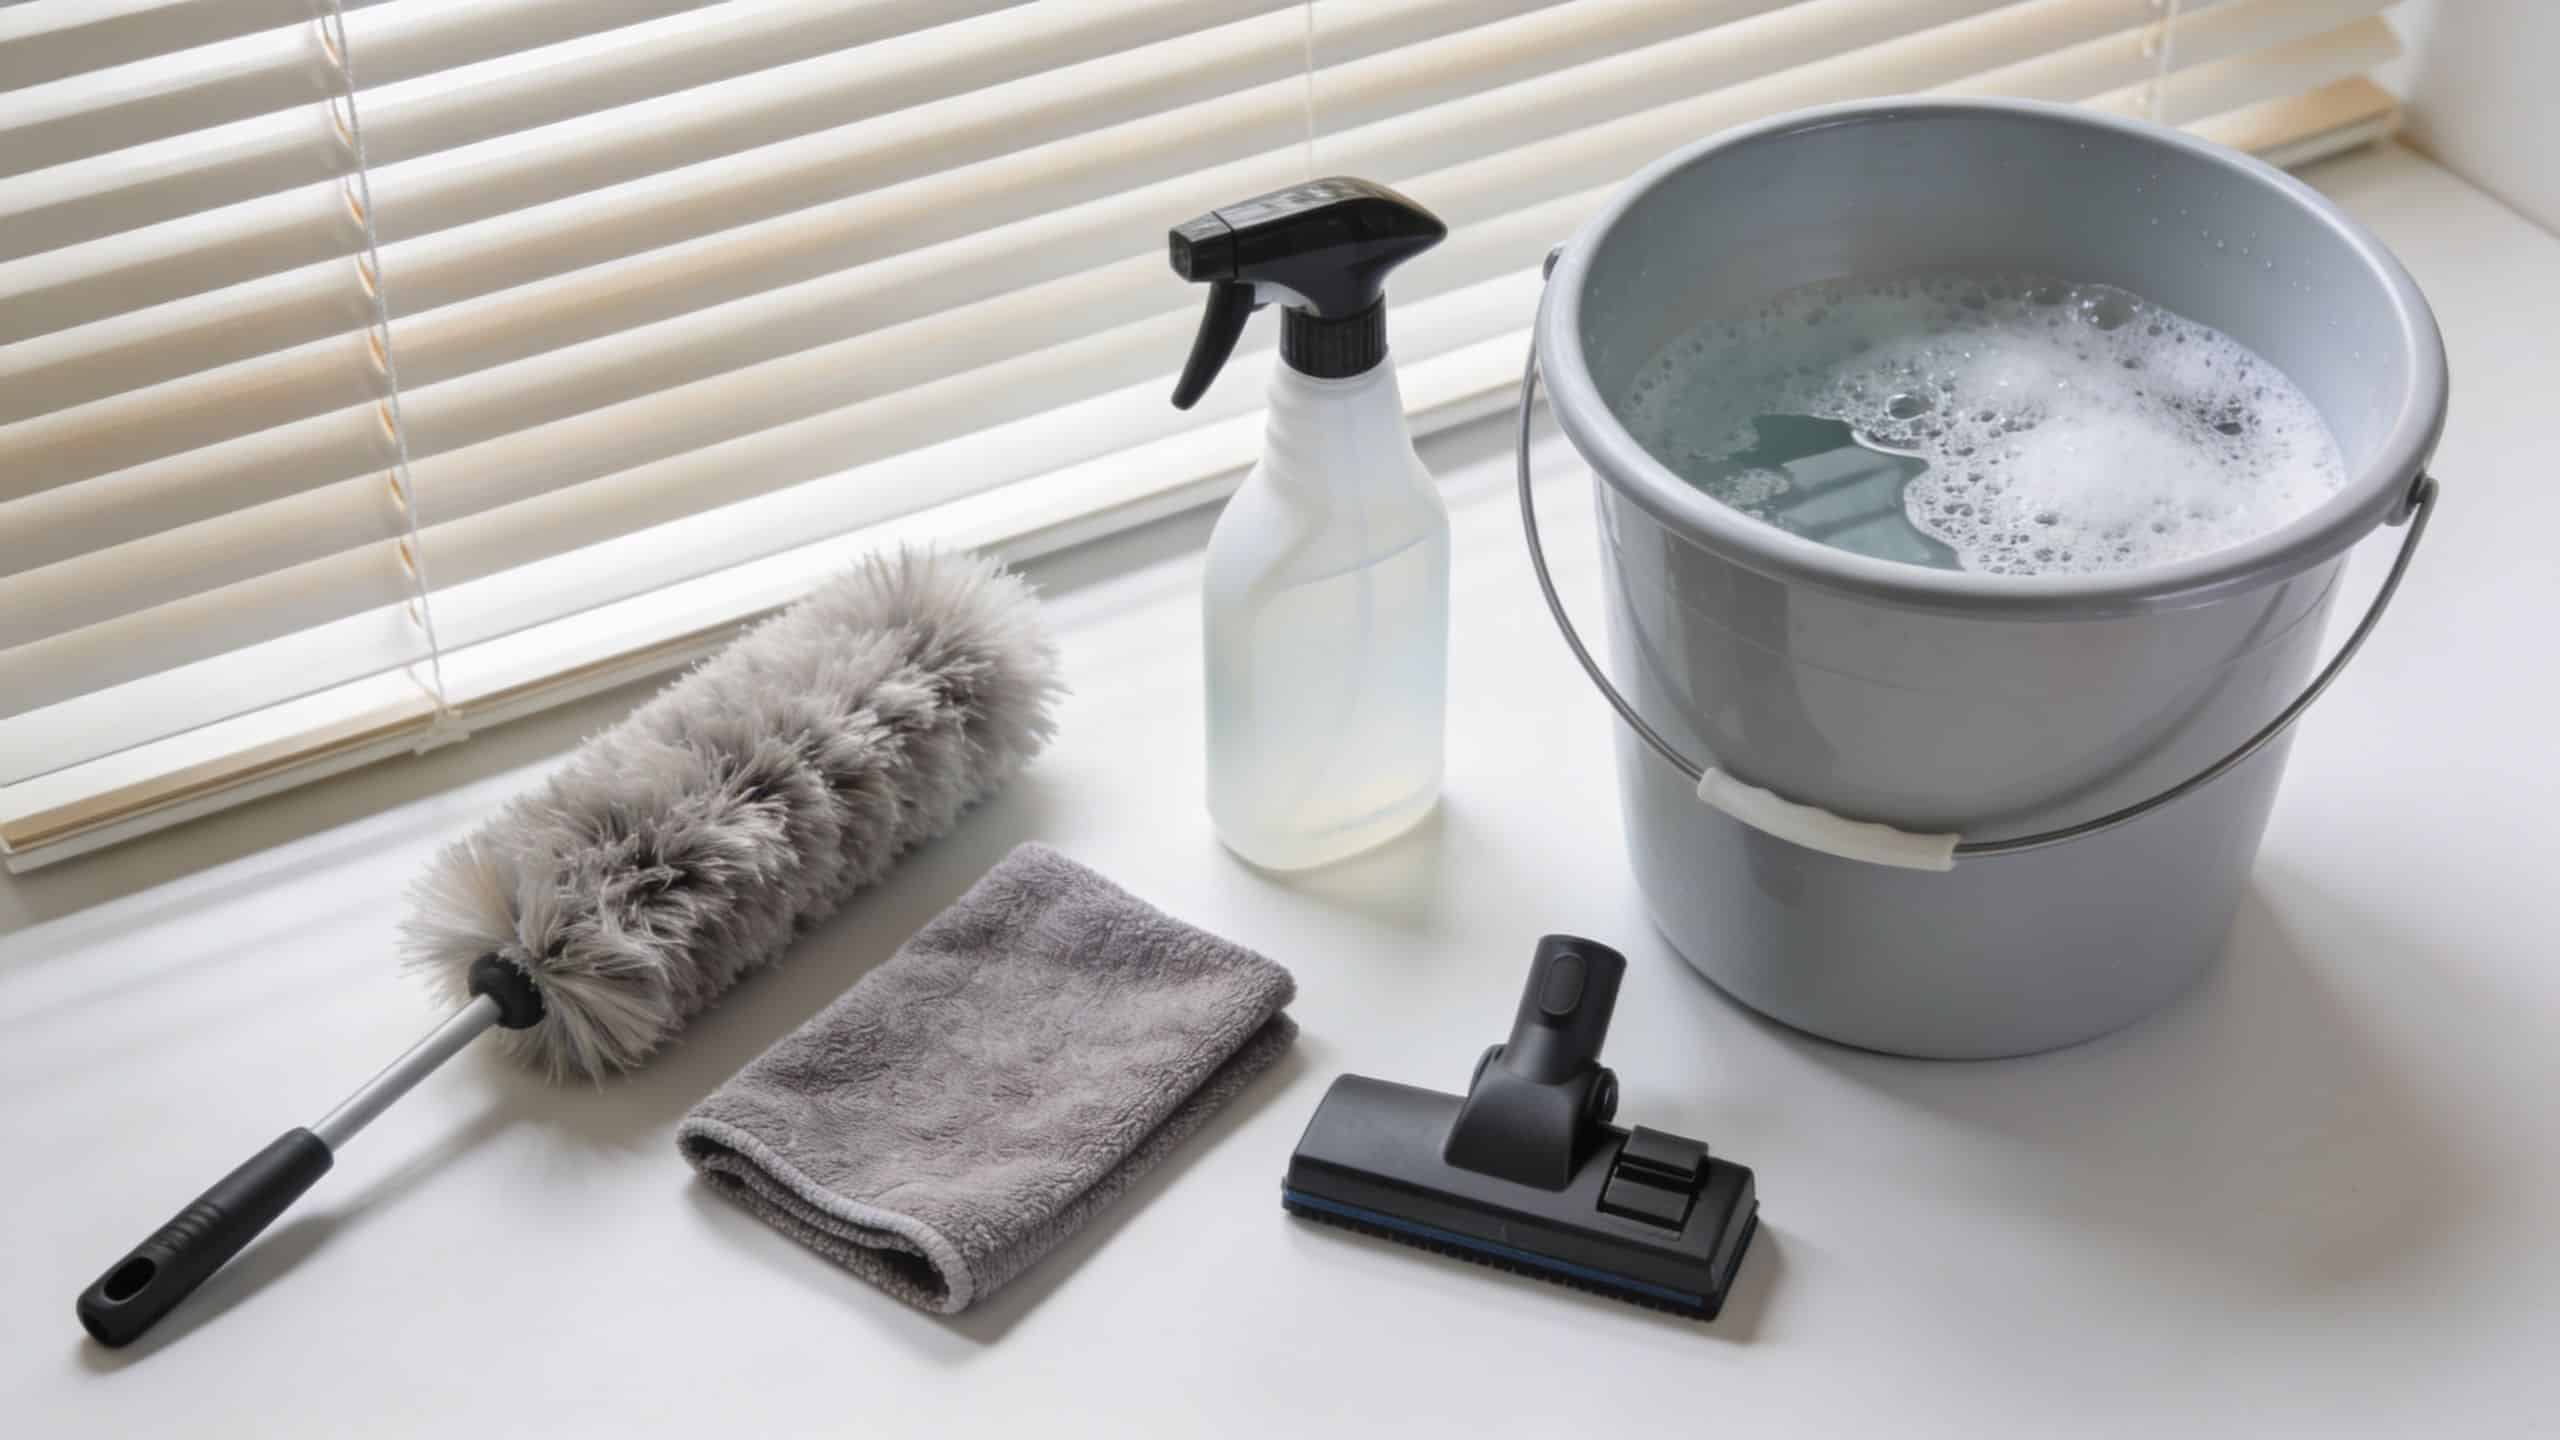
We set blinds up in two stages. One kit handles the regular 5 to 10 minute dust-off. The other covers the occasions when Melbourne dust, kitchen grease, or damp-season grime have built up enough that dry cleaning will not cut it.
What to keep on hand for weekly maintenance
These are the tools that earn their place:
- Microfibre cloths. Keep a few aside just for blinds so you are not dragging old grit from other jobs across the slats.
- Vacuum with a soft brush attachment. Good for lifting loose dust from both faces of the slat without pressing it in.
- A dry buffing cloth. Useful for aluminium and faux wood if you want a clean finish without streaks.
- Step stool. It keeps your angle steady and avoids the awkward overreaching that bends slats and strains cords.
A blind duster can be handy, but microfibre still does more work in real homes. It reaches the back corners, the ladder strings, and the area near the headrail where dust builds up fast.
Prioritize soft tools. They do more to prevent scratching, bending, and finish damage than specialty gadgets.
What you need for a deep clean
Once the blind has sticky spots, cooking residue, or a film that smears when you wipe it, add a few more basics:
- Bucket or basin
- Spray bottle
- Mild dish soap
- Soft sponge or microfibre mitt
- Old towels or a drop sheet
- Drying cloths
- A tarp or clean outdoor surface for aluminium blinds if you’re removing them
Keep the heavy cleaners off the list. Bleach sprays, strong alkaline products, and abrasive pads are common reasons painted finishes dull off and timber slats swell.
Material matters here as much as the tool itself. Aluminium can handle more moisture if you dry it properly. Timber usually cannot. Faux wood sits in the middle. It copes better than real timber, but water can still creep into edges, holes, and joins if you soak it.
A simple cleaning solution that’s safe to start with
For in-place wiping, use mild soap in water and wring the cloth out well. The cloth should feel barely damp in your hand. That is enough for light grime on aluminium and faux wood, and it is the safest starting point if you are not sure how the finish will react.
For timber blinds, stay dry unless there is a clear mark that needs attention. Then spot-clean lightly and dry the area straight away.
If you are ever undecided, start with the least aggressive option and build up only if needed. That approach saves a lot of blinds.
The 10-Minute Maintenance Routine
Most blinds don’t need soaking. They need consistency.
If you build a short routine into your week, the slats stay under control and the whole house looks cleaner. This is the part people skip, then regret later when every blind needs a major scrub.
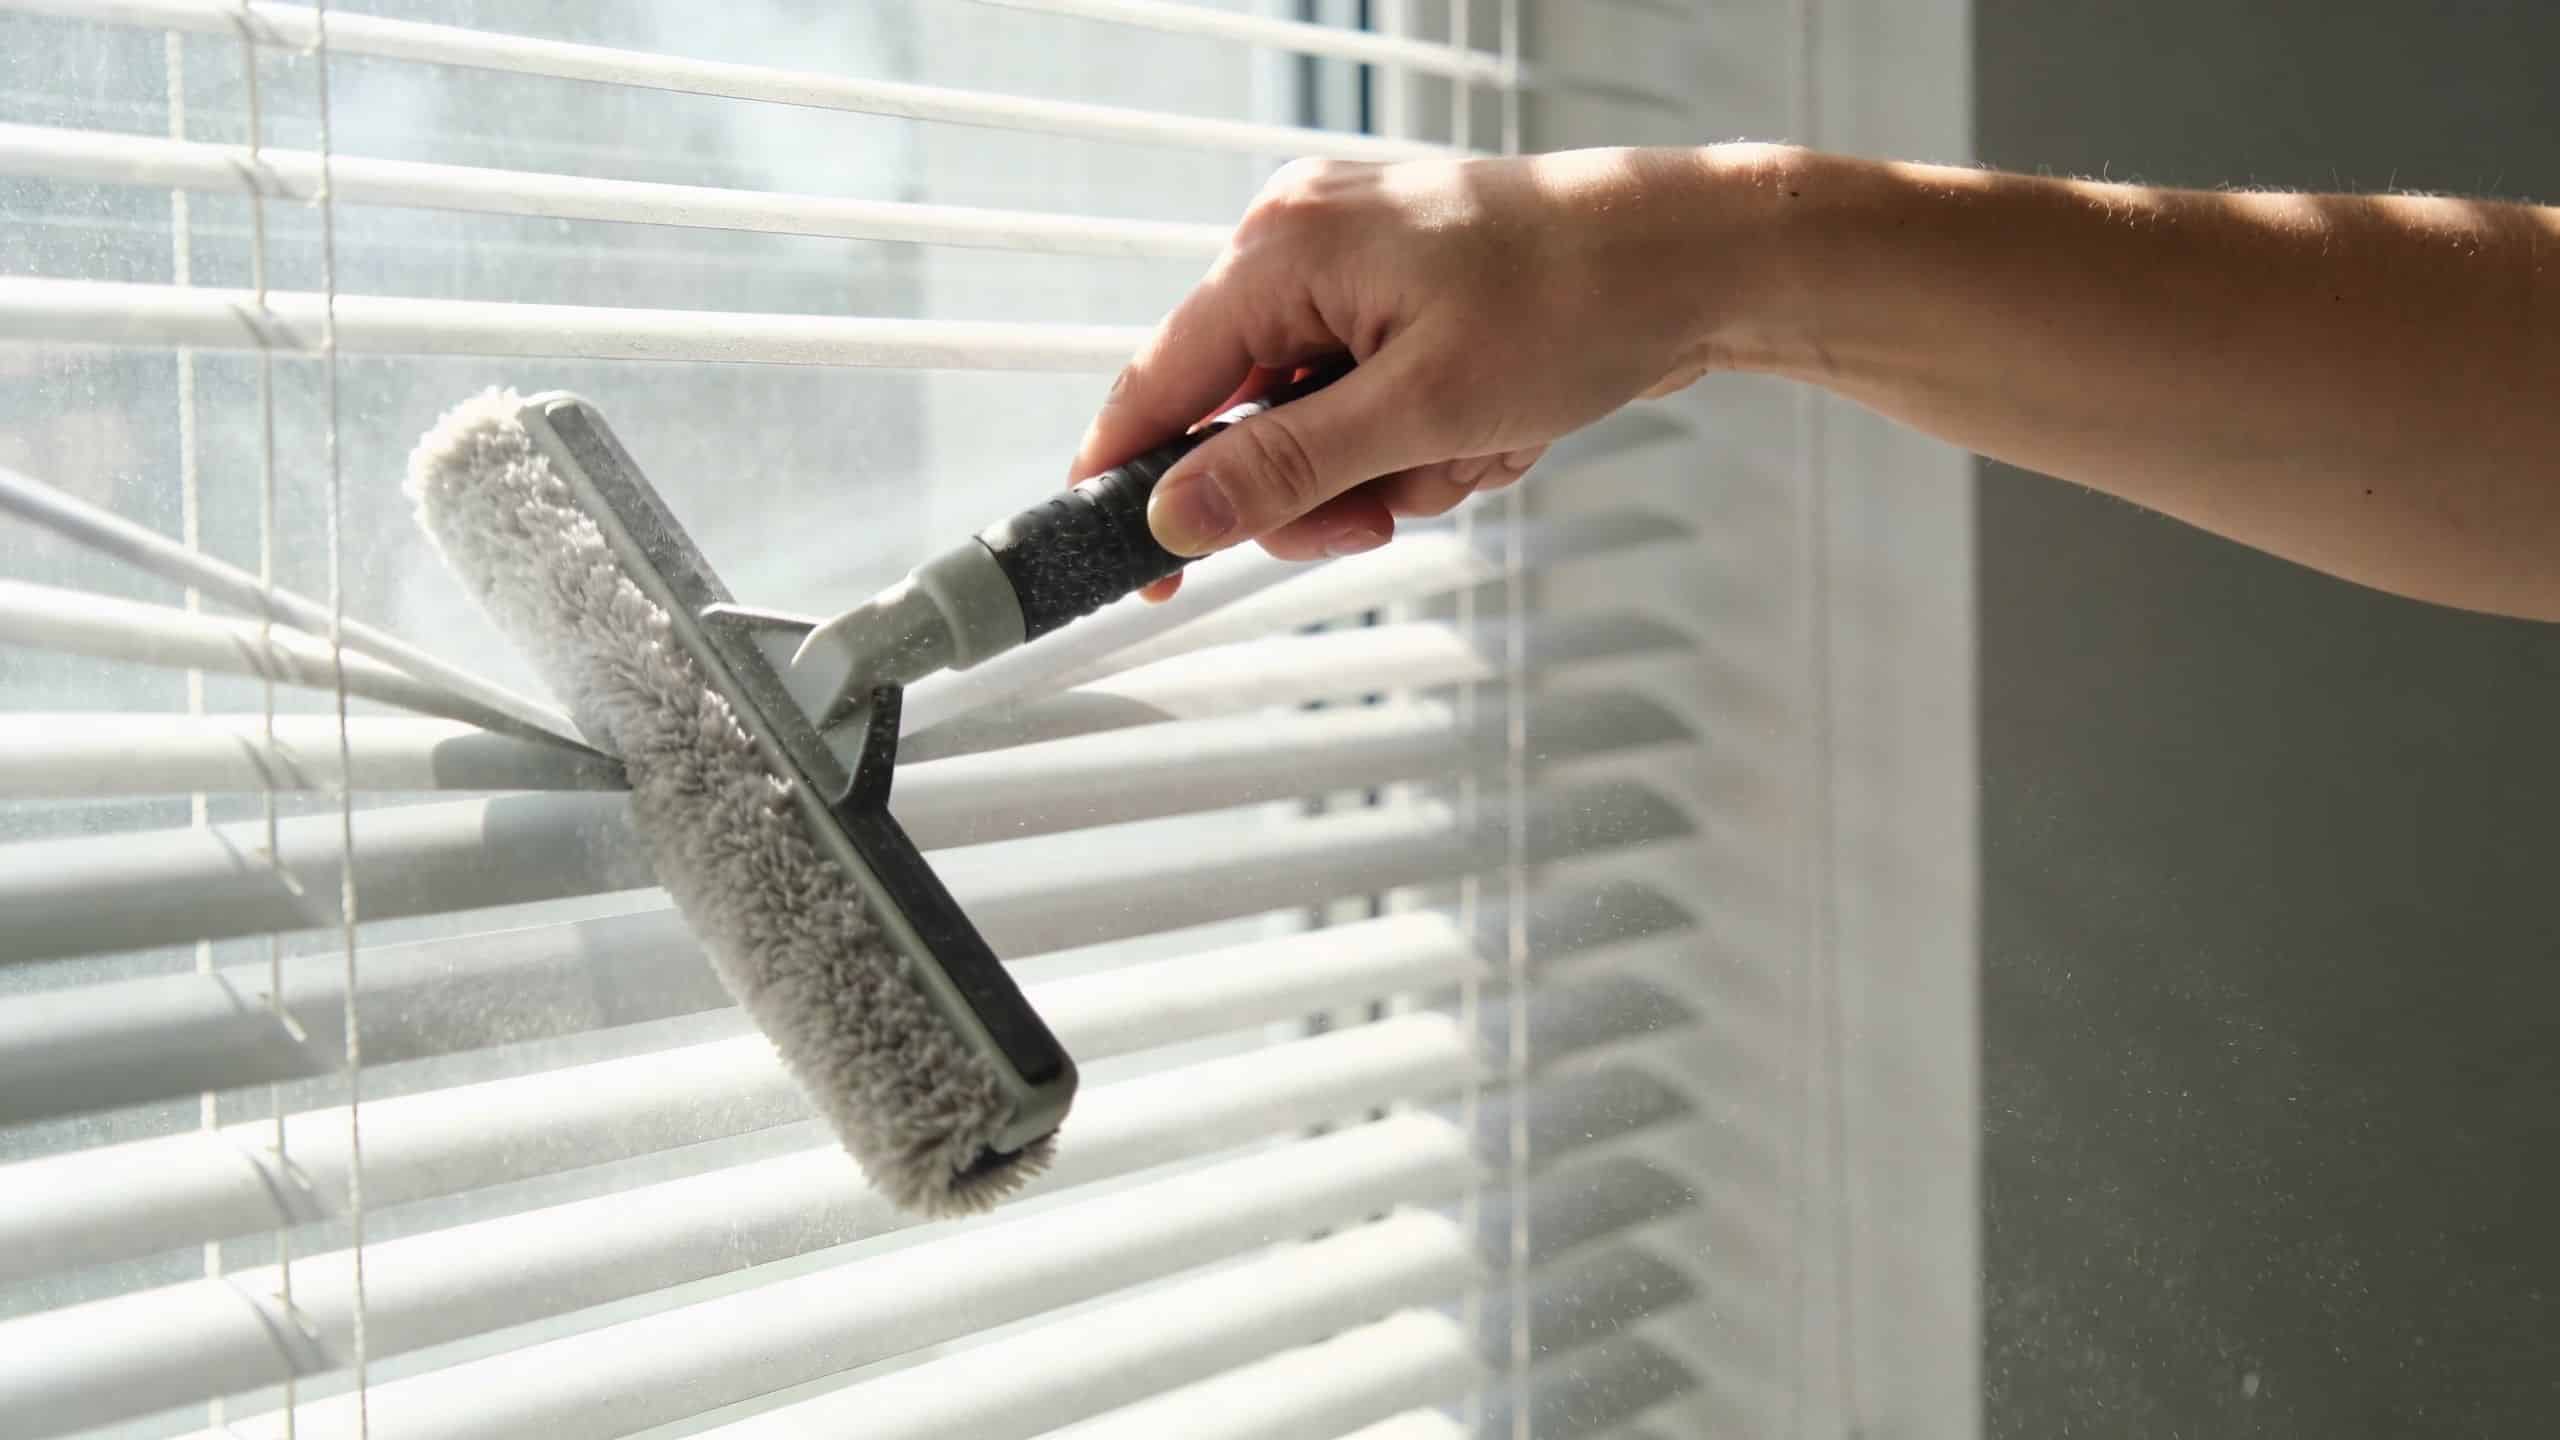
The fast method that traps dust instead of spreading it
A weekly microfibre routine works because it captures dust rather than flicking it back into the room. Using a microfiber towel for weekly maintenance on Venetian blinds achieves a 92% dust capture rate, reducing allergy triggers by 70% in households compared to traditional feather dusters, which have only 45% efficacy, according to the verified data referenced from the microfiber maintenance source.
That lines up with what we see in practice. Feather dusters often make the blind look cleaner for a moment, but the room tells a different story a few minutes later.
Do it in this order
Use this sequence for a standard maintenance clean:
- Tilt the slats upward first. That exposes one side properly and stops you chasing awkward angles.
- Vacuum before wiping. Use a soft brush attachment and work gently across each slat.
- Wipe with a lightly damp microfibre cloth. Don’t spray directly onto the blind.
- Flip the slats and repeat. Clean the second side straight away rather than leaving half the dust behind.
- Buff dry if needed. This matters most on faux wood and aluminium where marks show quickly.
Where people waste time
The biggest mistake is starting with a wet cloth on a dusty blind. That turns loose dust into muddy streaks and fills the cloth fast.
A close second is cleaning only the side you can see. Venetian blinds collect dust on the reverse side, along the edges, and near the cords. If you only wipe the front, the room still looks dull once the light changes.
- Start at the top of the blind. Dust falls down. If you begin halfway, you’ll redo your own work.
- Use light pressure. Pressing hard doesn’t clean better. It just twists thin slats.
- Change cloth sections often. A loaded cloth stops lifting dust and starts dragging it.
If a blind has been neglected for a long time, don’t force a 10-minute routine to do a deep-cleaning job. Switch methods early and save yourself the frustration.
Material-specific cautions during maintenance
A short routine is safe for most blinds, but each material still needs a bit of respect.
| Material | During weekly maintenance |
|---|---|
| Aluminium | Support the slat with your fingers if it feels flimsy |
| Timber | Stay dry as much as possible |
| Faux wood | Use very little moisture and dry straight after |
The goal isn’t perfection every time. It’s preventing buildup. If you do that, learning how to clean venetian blinds becomes much less of a project and much more of a habit.
Deep Cleaning Your Blinds Without Damage
You usually know when a blind has moved past a quick maintenance clean. The slats feel greasy near the kitchen, the spare room blind leaves dust on your fingers, or the white aluminium by the window has gone dull no matter how often you wipe it.
At that point, the job changes. A proper deep clean still follows the same system as your weekly routine, but with more moisture control, more drying time, and stricter material checks so you do not trade dirt for damage.
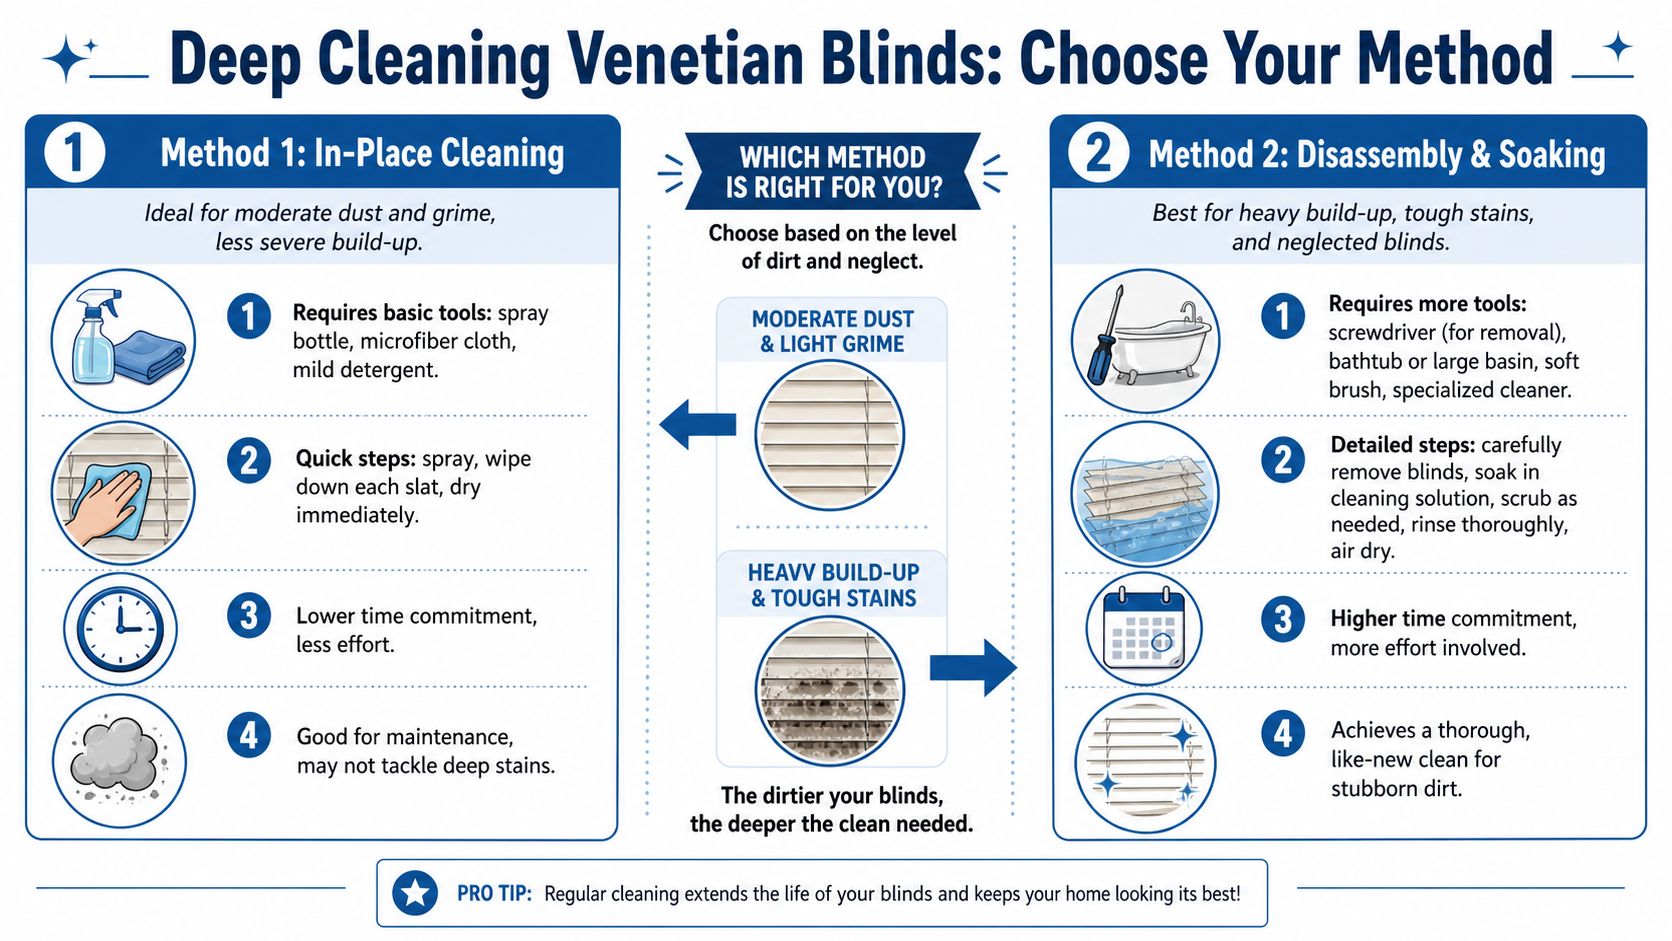
Method one for blinds that should stay put
Keep the blind in place if it is timber, only moderately dirty, fitted in a tricky spot, or likely to twist during removal. In Melbourne homes, this is often the safer choice because cooler weather and lower winter airflow can slow drying more than people expect.
Work in this order:
- Vacuum first with a soft brush attachment.
- Lay towels on the sill and floor.
- Use a barely damp microfibre cloth with a small amount of mild soap.
- Wipe one slat at a time, supporting the back with your hand if the slat is thin or flexible.
- Follow straight away with a dry cloth.
- Leave the slats open until all trapped moisture has cleared.
This takes longer than a surface clean, but it gives you control where control matters. Timber can warp, faux wood can trap moisture around edges, and older fittings can loosen if you get too rough.
Method two for heavily soiled aluminium blinds
Some aluminium blinds respond better to removal and washing than repeated wiping in place, especially if grease, nicotine film, or years of grime have built up around the cords and overlaps. Done carefully, this can save time and give a cleaner finish.
Use this method only if the blind is aluminium, the slats are still in reasonable shape, and you have somewhere with good airflow for drying.
A careful takedown-and-wash process
- Take the blind down gently. Avoid knocking or twisting the headrail.
- Close the slats loosely, then open them enough to expose the dirty faces. That helps you clean evenly without forcing the ladder strings.
- Wash with mild soapy water and a soft cloth or mitt. Keep your pressure light.
- Rinse lightly. A hard spray can bend thin slats and push water into parts that dry slowly.
- Shake off excess water and dry thoroughly. Hang it where air can move around both sides.
- Rehang only when the blind is fully dry.
I would not use this wash-down approach on timber, and I am cautious with faux wood unless the manufacturer allows more moisture. A method that works on aluminium can ruin a stained timber blind in one session.
Material warnings that save blinds
Deep cleaning goes wrong when one method gets used across every room.
- Timber blinds need very little moisture. With timber, water poses a real risk of swelling, staining, and warping.
- Faux wood handles a damp cloth better than real wood, but it still should not be saturated. Pay attention to edges, joins, and any chipped areas.
- Aluminium slats bend easily during washing and drying. Support them instead of pinching or folding them.
- Cords and tilt mechanisms need protection too. If soap residue or excess water gets into them, the blind may stop moving smoothly.
A good deep clean leaves the blind clean and still working properly. Both matter.
Drying is part of the clean
A lot of the marks people blame on washing show up during drying. Moisture left between slats, near the bottom rail, or inside the headrail can leave spots, streaks, or mildew smells, especially during Melbourne’s damp spells.
Open the slats. Get air moving. Give the blind more time than you think it needs.
If you are comparing methods across different window coverings, this guide on how to clean roller blinds properly is a useful reminder that the cleaning system always has to match the material.
Solving Common Blind Problems and Mistakes
Blind cleaning usually goes wrong in familiar ways. The slats look streaky, a cord gets tangled, one aluminium piece bends, or the whole blind somehow looks worse after an overenthusiastic wipe-down.
That doesn’t mean the blind is ruined. It usually means the method needs adjusting.
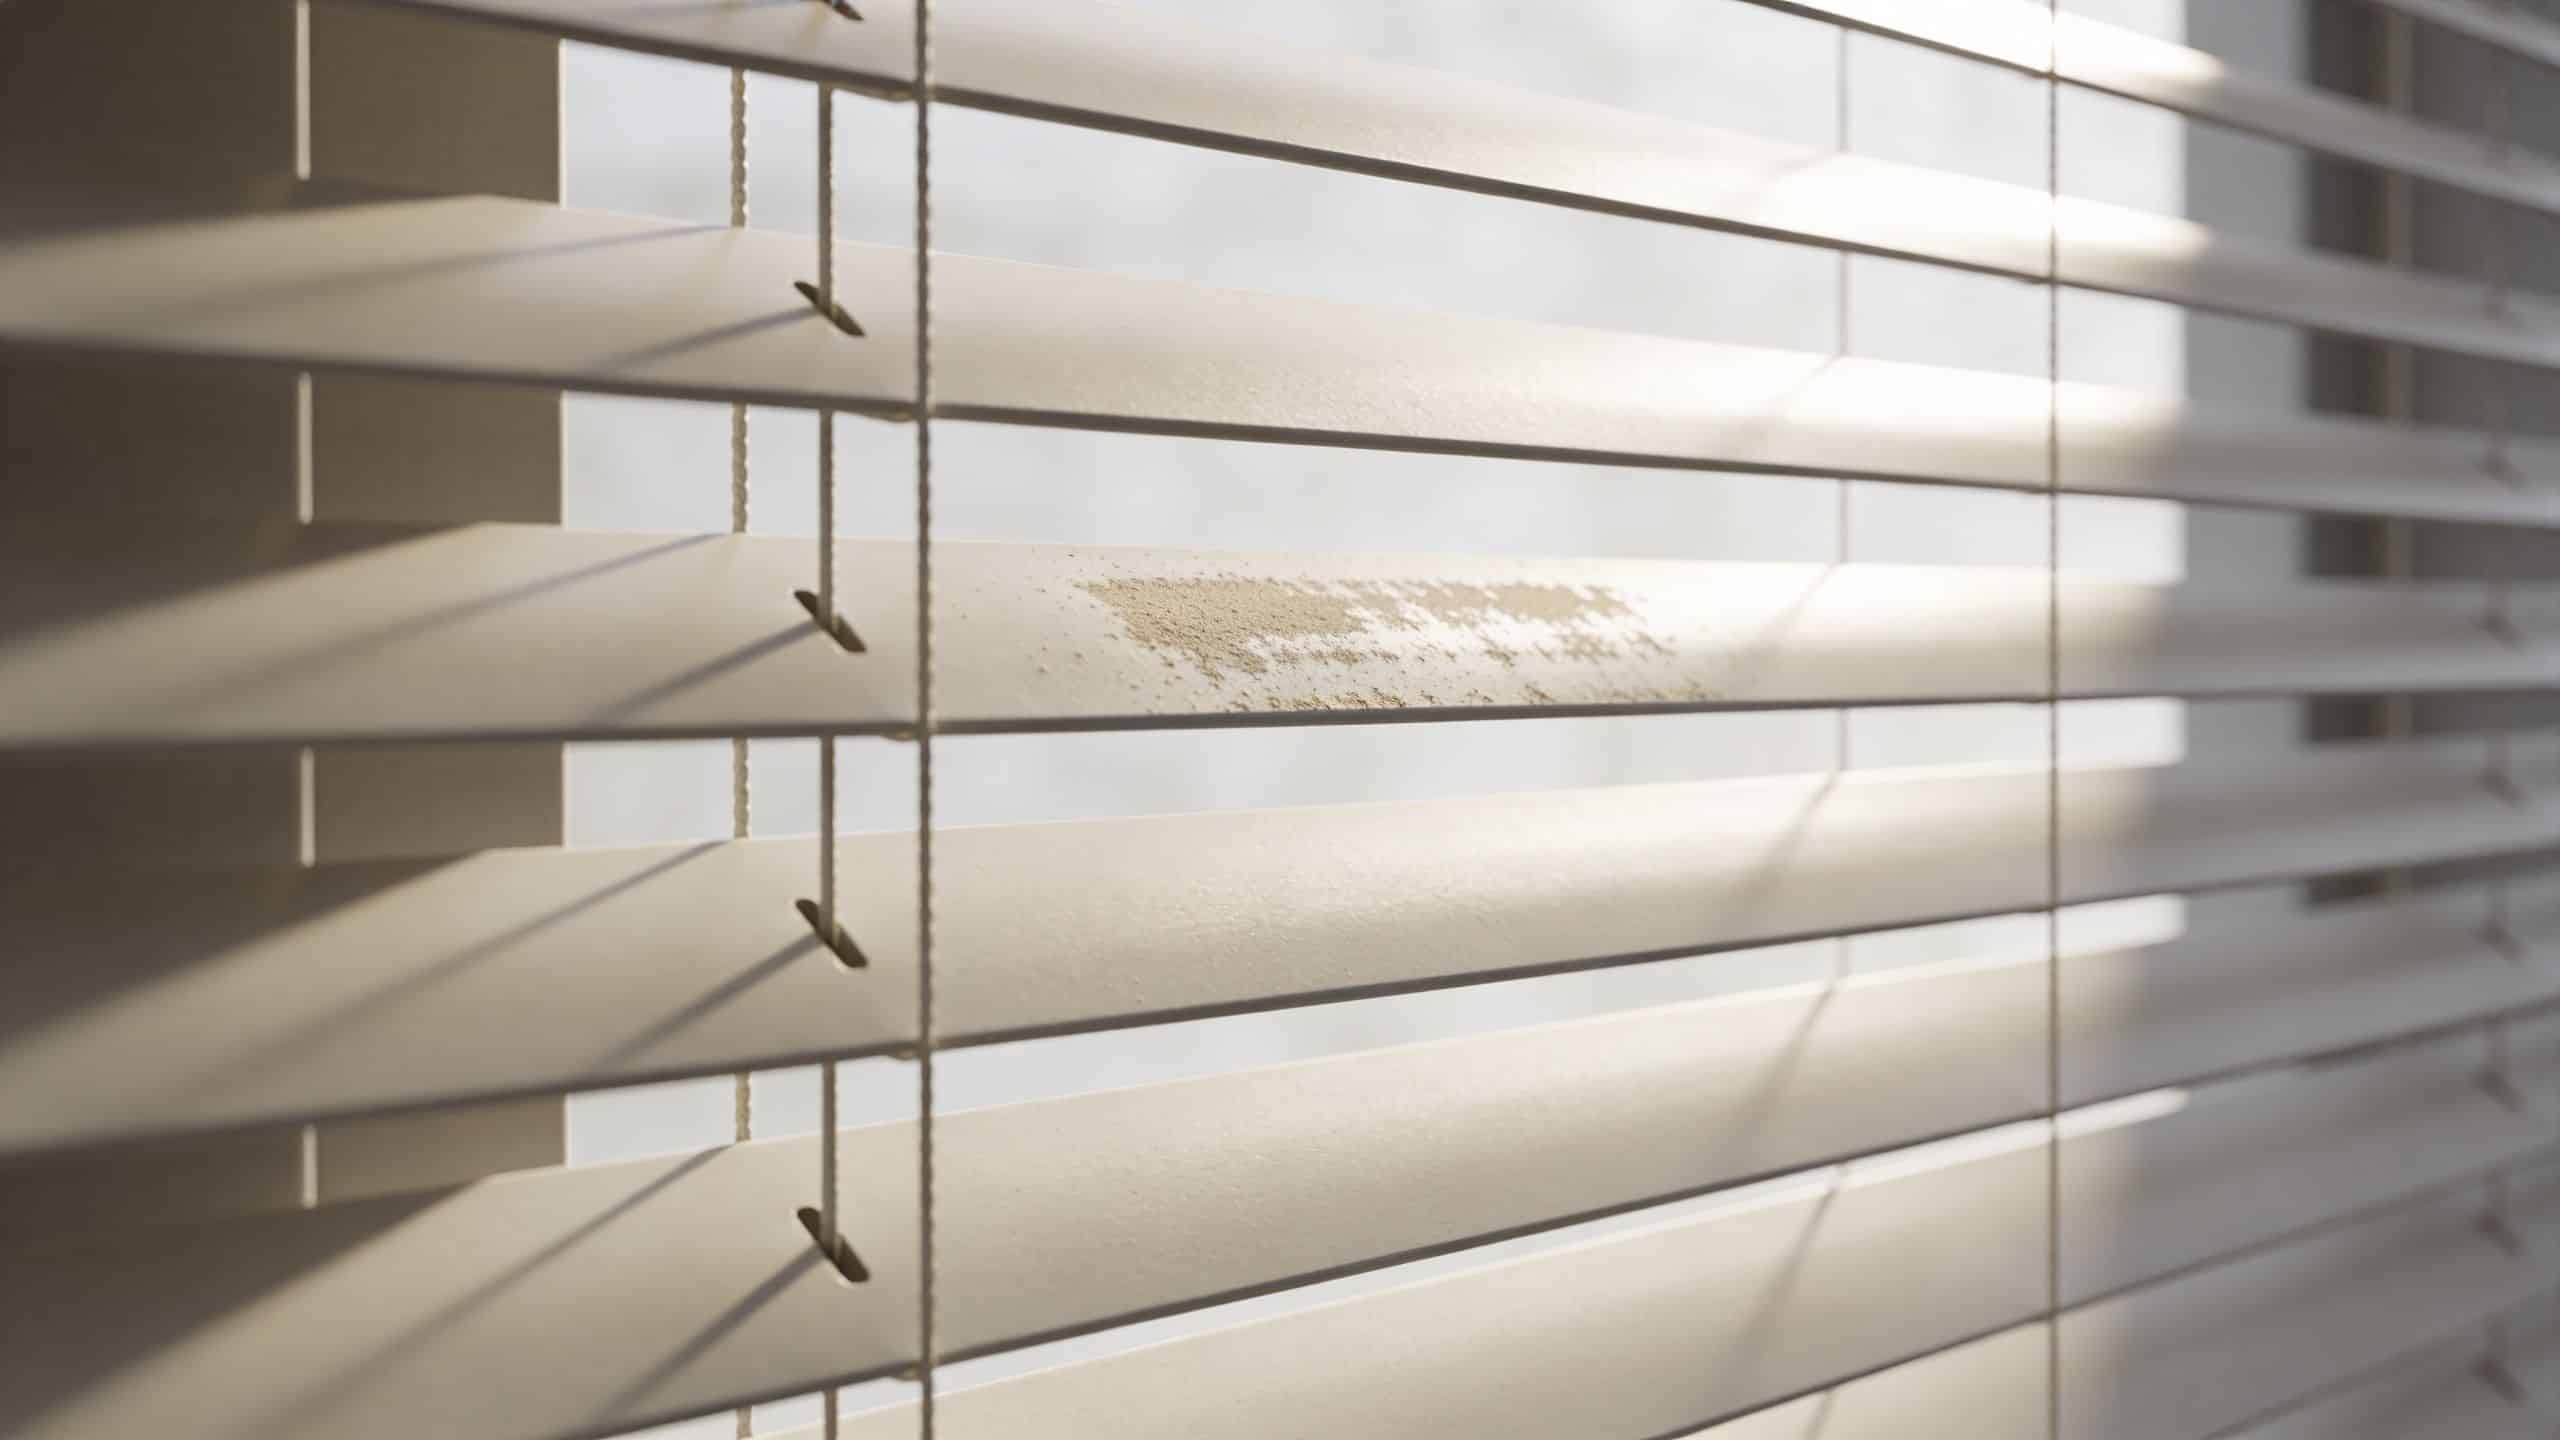
If the blinds look streaky after cleaning
Streaks usually come from one of three things. Too much soap, too much water, or a cloth that was already dirty.
Try this:
- Re-wipe with clean water only. Keep the cloth barely damp.
- Dry immediately with a fresh microfibre cloth.
- Work one section at a time. Don’t let moisture sit and air-dry unevenly.
Aluminium blinds show this problem more than most. In rental properties, that matters. In Greater Melbourne, annual rental turnover is around 35%, and over-wiping aluminium blinds, found in 60% of rentals, can cause etching and shorten their lifespan by up to 30%, according to the verified data drawn from this blinds cleaning reference on rental-focused issues.
If a slat bends or a cord tangles
A slightly bent aluminium slat can often be straightened by hand if you go slowly. Support the slat along its width and ease it back rather than pinching one point. If it has a hard crease, don’t force it. You’ll usually make it more obvious.
For tangled cords:
- Lower the blind fully
- Release tension on the tilt if possible
- Separate the cords gently with your fingers
- Avoid pulling one cord hard to free another
A snagged cord often means dust and residue have built up near the mechanism. A careful dry clean around the headrail can help.
End-of-lease blinds catch renters out because they’re easy to overlook until inspection day. Leave them to the end, and you’ll rush them. Rush them, and that’s when damage happens.
What works better at end of lease
If you’re cleaning for a property manager or final inspection, keep the goal practical. You want the blinds clean, even, dry, and operating properly.
A simple checklist helps:
| Problem | Best response |
|---|---|
| Dust on every slat | Vacuum first, then wipe |
| Patchy soap marks | Re-wipe with clean damp cloth, then dry |
| Sticky kitchen residue | Gentle repeated wiping, not heavy soaking |
| Minor bent slat | Straighten slowly by hand |
| Tangled cords | Untwist with tension released |
The safest rental strategy is controlled cleaning, not aggressive cleaning. That’s especially true with older aluminium blinds that already have a few weak spots.
Setting a Schedule and Knowing When to Call a Pro
A lot of blind cleaning blowouts happen the same way. You skip them for months, dust mixes with kitchen film or winter condensation, then you try to fix everything in one hard session and end up with streaks, bent slats, or swollen timber. A better result comes from using the same progressive system year-round. Quick maintenance when the blinds are only dusty, deeper cleaning only when the surface needs it, and extra care based on the material.
A realistic routine for Melbourne homes
Melbourne homes collect different grime in different seasons. Open windows bring in fine road dust and pollen. Cooler months can leave moisture sitting longer around the window, especially in bedrooms and older homes with less airflow.
Use this schedule as a workable baseline:
- Weekly: Dust blinds in the rooms you use every day. A light vacuum and microfibre pass is usually enough.
- Monthly: Spot clean marks and finger prints, especially in kitchens, living rooms, and windows facing traffic.
- Each season: Check the headrail, cords, and the outer slats for buildup. Deep clean only the blinds that show grime, grease, or residue.
- Before an inspection, rental handover, or guests: Clean the rooms that get the strongest light first. Afternoon sun shows every missed patch.
That approach keeps the job to 5 or 10 minutes most weeks instead of turning it into a half-day recovery clean.
When DIY stops being the smart option
Some jobs are still better left to a professional. Heavy kitchen grease, mould around the slats or ladder strings, water staining, brittle older aluminium, and timber blinds with finish damage all carry a higher risk if you keep scrubbing at home.
The trade-off is simple. DIY is fine for dust, light marks, and regular upkeep. Professional help makes more sense when the blind material is already vulnerable or the soil load is too heavy to remove with controlled wiping alone.
If you want a sense of how specialists handle those cases, this overview of top-rated blinds cleaning solutions is a useful reference. If the blinds are part of a larger reset, such as an end-of-lease clean or a full home refresh, it can also help to book broader cleaning services in Melbourne so the blinds are handled alongside the rest of the property.
A practical rule works well here. Call a pro when the blinds are delicate, heavily soiled, affected by moisture, or too numerous to clean carefully in one go. Replacing damaged blinds costs more than getting the tricky ones cleaned properly the first time.
If your blinds, carpets, upholstery, and high-traffic areas all need attention at once, Right Price Carpet Cleaning can help with practical, professional cleaning across Melbourne. We use powerful truck-mounted steam equipment, straightforward flat-rate pricing, and fast booking to make larger home and end-of-lease cleans easier to manage.
Recent Comments