



A small burn, a bleach spot, or a pet-damaged corner can make an entire room feel shabby. The frustrating part is that the rest of the carpet is often perfectly serviceable.
That’s where carpet patch repair earns its keep. When the damage is localised and the replacement piece is a true match, a patch can save the carpet and save you from replacing a whole room for one ugly mark. For renters in Melbourne, it can also be the difference between handing back a property with confidence and arguing over the condition report.
Fixing That Eyesore in Your Carpet
Individuals do not begin researching carpet patch repair out of curiosity for flooring techniques. They start because something went wrong.
A hot iron gets set down for a second too long. A pet tears at one doorway while you’re at work. A glass goes over and the stain sets darker than expected. Suddenly your eye goes straight to the one damaged spot every time you walk into the room.
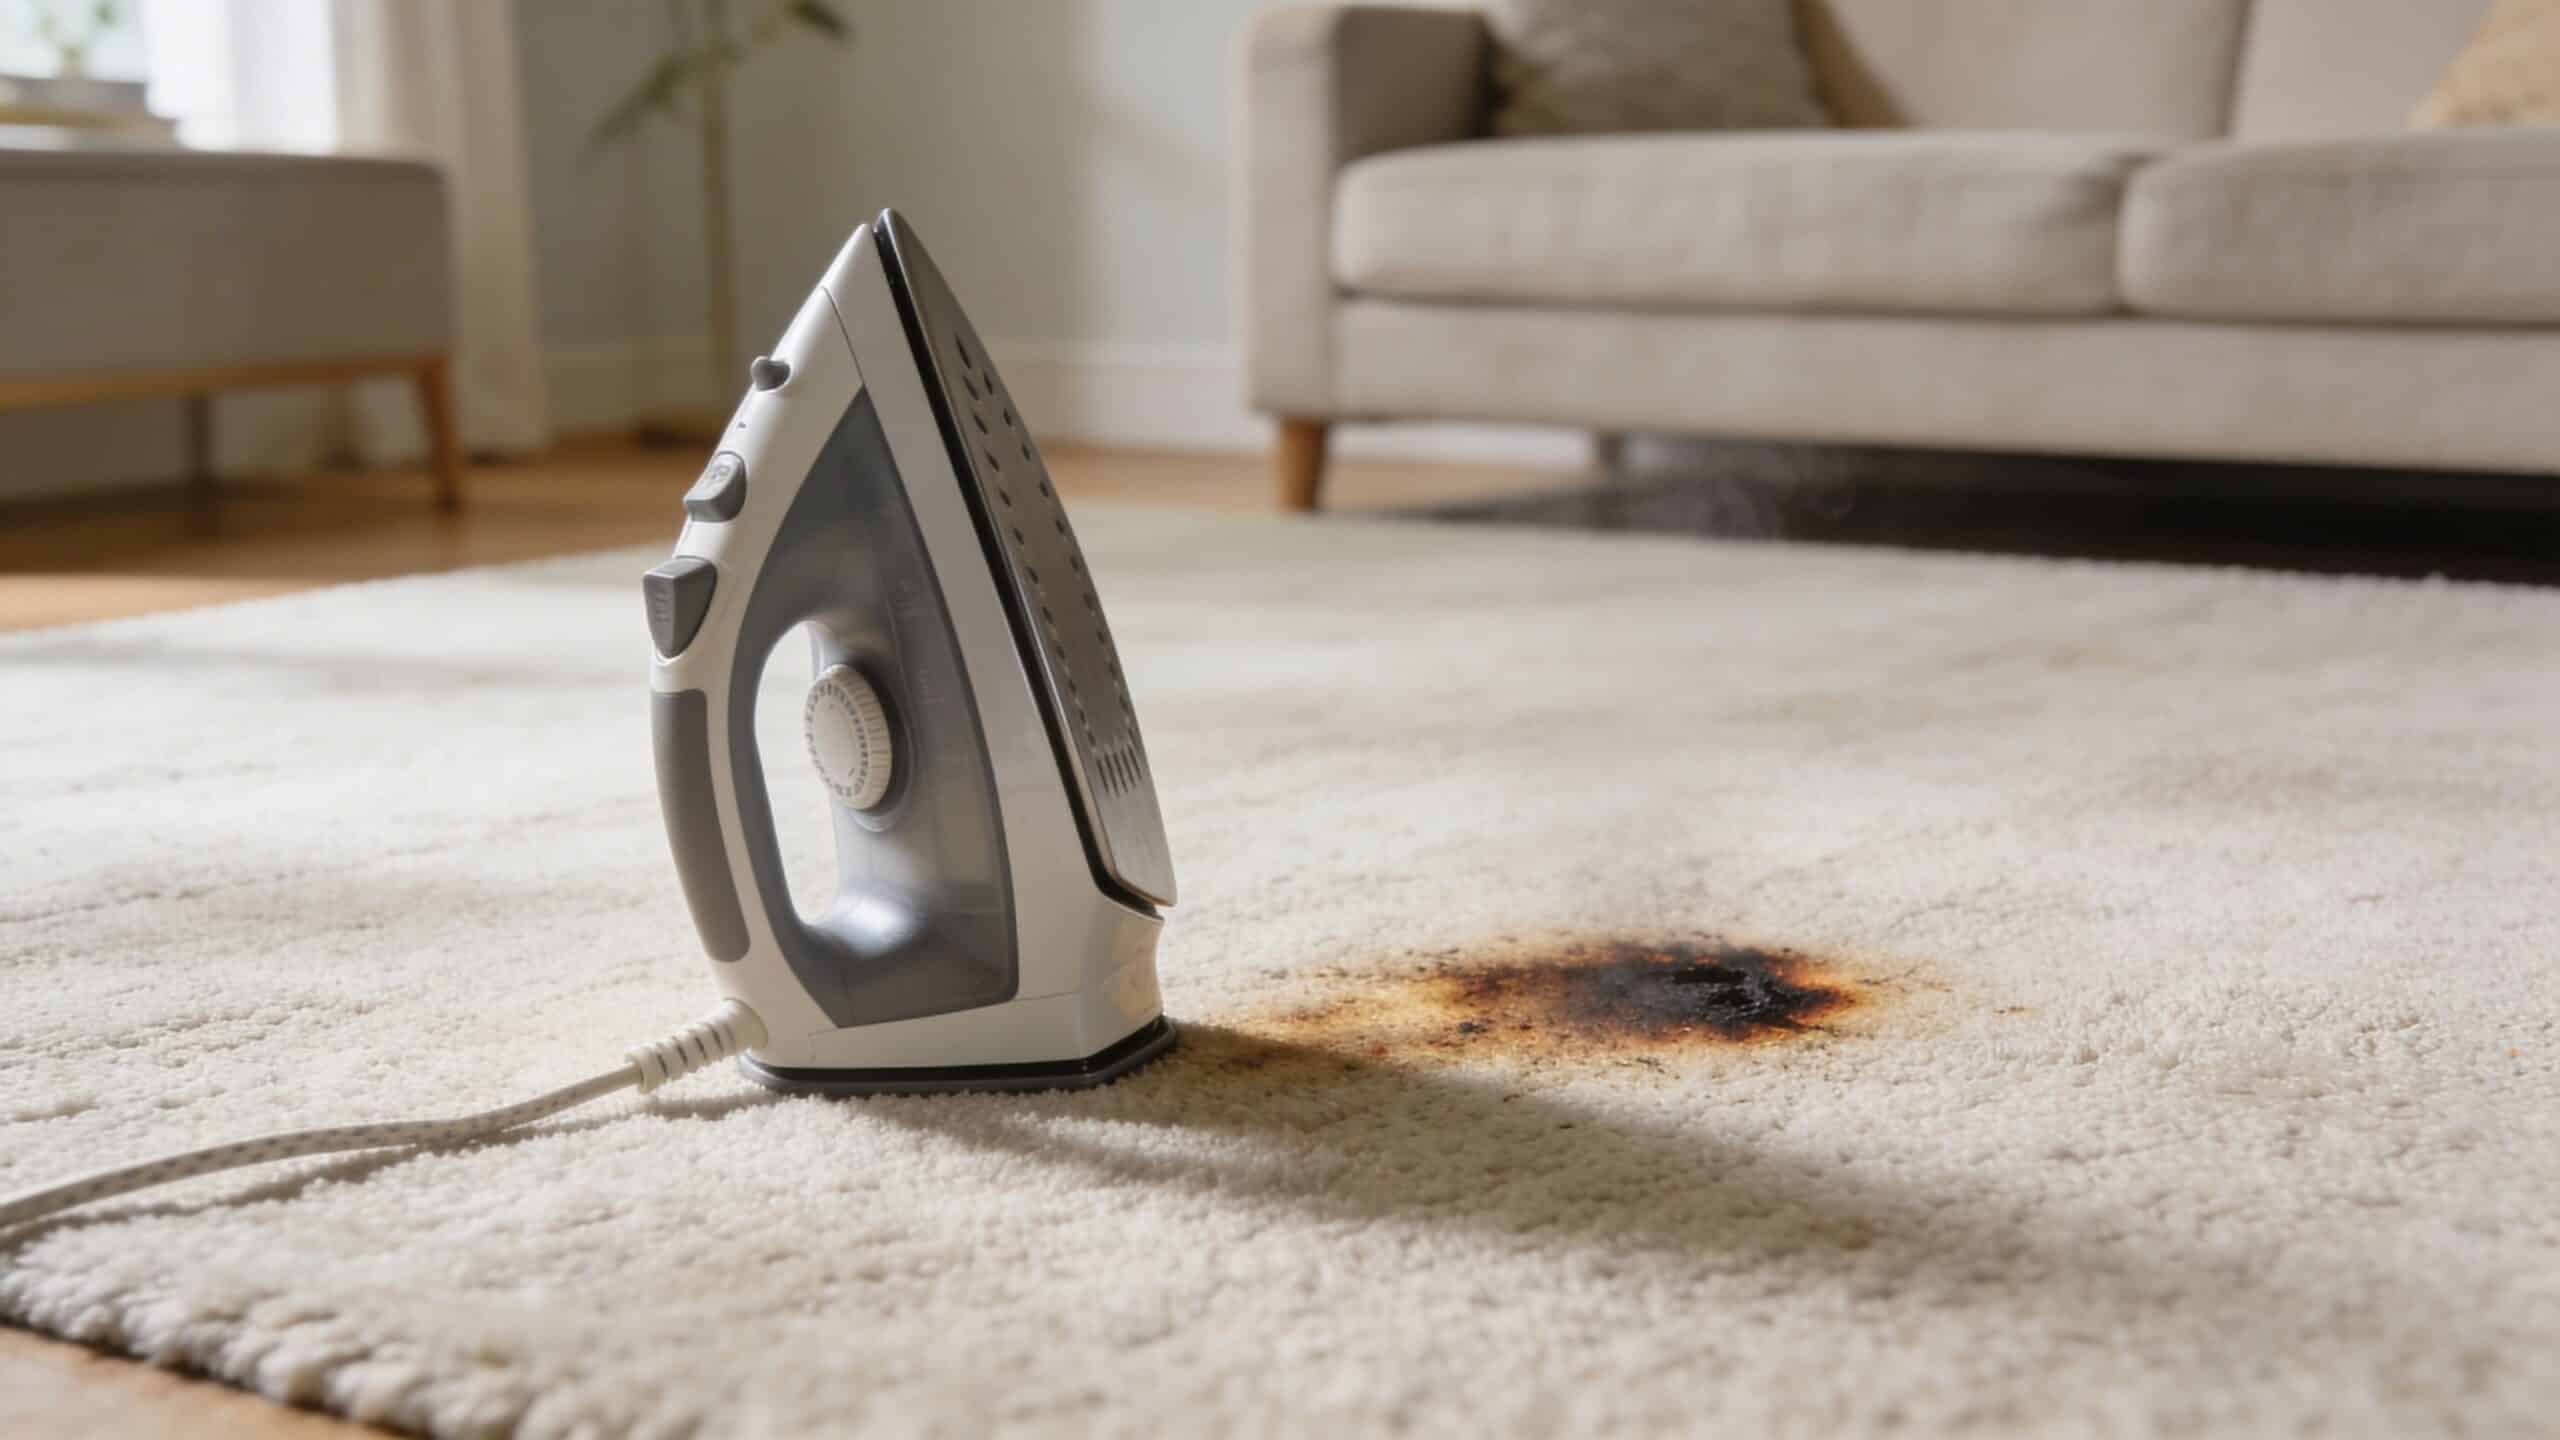
The good news is that localised damage is repairable. A neat patch can remove the damaged section entirely and replace it with matching carpet from a hidden area or an offcut. Done well, the repair blends in sufficiently that visitors won’t notice it. Done poorly, it stands out even more than the original damage.
This presents a critical choice. You can attempt the repair yourself, or you can decide the finish matters too much to risk. If the room is central, the carpet is valuable, or a rental bond is on the line, the decision gets more serious.
Practical rule: If the carpet is broadly sound and the damage is isolated, repair makes sense. If the carpet is worn out across the room, patching may only delay replacement.
If you’re unsure whether you’re dealing with a repair job or a carpet that’s already at the end of its run, this guide on the perfect time to replace your carpets is worth reading before you cut into anything.
Your Pre-Repair Checklist and Preparation
Preparation decides whether the patch will sit neatly or look like a rushed afterthought. Before any cutting starts, get clear on three things. What is damaged, where the donor piece will come from, and whether you have the right tools for the carpet in front of you.
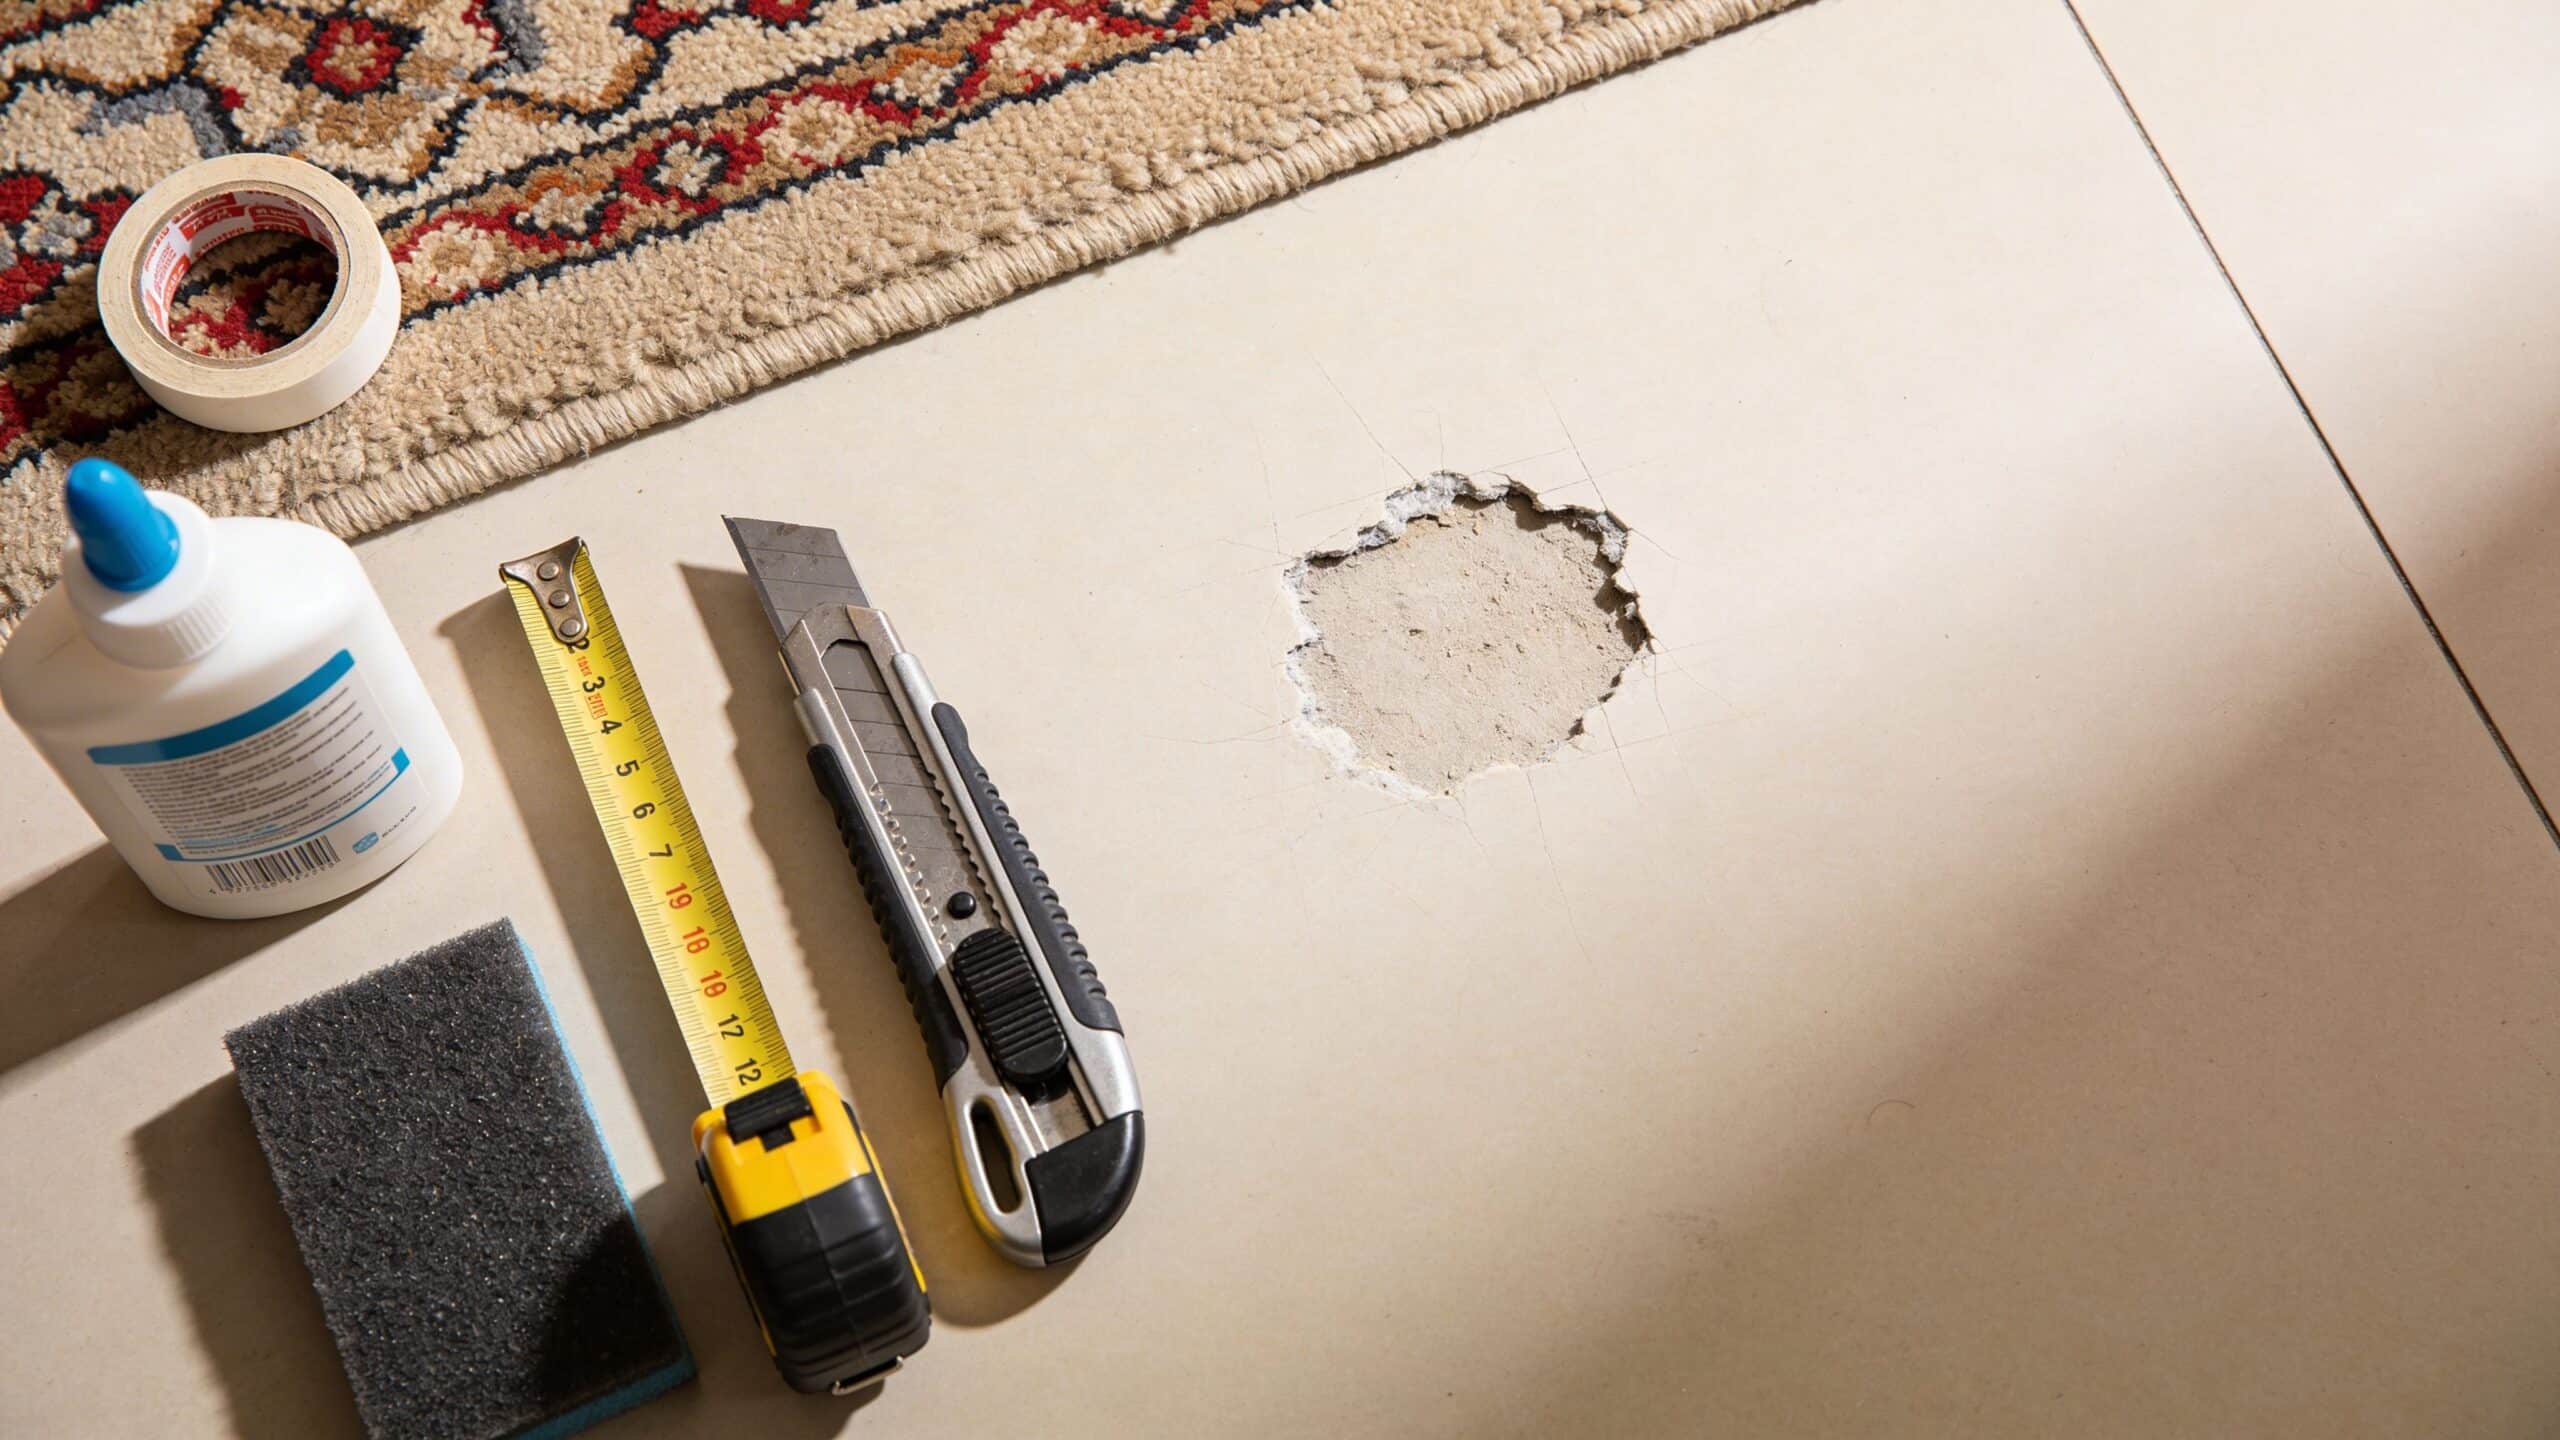
Check the damage properly
Not every blemish needs a patch. Some marks need stain treatment. Some wet areas need drying first. Some burns look small on top but have melted fibres deep into the backing.
Use this quick check before you commit:
- Surface only: If the fibres are stained but intact, try cleaning options first.
- Fibre destroyed: Burns, melted pile, bleach loss, and torn tufts point to patching.
- Underlay affected: If the damage has gone below the carpet backing, you may need to repair or replace part of the underlay as well.
- Moisture present: Don’t seal in dampness. If the area has been wet from a spill, leak, or flood event, dry it fully first. This practical guide on how to dry wet carpet fast is useful when the carpet still holds moisture and you need to avoid mould, odour, or adhesive failure.
A patch works best when the surrounding carpet is still stable. If the backing is brittle, the fibres are badly worn, or the carpet is loose and rippled, a patch alone may not solve the bigger problem.
Find the right donor piece
The donor patch is more critical than anticipated. Colour is only one part of the match. Pile direction, fibre type, texture, and wear level all matter just as much.
The best donor sources are:
| Donor source | Why it works | Main drawback |
|---|---|---|
| Inside a wardrobe | Hidden from view and often same batch | May be cleaner or less worn than the room |
| Under a bed or heavy furniture | Keeps colour and style consistent | Can be flattened from weight |
| Leftover offcut from installation | Best chance of exact match | Many homes no longer have one |
| Threshold edge under join strips | Sometimes usable for tiny repairs | Only suitable for very small patches |
A donor taken from the back of a robe looks perfect in your hand but slightly different once installed in a high-traffic walkway. That doesn’t always ruin the repair, but it does mean you need to compare the donor in the room under normal light before cutting.
Don’t judge a carpet match under one ceiling light at night. Check it in daylight and from the doorway where the eye naturally catches differences.
For wool blends and textured carpets, be even more cautious. Similar colours can still clash if the texture or nap is different.
Gather tools before you start
A rushed repair shows it. Lay everything out first.
You’ll want:
- Sharp carpet knife: A fresh blade gives cleaner vertical cuts. A dull one tears fibres and frays the edge.
- Cardboard or stiff template material: This helps you trace the exact shape and transfer it to the donor piece.
- Metal straightedge: Useful when the damaged section can be squared off neatly.
- Marker or chalk: For outlining the cut area and template.
- Tape measure: Needed for checking patch dimensions and donor coverage.
- Adhesive method: Adhesive disks, carpet glue, or seam tape depending on the repair.
- Seam roller or small hand roller: This presses fibres together and helps hide the join.
- Sharp scissors or nap shears: For trimming proud fibres after the patch is set.
- Vacuum cleaner: Final grooming matters. A vacuum helps lift and blend the pile.
Prep the area itself
Don’t work over grit. Vacuum first. If the carpet is soiled around the damaged spot, clean it before repair so you’re not matching a fresh donor piece against dirty surrounding fibres.
Also clear enough room to kneel and cut comfortably. Bad body position leads to bad cuts. When technicians rush in tight corners, they start angling the blade. That’s how gaps appear.
If you’re renting, take photos before you begin. If the repair is part of preparing for a final inspection, a record of the original damage and the work done can help if there’s any later dispute about condition.
Executing the Perfect Cut and Fit
This is the make-or-break stage. A patch doesn’t become hard because the idea is complicated. It becomes hard because the cutting has to be exact.
A patch is a fitted insert. If the removed section is ragged, oversized, angled, or out of line with the pile, the join will show no matter how carefully you glue it.
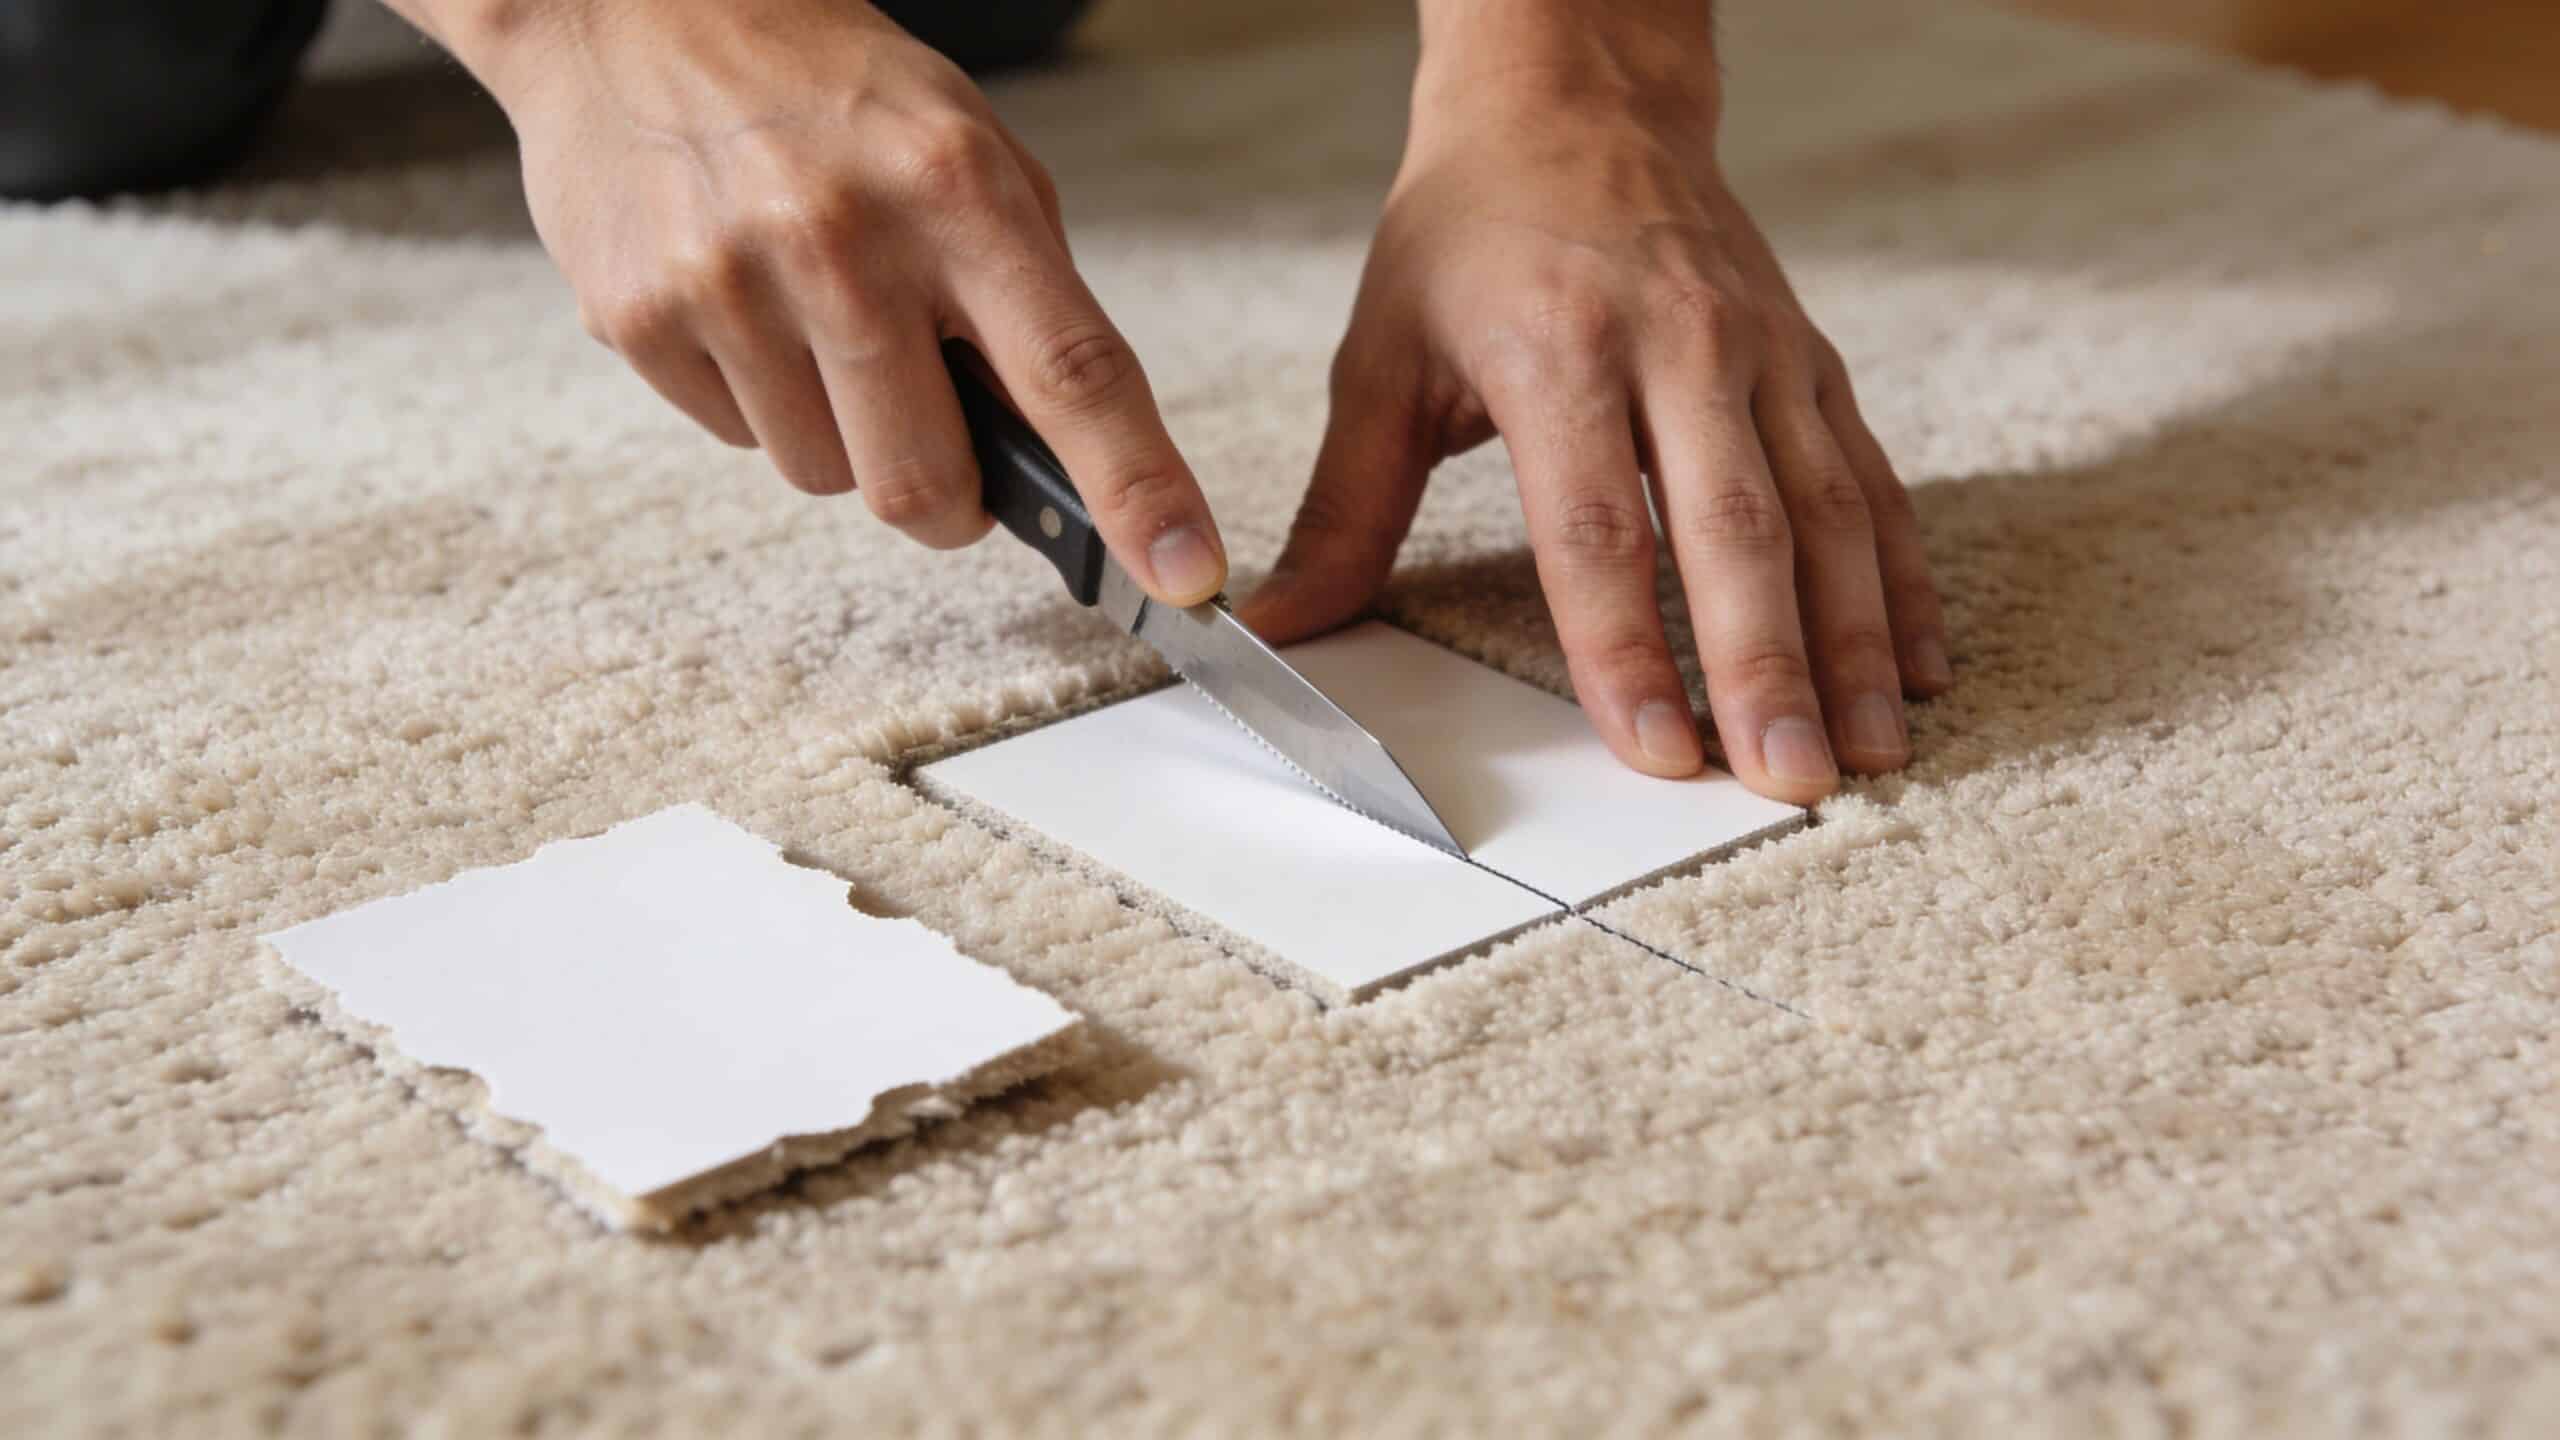
Professional results depend heavily on matching the pile and cutting cleanly. In Greater Melbourne, professional carpet patch repairs reach 85-95% invisibility when the pile matches, versus 40% for DIY attempts, and 70% of DIY failures in Australia stem from jagged cutting according to Masterful Carpet Cleaning’s carpet patching repair guidance.
Mark the repair area with intent
Do not merely trace the stain or burn line. Go slightly beyond the visible damage so the whole defective area is removed.
For irregular damage, make a template first. Cardboard is ideal because it holds shape and lets you repeat the outline exactly on the donor piece. If the damage is small and awkwardly shaped, the template prevents guesswork.
Use a shape that you can cut cleanly. A neat square or rectangle is easier to fit than a wobbly outline copied tightly around the damage. The goal isn’t to preserve every millimetre of old carpet. The goal is a cleaner final repair.
Cut straight down, not on an angle
Here, many DIY jobs falter. The blade needs to go straight down through the carpet, not under it on a slant.
A vertical cut gives you:
- Tighter edges
- A more accurate donor fit
- Less risk of shaving away surrounding fibres
- Better support from the backing around the repair
Angle the blade and the patch may fit at the surface but gap at the base, or jam at the base and sit proud at the top.
Work slowly. Short controlled cuts are safer and neater than trying to force one long pass. If you have to make more than one pass, follow the same line exactly. Don’t saw back and forth.
Clean cuts preserve the padding and keep the opening consistent. Once the opening is oversized, you can’t shrink it back.
Protect the underlay
The blade only needs to cut through the carpet backing. If you score deep into the underlay, the patch can sit unevenly or feel soft underfoot compared with the surrounding area.
One practical approach is to pinch the damaged section slightly as you cut so you can feel when the blade has gone through the backing. If you’re not experienced, that tactile feedback helps.
For very small repairs, some technicians prefer to work with the donor piece cut from the back side so the blade follows the backing more accurately. That can be especially helpful on carpets with a dense face that hides the cut line.
Transfer the exact shape to the donor piece
Place your removed damaged piece over the donor carpet or use the cardboard template. Then mark carefully.
Two rules matter here:
- Match the pile direction before marking.
- Cut the donor to the same dimensions, not “close enough”.
If you cut the donor oversize and try to trim it down by eye at the hole, you’ll chase the fit and make things worse. Precision belongs on the floor before glue ever appears.
Identify and match the nap
Pile direction, also called the nap or grain, is the single biggest visual issue in carpet patch repair. A perfect colour match can still look wrong if the pile runs the opposite way.
Use a few simple checks:
- Hand test: Stroke the carpet in two directions. One way will feel smoother.
- Light test: Look from a low angle. One direction appears slightly darker or lighter.
- Vacuum line clue: Existing traffic and vacuum marks can reveal the run of the pile.
- Arrow mark: Once you identify direction, draw an arrow on the back of both the original carpet and the donor piece.
If the donor patch is rotated even a quarter turn, many carpets will flash differently under light. That’s the type of mistake people notice from the doorway even if the seam itself is tidy.
Dry-fit before any adhesive
Set the donor piece into the opening without glue. It should drop in neatly and sit flush.
Look for:
| What you see | What it usually means |
|---|---|
| Patch won’t sit down | Donor is oversize or edges are angled |
| Visible gap on one side | Opening is oversized or donor undersized |
| Fibres push against each other | Cut line needs a slight clean-up |
| Colour seems off only from one angle | Nap direction is mismatched |
A good dry-fit needs one or two tiny adjustments. That’s normal. What you don’t want is repeated trimming all the way around. Once you start shaving every edge, the patch loses its shape and the gaps show later.
Know when to stop
There’s a point where DIY confidence becomes DIY damage. Stop and reconsider if:
- the donor piece doesn’t match in pile or texture
- the opening has become irregular after cutting
- the damage is in the middle of the room where every line shows
- the carpet is wool, loop pile, or otherwise unforgiving
- you’ve cut through more backing than intended
That pause can save the carpet. Many failed repairs don’t happen because patching is impossible. They happen because someone kept going after the fit was already compromised.
Seaming and Blending for an Invisible Finish
A neat cut means nothing if the seam is poorly bonded. This is the part that decides whether the patch stays flat, stays put, and disappears into the surrounding carpet.
For many small repairs, people choose between adhesive disks or glue and hot-melt seam tape with a seam iron. Both can work, but they behave differently and suit different carpets and skill levels.
Choosing the bonding method
Adhesive disks are common for small isolated repairs. They’re practical when you need a controlled bond under a compact patch and don’t want to bring heat into the job.
Seam tape with a seam iron is the stronger option for synthetic carpets. That matters because synthetic carpets hold an 80% market share in Australia, and for small repairs, using a seam iron with hot-melt tape yields a 92% success rate and outperforms tape-only methods by 30% in durability tests according to AG Carpet Specialist’s carpet patching repair benchmark.
If you’re working on synthetic carpet and you know how to control heat, seam tape is the cleaner professional route. If you don’t, it can also be the faster way to scorch fibres or create a weak bond.
Using adhesive disks or glue
With adhesive disks, the process is simple in theory. The disk sits underneath the opening, adhesive side positioned to bond the patch and surrounding carpet backing together.
A careful sequence matters:
- Place the disk so it fully spans the opening.
- Keep the adhesive where it belongs, on the backing and support area, not up in the face fibres.
- Lower the patch into place without twisting it.
- Press the edges evenly.
- Roll the seam so neighbouring fibres interlock visually.
Glue gives less forgiveness than people think. Too little and the patch lifts. Too much and it seeps upward, stiffens the pile, and catches dirt later. That shiny crust around a bad DIY patch is glue contamination in the face yarns.
The best bond is the one you don’t see. If adhesive is visible from above, the repair has already lost ground.
Be especially cautious if the carpet was recently damp. Moisture and adhesive don’t cooperate well in a patch repair.
Using seam tape and a seam iron
For synthetic carpet, this is the trade method because the bond is reliable when the temperature and pressure are right.
The basics are straightforward:
- Lay the hot-melt tape beneath the opening.
- Align the donor patch precisely.
- Heat the tape with an above-carpet seam iron.
- Press the patch into place.
- Roll the seam while the adhesive is still workable.
- Leave it undisturbed while it sets.
The important technical point is temperature control. The optimal iron temperature is 120-150°C, and under-heating causes 35% of bonding failures in this method, as noted in the same AG Carpet Specialist benchmark above.
That means there are two distinct risks. Heat too little and the tape won’t bond properly. Heat too much and synthetic fibres can distort or scorch. Nylon is especially unforgiving once you push the heat too far.
Blending the seam so it disappears
The join always looks more obvious before blending. That’s normal.
After the patch is bonded:
- Trim protruding tufts: Use sharp scissors or nap shears to remove fibres that stand above the surrounding pile.
- Roll the seam: A seam roller or spiked roller helps mesh the fibres from both sides of the join.
- Brush the area: A stiff but suitable brush lifts the pile and softens the seam line visually.
- Vacuum lightly: This helps settle and align the repaired area with the surrounding field of carpet.
If you’ve ever seen a patch that looked perfect from one side and obvious from another, blending was skipped or rushed. The fibres need grooming from several angles under normal room lighting.
Common finishing mistakes
A lot of “good enough” repairs fail in the last ten minutes.
Here are the mistakes that stand out most:
- Rushing cure time: Walking on the patch too soon can shift the seam.
- Ignoring proud edges: Even a slight lip catches light and draws attention.
- Leaving loose tufts: They make the patch look fuzzy and unfinished.
- Skipping final grooming: The seam may be bonded well but still look abrupt.
A proper finish is subtle. You shouldn’t see glue, ridges, frayed cuts, or a hard square outlined in the middle of the room. You should see carpet.
Understanding the Cost of Carpet Patch Repair: DIY vs Pro
The cheapest option on paper isn’t always the cheapest outcome. That’s especially true with carpet patch repair.
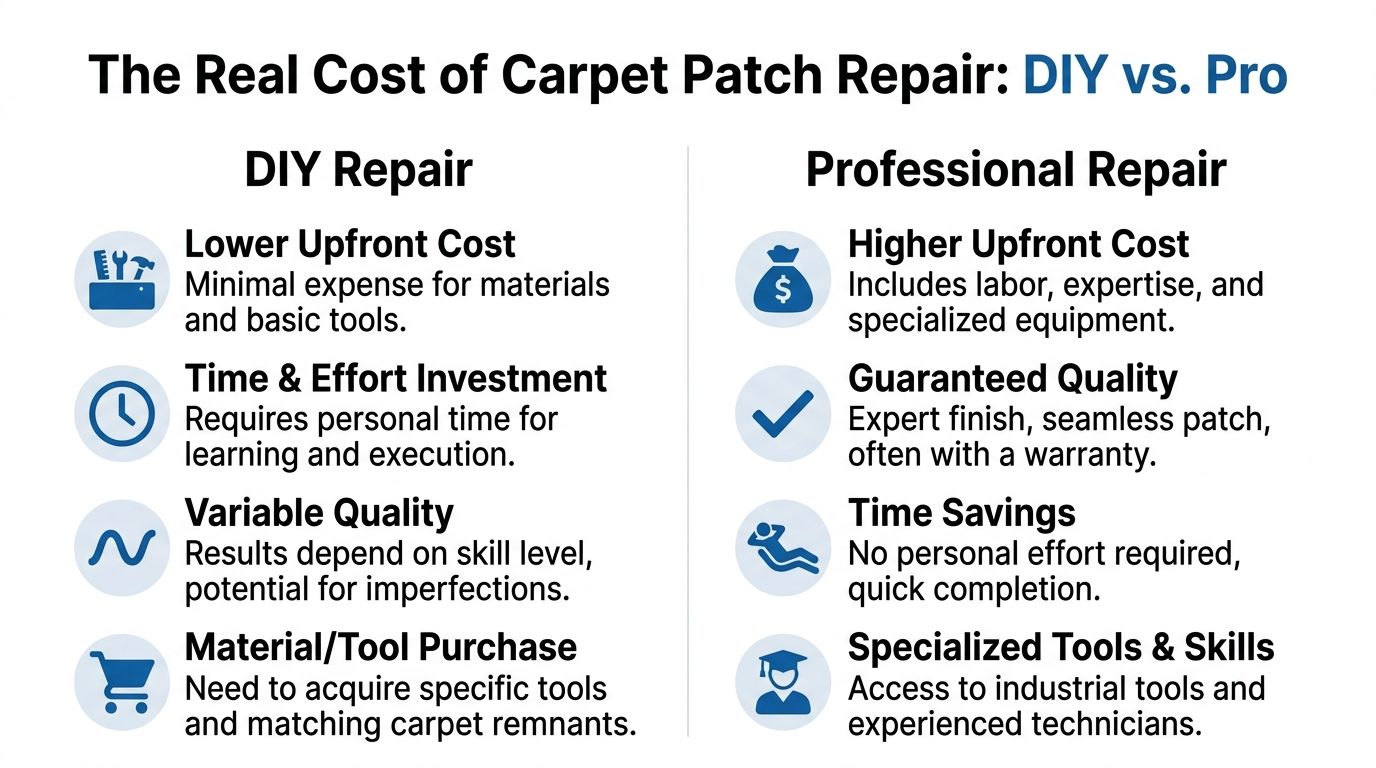
DIY looks attractive because the starting spend is low. You buy materials, put aside some time, and hope the repair disappears. Sometimes it does. Sometimes it turns into a visible patch, then a second repair, then an anxious rental inspection.
The DIY number isn’t the whole number
A patch kit price doesn’t include the rest of the job. You may still need a sharp carpet knife, a roller, trimming scissors, adhesive, and a donor piece that matches.
Then there’s your time. Not just the time spent kneeling on the floor, but the time spent learning pile direction, testing the fit, re-cutting, cleaning up, and second-guessing whether the repair will pass inspection.
For owner-occupiers, a mediocre patch can be an annoyance you live with. For renters, it can become a dispute.
According to This Old House’s guide to patching carpet, many DIY guides focus on the low upfront cost while missing the hidden financial risks for renters in Australia, where a failed patch can trigger disputes over property condition and potential bond deductions.
A practical comparison
| Option | What you gain | What you risk |
|---|---|---|
| DIY patch | Lower upfront spend, direct control over timing | Visible result, wasted materials, professional remediation later |
| Professional repair | Skilled finish, less effort, stronger chance of a discreet result | Higher upfront spend than DIY |
That middle column matters less than the right-hand one when a final inspection is near.
A visible patch costs twice. Once when you buy the materials, and again when someone has to fix the failed repair.
Renters need a stricter standard
In a rental, “better than before” isn’t the test. The concern is whether the repair looks acceptable on inspection and whether the agent or owner sees it as competent restoration rather than damage disguised with a patch.
Thus, the calculation extends beyond materials versus labour. It’s also:
- Will the repair stand out in photos or under inspection lighting?
- If it fails, can the carpet still be repaired cleanly afterward?
- Will a visible patch weaken your position in a bond discussion?
If you’re budgeting the broader clean-up before vacating, this guide on how much carpet cleaning costs helps put patch repair into the wider end-of-lease spend.
What homeowners should factor in
Homeowners have more flexibility, but the logic is similar. If the patch sits in a quiet study under a desk, DIY may be worth the attempt. If it sits in the centre of the lounge, every shortcut remains on display every day.
The emotional cost is real even if it doesn’t show on an invoice. People spend money on flooring because they want the room to feel finished. A poor patch keeps reminding you where the mistake happened.
That’s why the best financial decision comes down to visibility and consequence. If the room matters and the finish matters, low upfront cost stops being the best metric.
When Professional Carpet Repair is Your Best Bet
Some carpet patch repairs are suitable for a careful DIY attempt. Others are jobs where professional help is the smarter decision.
That’s not because every patch is highly technical. It’s because the cost of a visible mistake can outweigh the savings very quickly.
In Greater Melbourne, professional small-area carpet patch repair typically ranges from AUD $100 to $300, and that’s 70-80% cheaper than full-room replacement, which can exceed $2,000, according to Modernize’s carpet repair cost guide. For a localised burn, stain, or pet-damaged spot, that price gap is often the clearest argument for getting the repair done properly the first time.
The situations where DIY stops making sense
Professional repair is the better call when the damage is:
- In the middle of the room: Central patches attract attention from every angle.
- On a premium carpet: Wool, patterned carpet, and textured loop pile don’t forgive casual cutting.
- Oddly shaped or larger than expected: Irregular damage takes more skill to template and blend.
- Near joins, thresholds, or stairs: These areas already have visual lines and movement.
- Missing a donor piece: Without matching material, the repair gets harder fast.
There’s also a practical market reason patching is so common. In Melbourne, demand for patching surged by 25% between 2015 and 2025, driven by end-of-lease cleans where burns and pet damage regularly come to light in the final tidy-up, according to the same Modernize source above.
End-of-lease is its own category
Rental properties deserve their own decision rule. If you’re close to vacating, your patch isn’t being judged kindly. It’s being judged closely.
That means the repair needs to be flat, secure, and hard to pick from surrounding carpet under normal inspection conditions. If you’re planning the broader vacate checklist, this guide to end of lease cleaning in Melbourne is useful because carpet condition sits alongside walls, appliances, bathrooms, and windows in the final handover standard.
A failed end-of-lease patch also creates a timing problem. You may not have enough time left to organise a correction before key return.
How to choose help wisely
Not every contractor handles carpet repairs with the same care. Ask direct questions.
Look for:
- Experience with patching, not just cleaning
- A clear process for donor matching
- Proper seaming tools
- Honest advice if the carpet is too worn for a worthwhile patch
- Transparent pricing and communication
If you’re comparing providers, this guide on how to choose a professional carpet cleaner gives a good framework for screening service quality before you book.
A professional repair is the best bet when the carpet matters, the room is visible, or the property handover has consequences. The upfront spend is predictable. The finish is stronger. The stress is lower.
If you want a neat, cost-effective carpet patch repair in Melbourne without the guesswork, Right Price Carpet Cleaning is a practical place to start. They’re a family-owned local team with experience in carpet care across homes, rentals, and commercial spaces, and they can help you decide whether a patch repair is the right fix or whether a broader carpet solution makes more sense.
Recent Comments