



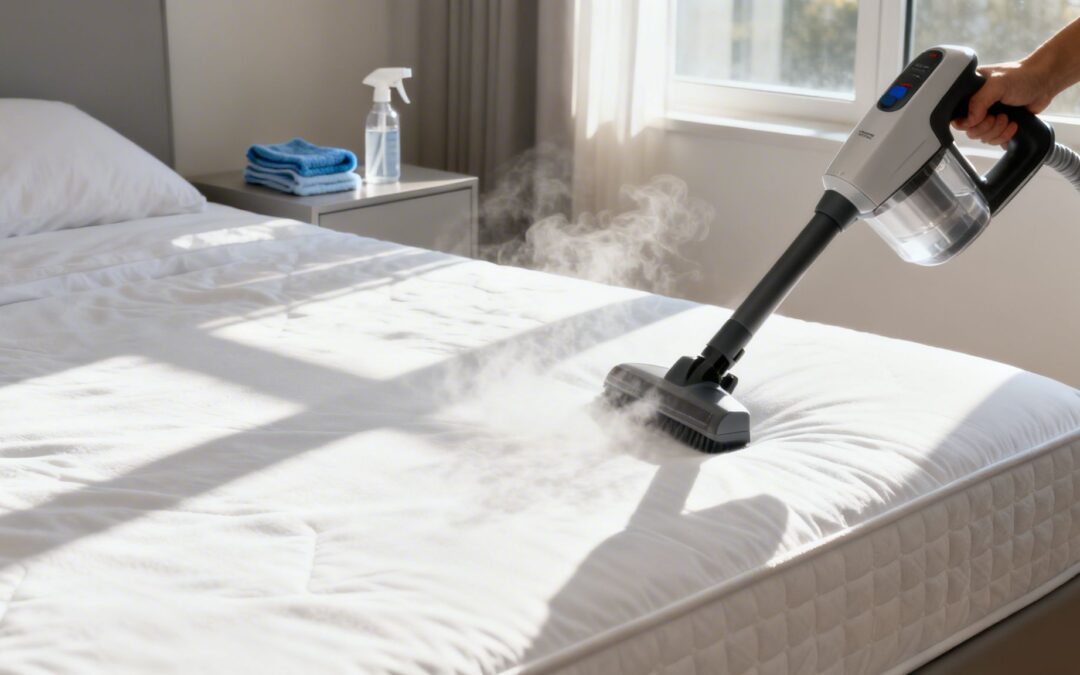
If you've ever wondered whether you can steam clean your mattress, the answer is a definite yes. In fact, it's one of the most effective ways to truly sanitise your bed. This method goes far beyond what a vacuum can do, using high-temperature steam to kill germs, break down grime, and get rid of odours without relying on harsh chemicals.
Why You Need to Steam Clean Your Mattress
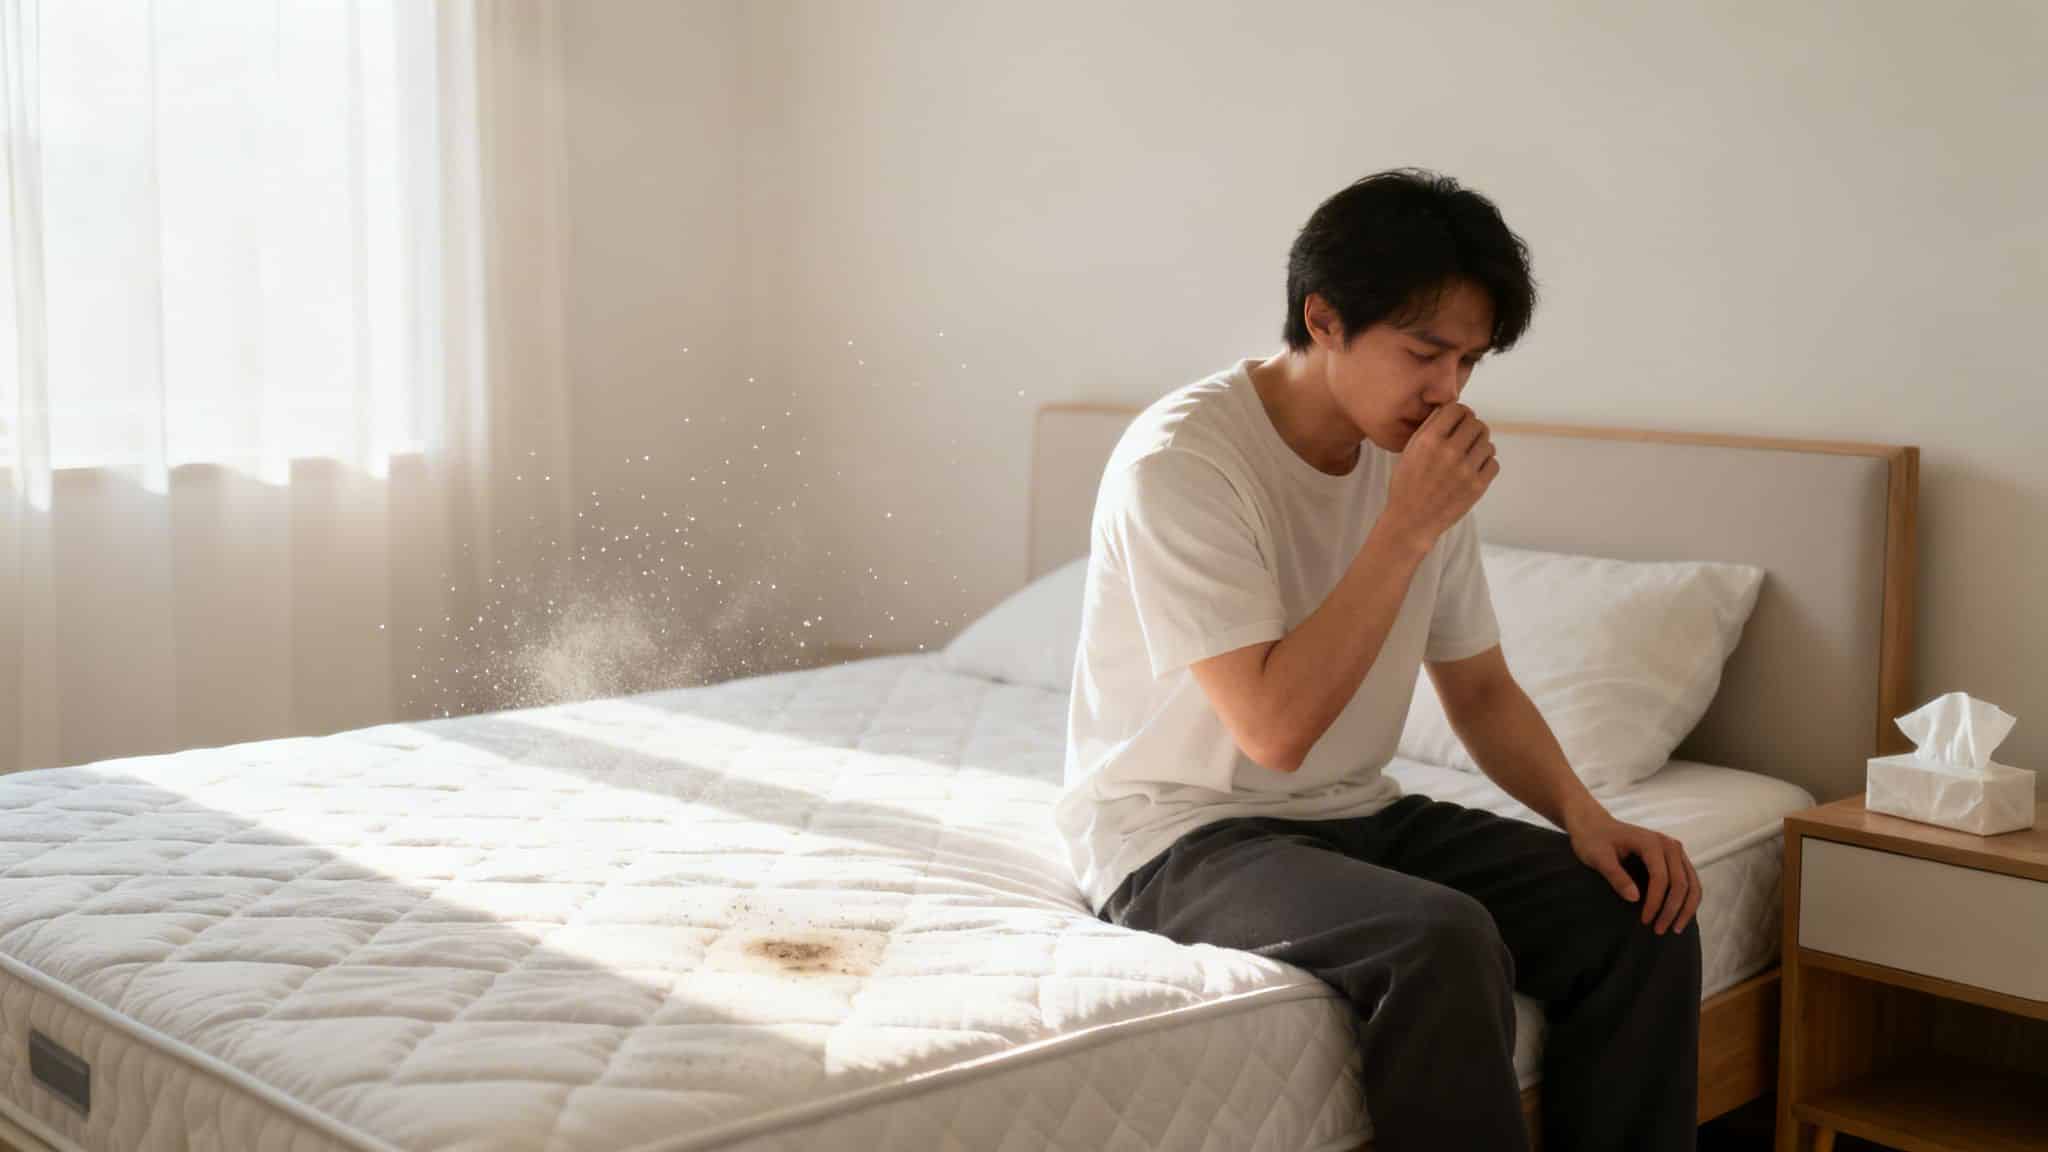
Do you find yourself waking up with a stuffy nose or itchy eyes? Maybe you've noticed a faint, musty odour or stubborn discolouration on your mattress that spot cleaning just won't shift. These aren’t small annoyances—they're clear signs your mattress is home to millions of microscopic guests you’d rather not have.
While regular vacuuming is a good first step, it only picks up surface-level stuff like hair and loose dirt. It does almost nothing to tackle the microscopic world thriving deep inside the fibres of your bed. This is where the real power of steam cleaning shines.
Beyond a Surface-Level Tidy
It helps to think of your mattress as a giant sponge. Over months and years, it absorbs a shocking amount of biological material that you can't see.
- Sweat and Body Oils: We lose about half a litre of sweat every single night, which soaks right through our sheets and into the mattress.
- Dead Skin Cells: The average person sheds more than enough skin to feed millions of dust mites—their favourite food.
- Dust Mites and Allergens: These tiny pests and their waste are a primary trigger for allergies and asthma.
- Bacteria and Viruses: Your mattress can easily become a breeding ground for germs, especially if you've been unwell.
A standard vacuum just can't get to these deeply embedded contaminants. To properly sanitise where you sleep, you need a method that penetrates the fabric and kills germs right at the source.
Steam cleaning isn't just about making your mattress look clean. It’s about making it hygienically clean, using water heated past its boiling point to destroy 99.9% of bacteria, allergens, and other microorganisms on contact.
While a quick vacuum helps with surface dust, it doesn't stand a chance against what's lurking deep inside your mattress. Let's compare the two methods side-by-side.
DIY Vacuuming vs Professional Steam Cleaning
| Feature | DIY Vacuuming | Professional Steam Cleaning |
|---|---|---|
| Allergen Removal | Removes surface dust only. Leaves dust mites and their waste behind. | Kills 99.9% of dust mites, bacteria, and allergens with high-temperature steam. |
| Stain Treatment | Ineffective on set-in sweat, oil, and other bodily fluid stains. | Breaks down and lifts deep-set biological stains and odours. |
| Sanitisation | No sanitising effect. Simply removes loose debris from the top layer. | Sanitises deep within the mattress fibres, neutralising germs and viruses. |
| Odour Control | May temporarily reduce odours, but doesn't remove the source. | Eliminates odour-causing bacteria for a genuinely fresh result. |
| Equipment | Standard household vacuum cleaner. | Commercial-grade steam extractors that heat water over 100°C. |
As you can see, professional steam cleaning delivers a level of cleanliness that basic home methods simply can't match, ensuring a healthier sleep environment.
The Power of High-Temperature Vapour
Dust mites are a huge problem in Australian bedrooms, and professional steam cleaning is easily the most effective way to deal with them. Local data shows that a single mattress can house up to 2 million dust mites after just one year, and their allergenic waste is a known asthma trigger for 30% of affected Victorians. Here at Right Price Carpet Cleaning, we use professional equipment that heats steam to well over 100°C to completely eradicate these pests—something that’s vital in Melbourne's humid climate where mites multiply so quickly.
For anyone struggling with the sniffles or allergies, learning how to maintain an allergy-friendly bedding environment can be a real game-changer, and steam cleaning is the cornerstone of that strategy. By eliminating the root cause of these allergens, you aren't just cleaning; you're investing in better respiratory health and a more restful night's sleep. And if dust is a constant battle in your house, you might find our guide on how to control dust in your home helpful for creating a healthier living space overall.
Preparing Your Mattress for a Deep Steam Clean
The secret to a brilliant steam clean isn't just about the machine itself. It’s all in the prep work. We’ve seen firsthand how skipping these initial steps can lead to a disappointing result, or even worse, lock in stains and odours for good.
Think of it this way: you wouldn't paint a wall without cleaning it first. The same principle applies here. Taking the time to properly prepare the surface ensures the steam can get deep into the mattress fibres and do its job—sanitising from the inside out.
First things first, strip the bed completely. That means everything—sheets, quilt, mattress toppers, and protectors. Get all your bedding into the wash on the hottest cycle the care labels allow. This helps kill off any dust mites and bacteria that have made a home there.
The Critical First Pass with a Vacuum
With the mattress bare, it’s time to grab your vacuum. Don't be tempted to give it a quick once-over. This is your only chance to pull up all the loose dust, dead skin, hair, and other debris that will turn into a sludgy mess the second steam hits it.
Use your vacuum’s upholstery attachment. The bristles on this tool are designed to agitate the fabric, lifting stubborn particles that are clinging to the fibres. Work methodically across the entire top surface, and pay extra attention to the seams, tufts, and crevices—that’s where grime loves to hide. Don't forget the sides, either.
A meticulous vacuuming job is non-negotiable. It removes the top layer of dirt, allowing the hot vapour to penetrate deeper into the mattress fibres for a true, hygienic clean instead of just steaming surface-level grime into the fabric.
Targeting Stains Before You Steam
Now, let's deal with any spots or stains. This step is crucial. Hitting certain stains—especially biological ones like sweat, urine, or blood—with high heat can essentially “cook” the proteins into the fabric, making them almost impossible to remove later. Pre-treating is your best defence.
Different stains call for different tactics. A great all-rounder for general stains is a simple mix of equal parts white vinegar and water in a spray bottle.
- For Sweat and Yellowing: A light mist of the vinegar and water solution will do the trick. Don't saturate it.
- For Oily Stains: Cover the spot with a generous layer of baking soda. Let it sit for at least an hour to draw out the oil, then vacuum it up thoroughly.
- For Fresh Spills: Your motto here is blot, don't rub. Use a clean, dry microfibre cloth to soak up as much of the spill as you can before you treat it.
Once you've applied your pre-treatment, gently blot the area with a fresh, clean cloth. Your aim is to lift the stain out, not push the cleaning solution deeper into the mattress. If you're dealing with a particularly stubborn spot, you can learn more about how to clean a mattress stain in our dedicated guide.
Your Essential Prep-Work Checklist
Getting your gear together before you start makes everything run a lot smoother. Trust me, you don't want to be hunting for a cloth while a pre-treatment solution is soaking in. Before you steam clean your mattress, have these items ready and within arm's reach:
- Vacuum Cleaner: Make sure it has a clean filter and the upholstery brush attachment.
- Microfibre Cloths: You’ll need a few clean, dry ones for blotting.
- Spray Bottle: For applying your pre-treatment solutions lightly and evenly.
- Pre-Treatment Solution: Your vinegar-and-water mix, or a store-bought enzyme cleaner for protein stains.
- Baking Soda: A fantastic natural deodoriser and a must-have for oily marks.
With the vacuuming and spot-treating done, you’ve laid the perfect groundwork. Your mattress is now officially ready for the main event—a deep, sanitising steam clean that will leave it feeling fresh and genuinely clean.
Alright, with your mattress prepped, it's time to get to the main event: the steam cleaning itself. This is where we use hot vapour to lift out all that grime and sanitise the surface you sleep on every night. The secret here is all in the technique. The most common mistake we see is people getting the mattress too wet, so a slow, methodical approach is everything.
Think of it like mowing a lawn. You wouldn’t just go in random zig-zags; you work in neat, overlapping rows to make sure you cover every single patch. We’ll apply that same logic here to steam clean your mattress safely and get the best result.
Before you even turn the steamer on, let’s quickly recap the prep work. Getting this right is non-negotiable for a good clean.
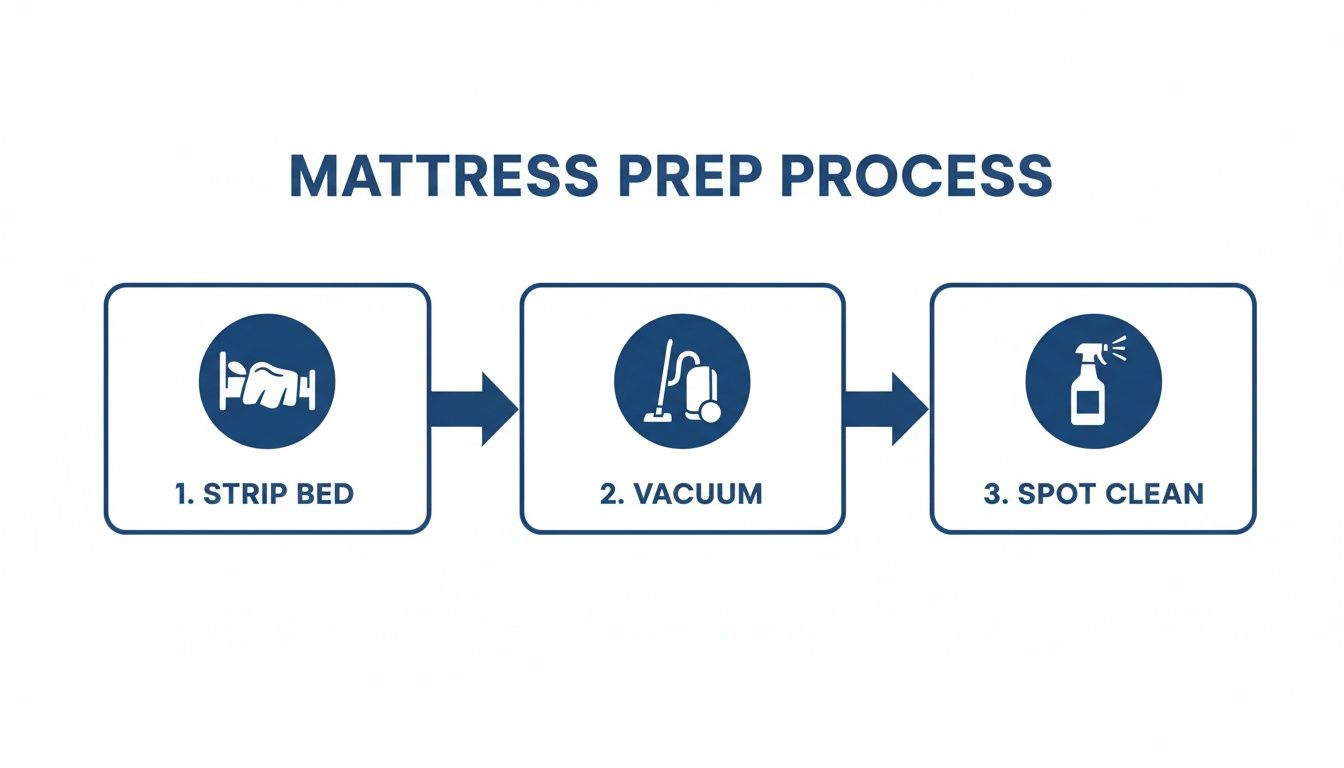
Stripping the bed, giving it a thorough vacuum, and hitting any obvious spots first are the foundations for a successful steam clean.
Mastering The Steam Cleaning Technique
First things first, make sure your steam cleaner is fully heated and ready to go. If it’s not hot enough, you’re just spraying warm water everywhere, which is a recipe for mould and mildew. You need a consistent jet of high-temperature steam.
Hold the nozzle or upholstery attachment a few centimetres away from the mattress surface. Don’t ever press it directly onto the fabric. You want the hot vapour to penetrate and do the work, not to drench the material with water. This gap lets the heat kill germs without soaking the core.
Start at a top corner and move in slow, deliberate strokes. Work your way from top to bottom, then shift over and go from bottom to top, just like that lawnmower pattern. A grid-like approach is the only way to guarantee you’ve covered the entire surface.
Expert Tip: Slow and steady wins the race here. A light touch with slow passes is far more effective than blasting one spot with steam. The heat needs a moment to work its magic, and rushing won't give it enough contact time to properly sanitise.
Once the top is done, don't forget the sides. Use the same slow, overlapping passes to clean all four vertical surfaces. These are high-touch areas that collect a lot of skin oils and dirt from hands and bedding, so they need just as much attention.
Critical Safety And Equipment Advice
Using the right gear and keeping safety in mind is just as important as the cleaning technique. Not all steamers are suitable for this job, and the wrong one can be useless or even damage your mattress.
- Choose the Right Attachment: Always use a wide upholstery or fabric attachment. Never, ever use a concentrated jet nozzle. It will blast way too much moisture deep into the mattress.
- Mind Your Mattress Type: Most traditional innerspring mattresses handle steam just fine. But be extremely careful with memory foam or latex. These materials are like giant sponges and can trap moisture, leading to mould. Always check the manufacturer's care tag first. If it warns against moisture, do not steam it.
- Keep a Safe Distance: Steam is incredibly hot—often well over 100°C. Keep your hands, face, and any pets or children far away from the nozzle.
- Never Leave the Steamer Unattended: It’s a basic appliance rule, but it bears repeating. An unattended steamer is a serious burn and fire hazard.
The principles of gentle moisture control are pretty universal in fabric care. For instance, the techniques used for cleaning wool rugs also stress the importance of not over-wetting delicate fibres, which is a great lesson to apply here.
Managing Moisture During The Process
The single biggest risk when steam cleaning a mattress is leaving it too wet. A damp mattress is a perfect breeding ground for mould and mildew, which completely defeats the purpose of cleaning it in the first place. Remember, you’re cleaning with heat, not water.
If you start seeing water beading on the surface or the fabric looks soaked, you're either moving too slowly or using too much steam. Stop immediately. Grab a clean, dry microfibre cloth and blot the area firmly to absorb as much of that excess moisture as you can.
A professional service like ours uses truck-mounted machines with powerful vacuums that extract moisture as we clean, which is why our drying times are so much faster. When you're doing it yourself, you have to be extra careful not to introduce too much water to begin with. Many of the same rules for moisture control apply when you steam clean upholstery, so those tips might come in handy too.
By following this methodical approach and using a light touch, you can confidently kill germs and remove allergens without creating a bigger problem. Now, let’s talk about the final—and most important—step in the process.
The steamer is off, the grime is gone, and your mattress looks fresher already. It's tempting to think the job is done, but what comes next is arguably the most crucial part of the whole process.
If you don't get the drying phase right, you can undo all your hard work. A poorly dried mattress can quickly turn from clean and fresh to a musty, unhealthy mess.
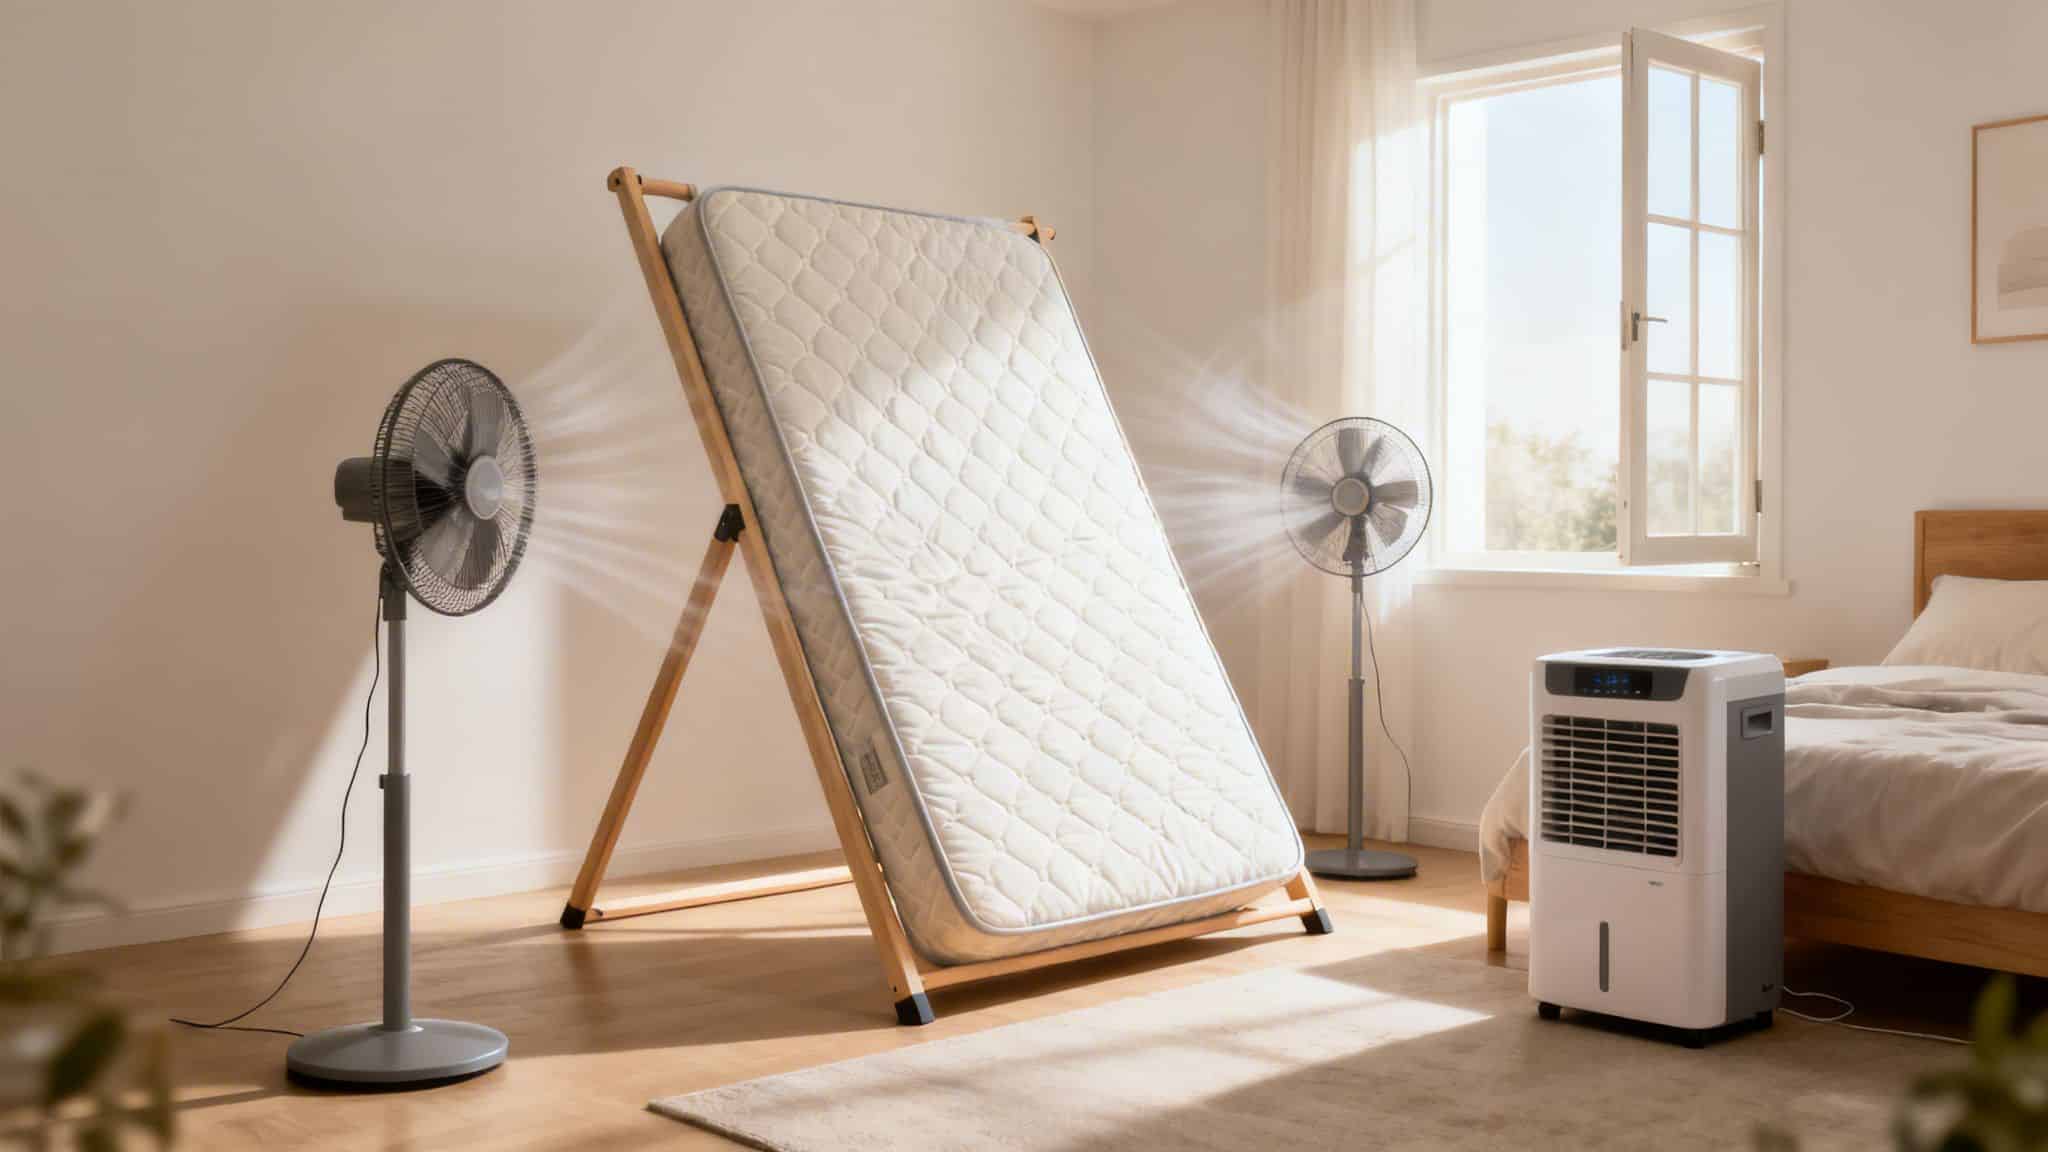
Any moisture left trapped deep inside the mattress fibres is a perfect invitation for mould and mildew. Here in Melbourne, with our often-humid climate, that risk is even higher. Taking the time to dry your mattress completely is non-negotiable—it’s what locks in that sanitised result.
Think of it this way: steam cleaning removes the bad stuff, but proper drying prevents new bad stuff from growing. A damp mattress is a health hazard waiting to happen, so airflow is your absolute best friend.
Creating the Ideal Drying Environment
Your main goal here is to maximise air circulation around every single surface of the mattress. Just leaving it flat on the bed base is the absolute slowest way to dry it, as this traps all the moisture underneath. You'll need to get a bit creative to speed things up.
The best approach is to prop the mattress up so air can circulate on both the top and bottom. Stand it on its side against a clean wall, or even better, lean it against a couple of sturdy chairs to create a sort of "A-frame." This exposes the maximum surface area to the air.
- Open Windows Wide: If you can, get a cross-breeze going by opening windows on opposite sides of the room. Fresh air is your best tool for carrying moisture away.
- Bring in the Fans: Position at least two fans to blow air across the surfaces of the mattress, not directly at it. This creates a gentle, consistent flow that helps with evaporation without just pushing moisture deeper.
- Use a Dehumidifier: Got a dehumidifier? Now’s the perfect time to fire it up. Running one in the room will actively pull moisture out of the air, which can dramatically cut down your drying time, especially on a damp Melbourne day.
Checking for Dryness and Setting a Timeline
So, how long does it take for a mattress to dry after you steam clean it? Patience is a virtue here. A realistic timeline is anywhere from 6 to 8 hours, but don't be surprised if it takes longer, depending on the humidity and how much air you can get moving.
The "touch test" is a simple but reliable way to check your progress. Grab a clean, dry paper towel and press it firmly onto a few different spots on the mattress. Pay special attention to the tufted areas or seams, as moisture loves to hide there. If the paper towel picks up any dampness at all, it’s not ready.
Keep the drying process going, and try to reposition the fans every hour or so to hit different spots. Don't stop until that paper towel comes away completely dry. Even when the surface feels dry to your hand, a little extra time is always a good idea to make sure the core isn't still damp.
Rushing this final step is the most common mistake we see people make. Don't even think about remaking the bed until you are 100% certain it's bone-dry. Sleeping on a slightly damp mattress isn't just uncomfortable; it risks introducing new bacteria and odours—the very things you just worked so hard to get rid of.
You've learned the steps to steam clean a mattress, but here’s the million-dollar question: should you actually do it yourself? Being honest about this can save you a world of time, money, and frustration. It really just comes down to taking a realistic look at the job in front of you.
A DIY steam clean can be a great choice in the right situation. If you’re just aiming for a light, seasonal refresh to clear out some dust and keep things feeling hygienic, a good quality rental or even a garment steamer can definitely help. It’s also handy for tackling a minor, fresh spill that hasn’t had a chance to set deep into the mattress fibres.
But a DIY approach has its limits. This is where you need to weigh the potential results against the effort and risk.
When a DIY Job Makes Sense
There are certainly times when tackling the task yourself is perfectly fine. Consider giving it a go yourself if you're dealing with:
- A Light Seasonal Refresh: Every six months or so, a light steam can help neutralise minor odours and reduce allergens on the surface.
- A Very Minor, Fresh Spill: Spilt a bit of water or tea and blotted it up straight away? A quick steam can help sanitise the immediate area.
- You Have the Right Gear and Time: If you already own a high-quality steamer with an upholstery attachment and can set aside a full day for the job—including drying—you can get a decent surface clean.
In these cases, the goal is maintenance, not a deep restoration. Think of it as a top-up clean to tide you over between more thorough, professional treatments.
Red Flags That Signal You Need a Professional
On the other hand, some jobs are just too big or risky for consumer-grade equipment. Trying to fix these issues yourself can easily make them worse or fail to solve the real problem hiding deep inside the mattress.
Calling in a professional isn't giving up; it's choosing the right tool for the job. For deep-set issues, the power and expertise of a professional service like Right Price Carpet Cleaning is the only way to guarantee a truly hygienic result without risking damage.
It’s time to call for backup if you’re staring down any of these challenges:
- Deep-Set, Old Stains: That yellowing from sweat, old blood stains, or other biological marks has likely bonded with the mattress fibres. A DIY steamer simply lacks the power to lift them and can even cook them in permanently.
- Strong, Persistent Odours: If you can smell a musty, stale, or urine odour, it means the source is buried deep in the mattress core. A light surface steam won't even touch it.
- Pet Accidents or Bodily Fluids: These require specialised enzymatic treatments and powerful hot water extraction to completely remove bacteria and prevent smells from coming back. This isn't a job for a simple steam pass.
- Heavy Allergen Load: If you or a family member has severe allergies or asthma, you need the peace of mind that 99.9% of dust mites and their waste are gone. Only commercial-grade, high-temperature steam can promise that.
- You Need a Fast Drying Time: Can't have your mattress out of action for 8-12 hours? You need a professional. Our truck-mounted systems extract almost all the moisture, cutting drying time down to just a few hours.
For Melbourne homeowners, extending your mattress's lifespan with professional steam cleaning is also a smart financial move. Expert services, like the truck-mounted systems from Right Price Carpet Cleaning, can add up to 5 years to your investment. In Greater Melbourne, where the average mattress costs between $900 and $1,500, skipping deep cleans can lead to 30% faster degradation. In contrast, professional steam methods remove up to 98% of embedded dirt, potentially saving owners $400 a year on premature replacements. You can read more about the financial sense in proper mattress care by exploring insights on maximising the longevity of your mattress.
Ultimately, the choice is yours. For a bit of light maintenance, a DIY approach can work. But for a true, deep, and sanitising clean that protects both your health and your investment, nothing beats the power and efficiency of a professional.
Common Questions About Mattress Steam Cleaning
Even with a solid guide, it's completely normal to have a few questions before you start blasting your bed with steam. You want to be sure you’re doing it right, not making things worse.
Let's run through some of the most common queries we get from Melbourne homeowners. Getting these details straight will give you the confidence to move forward.
How Often Should I Steam Clean My Mattress?
This is a great question, and the honest answer is: it depends on your home. For general upkeep, we recommend getting your mattress professionally steam cleaned every 12 to 18 months. That’s usually enough to keep dust mites, sweat, and allergens in check.
However, some situations call for a more frequent clean.
- Allergy and Asthma Sufferers: If you’re prone to allergies or asthma, cleaning every six months can make a huge difference to your sleep quality.
- Pet Owners: Furry friends sharing the bed? A clean every six months is a smart move to tackle pet dander, odours, and whatever else they bring in with them.
- After an Illness or Spill: It’s always a good idea to do a targeted clean after someone’s been sick or if you’ve had a major spill.
This isn’t just a hunch. A 2026 report on Melbourne cleaning services found that regular steam cleaning every six months can slash allergy symptoms by up to 70%. That’s a massive improvement.
Can Steam Ruin a Memory Foam Mattress?
You're right to be cautious here, as this is a critical point. The short answer is yes—you can absolutely wreck a memory foam or latex mattress with steam if you don't know what you're doing. These materials are incredibly dense and act like a giant sponge, trapping moisture deep inside where it can't escape.
On top of that, the high, direct heat from a standard steamer can break down the foam’s structure over time, causing it to lose its shape and support. A professional technician can adjust their equipment for these materials, but it's a huge risk with a DIY steamer that lacks precise temperature and moisture control.
Always check your manufacturer’s care instructions first. If the tag explicitly warns against steam or high moisture, listen to it. For these types of mattresses, getting a professional assessment is the only safe way to protect your investment.
What Does Professional Mattress Steam Cleaning Cost in Melbourne?
Most people assume professional cleaning will break the bank, but it’s often far more affordable than they realise—especially when you consider the health benefits and the cost of replacing a mattress prematurely.
Based on figures from local pros, the average cost for professional mattress steam cleaning in Australian cities like Melbourne is between $80 and $150 per mattress, depending on its size. A standard queen-size mattress usually costs around $120 for a thorough, professional job. You can find more insights on local cleaning costs and their benefits from Mick's Mattress Cleaning Adelaide.
Is a Professional Machine Really Better Than a Rental?
The difference is night and day. A rental unit might seem like a bargain, but its performance doesn't even come close.
For starters, a rental steamer just can't produce the same level of heat as a professional, truck-mounted machine. This means it often isn’t hot enough to effectively kill all the bacteria and dust mites lurking in your mattress. More importantly, rental units have much weaker suction, which leaves your mattress far too damp and creates a perfect breeding ground for mould.
Our professional equipment uses steam heated to well over 100°C for superior sanitisation. The powerful vacuum extraction then pulls out almost all the moisture, giving you a deeper, healthier clean and a much faster drying time—often under four hours, which is a lifesaver with Melbourne’s unpredictable weather.
When you need a guaranteed deep clean that protects your health and your mattress, trust the experts. Right Price Carpet Cleaning uses powerful, truck-mounted equipment to deliver a superior, hygienic clean with faster drying times for homeowners across Melbourne. Get your instant quote online or call us today to schedule your service. Find out more at https://rightpricecarpetcleaning.com.au.
Recent Comments