



You know the range hood needs attention when the kitchen still smells like last night’s stir-fry the next morning, the underside feels tacky, and the fan sounds busy without clearing much. In plenty of Melbourne homes, that sticky film builds so gradually that people stop noticing it until smoke hangs in the room longer than it should or the hood starts leaving streaks down the canopy.
A range hood isn’t just there to make the kitchen look finished. It’s one of the main pieces of equipment controlling grease, odours, and airborne cooking residue. Clean it properly and the whole room feels fresher, much like a deep clean on carpet or upholstery lifts the air quality in the rest of the house. Ignore it, and the grime doesn’t stay neatly inside the appliance. It spreads onto cupboards, splashbacks, benchtops, and back into the air you breathe.
Why a Clean Range Hood is Your Kitchen's Unsung Hero
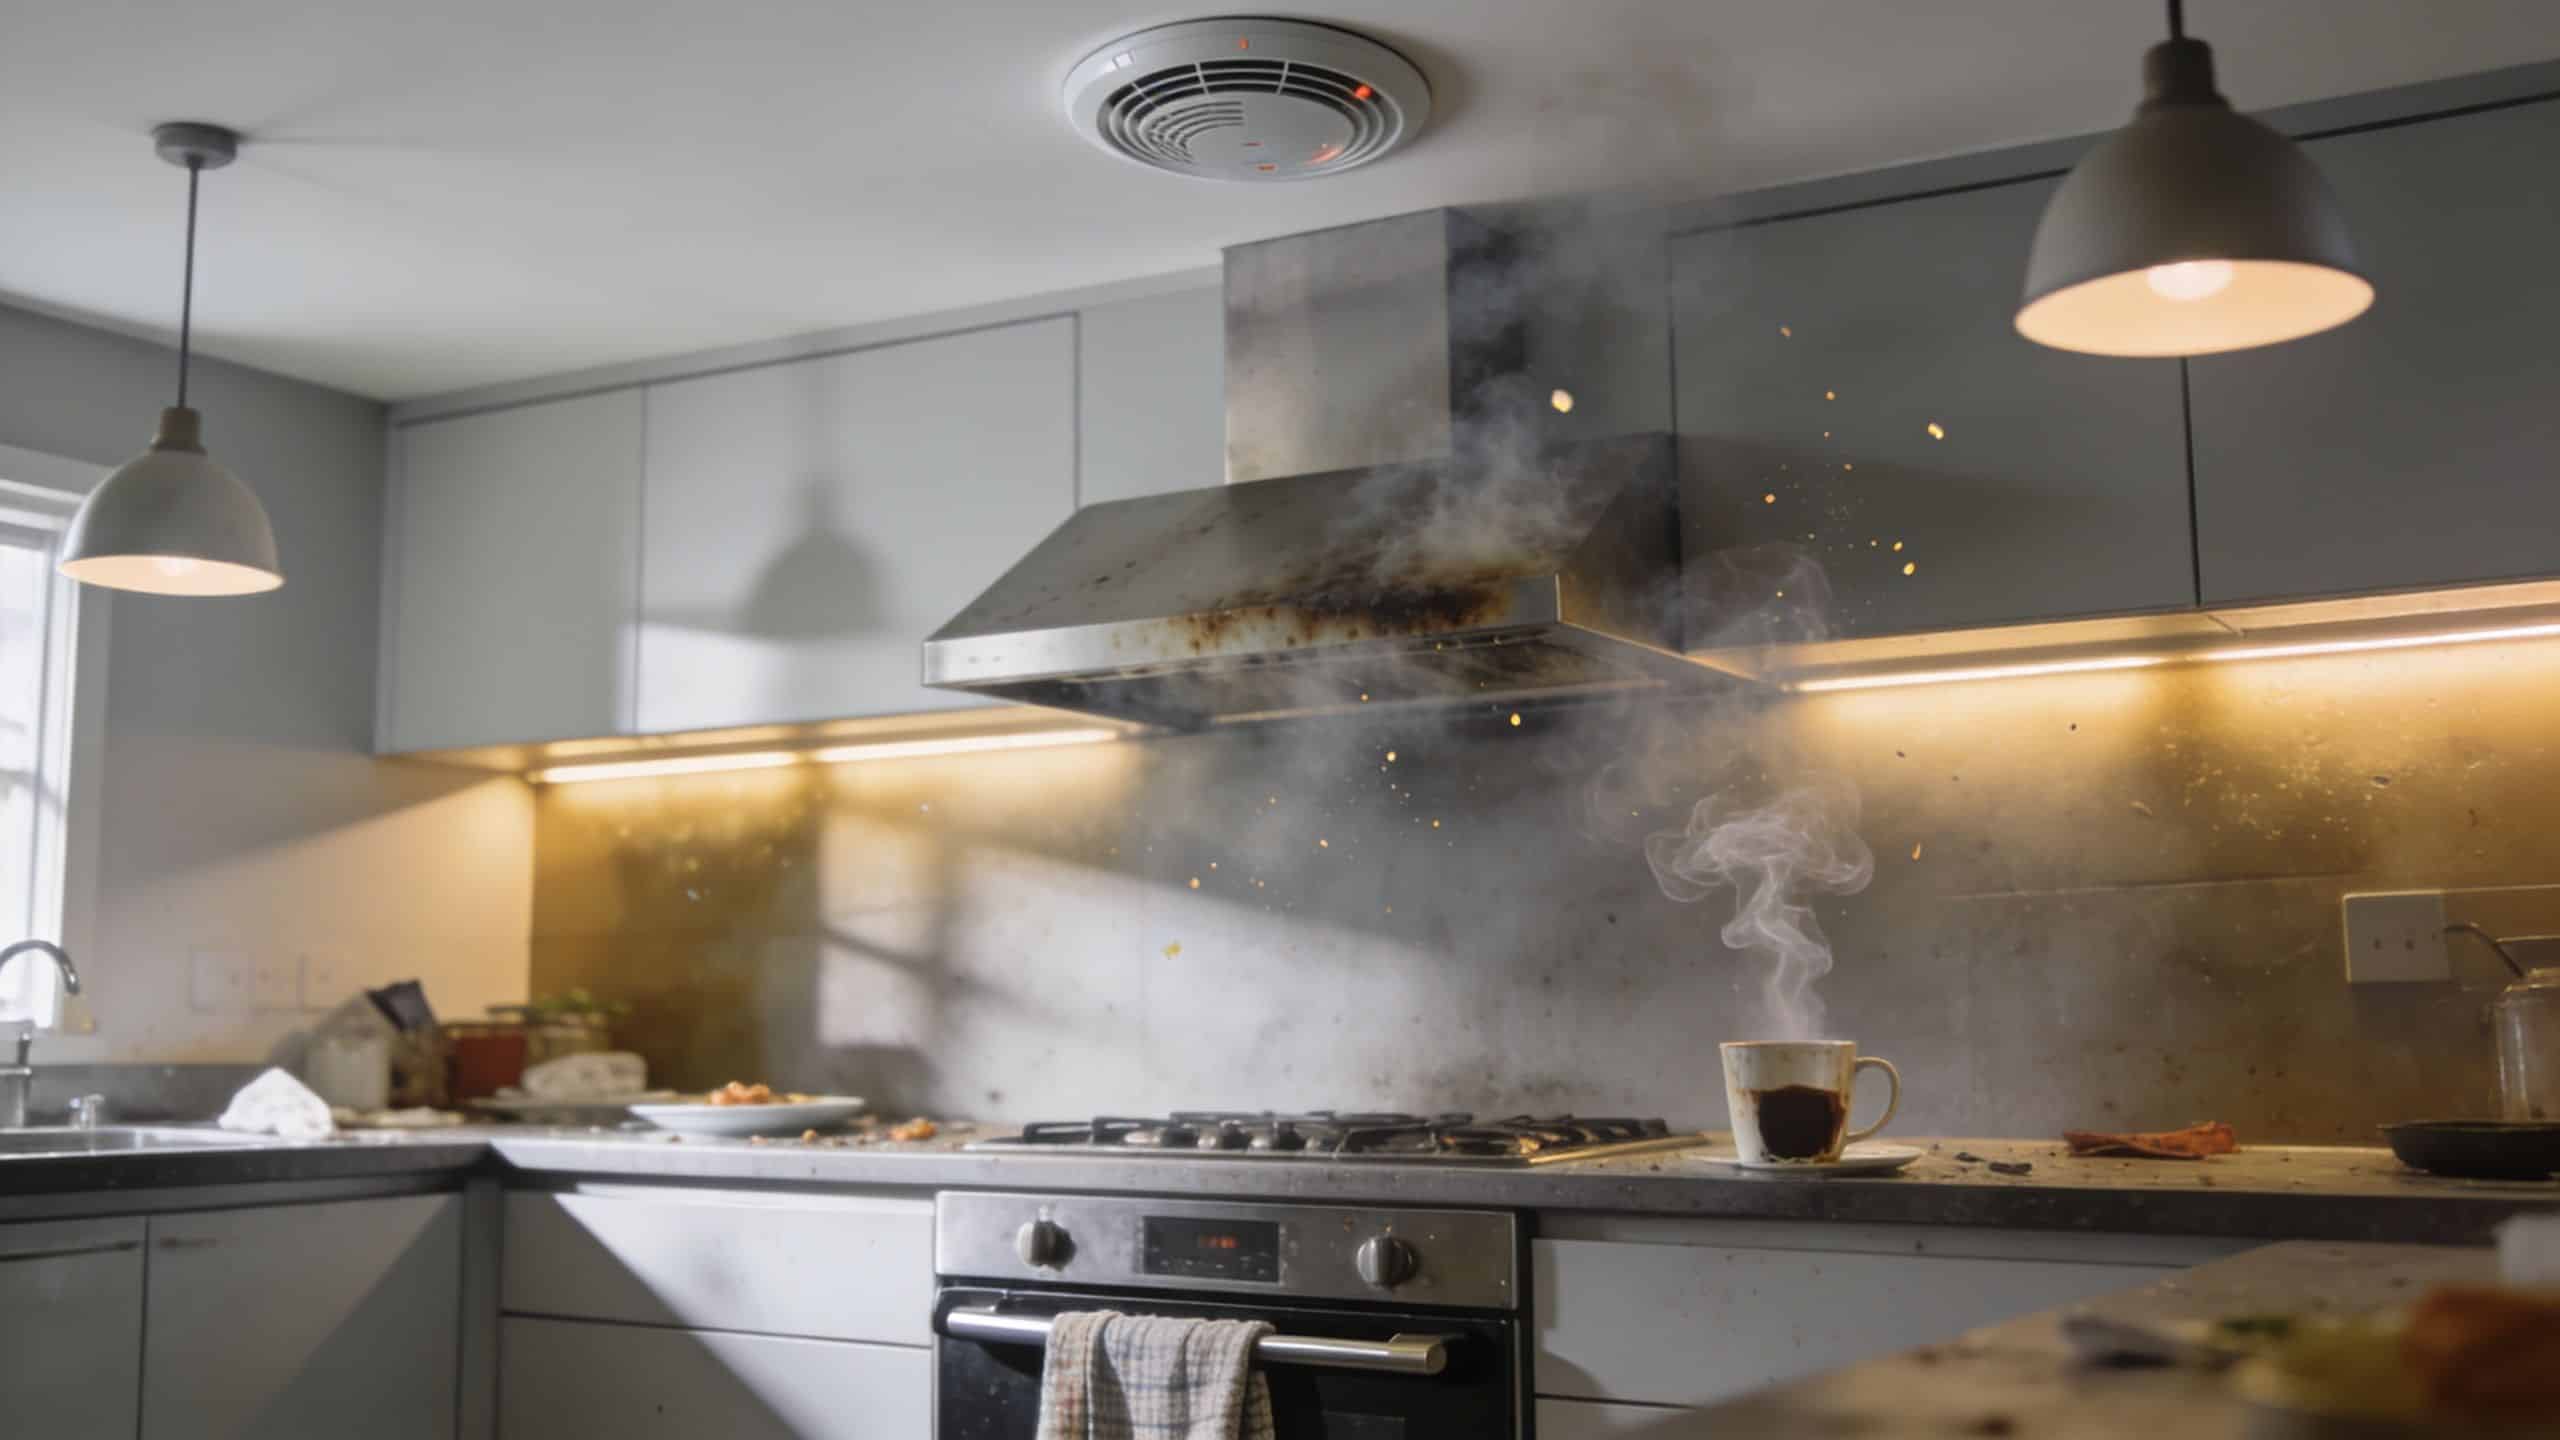
The obvious signs often prompt a search for how do you clean a range hood. The hood looks dull. Cooking smells linger. The smoke alarm is more sensitive than it used to be. Those are real warning signs, but they’re not the biggest reason to clean it.
The bigger issue is what a greasy hood does to safety and indoor air quality. In Australia, cooking fumes contribute significantly to indoor volatile organic compounds, and a 2025 CSIRO report found that poorly maintained range hoods can increase indoor PM2.5 levels by up to 40% during cooking while reducing ventilation efficiency by 30 to 50%, which can make respiratory irritation worse, according to this range hood air quality overview. That matters in family homes where someone already deals with allergies, asthma, or general sensitivity to stale air.
It’s not just grease you can see
Grease buildup traps dust, cooking residue, and odours. Once the filter clogs, the hood starts recirculating more of that mess instead of pulling it away from the cooktop. The kitchen then feels stuffy, and nearby surfaces pick up that fine oily film.
That’s why deep cleaning isn’t only a cosmetic job. It’s part of keeping the air in the home cleaner overall. If you’re already working on reducing particles indoors, this sits well alongside Shiny Go Clean Madison's air quality tips and broader habits like controlling dust in the home.
Practical rule: If the hood looks greasy on the outside, the filters and underside are usually dirtier than you think.
Why Melbourne kitchens cop it harder
A lot of Melbourne households cook often, use oils regularly, and rely on the same hood every day. Family kitchens, smaller ventilation footprints, and cooler weather that keeps windows shut all add up. When the hood isn’t pulling properly, the room holds onto more steam, odour, and residue.
The upside is that a range hood responds well to regular cleaning. You don’t need exotic chemicals or a full appliance teardown to get a strong result. You need the right method, the right materials, and a bit of patience with the filters and underside where the worst buildup sits.
Gather Your Supplies and Prepare Your Workspace
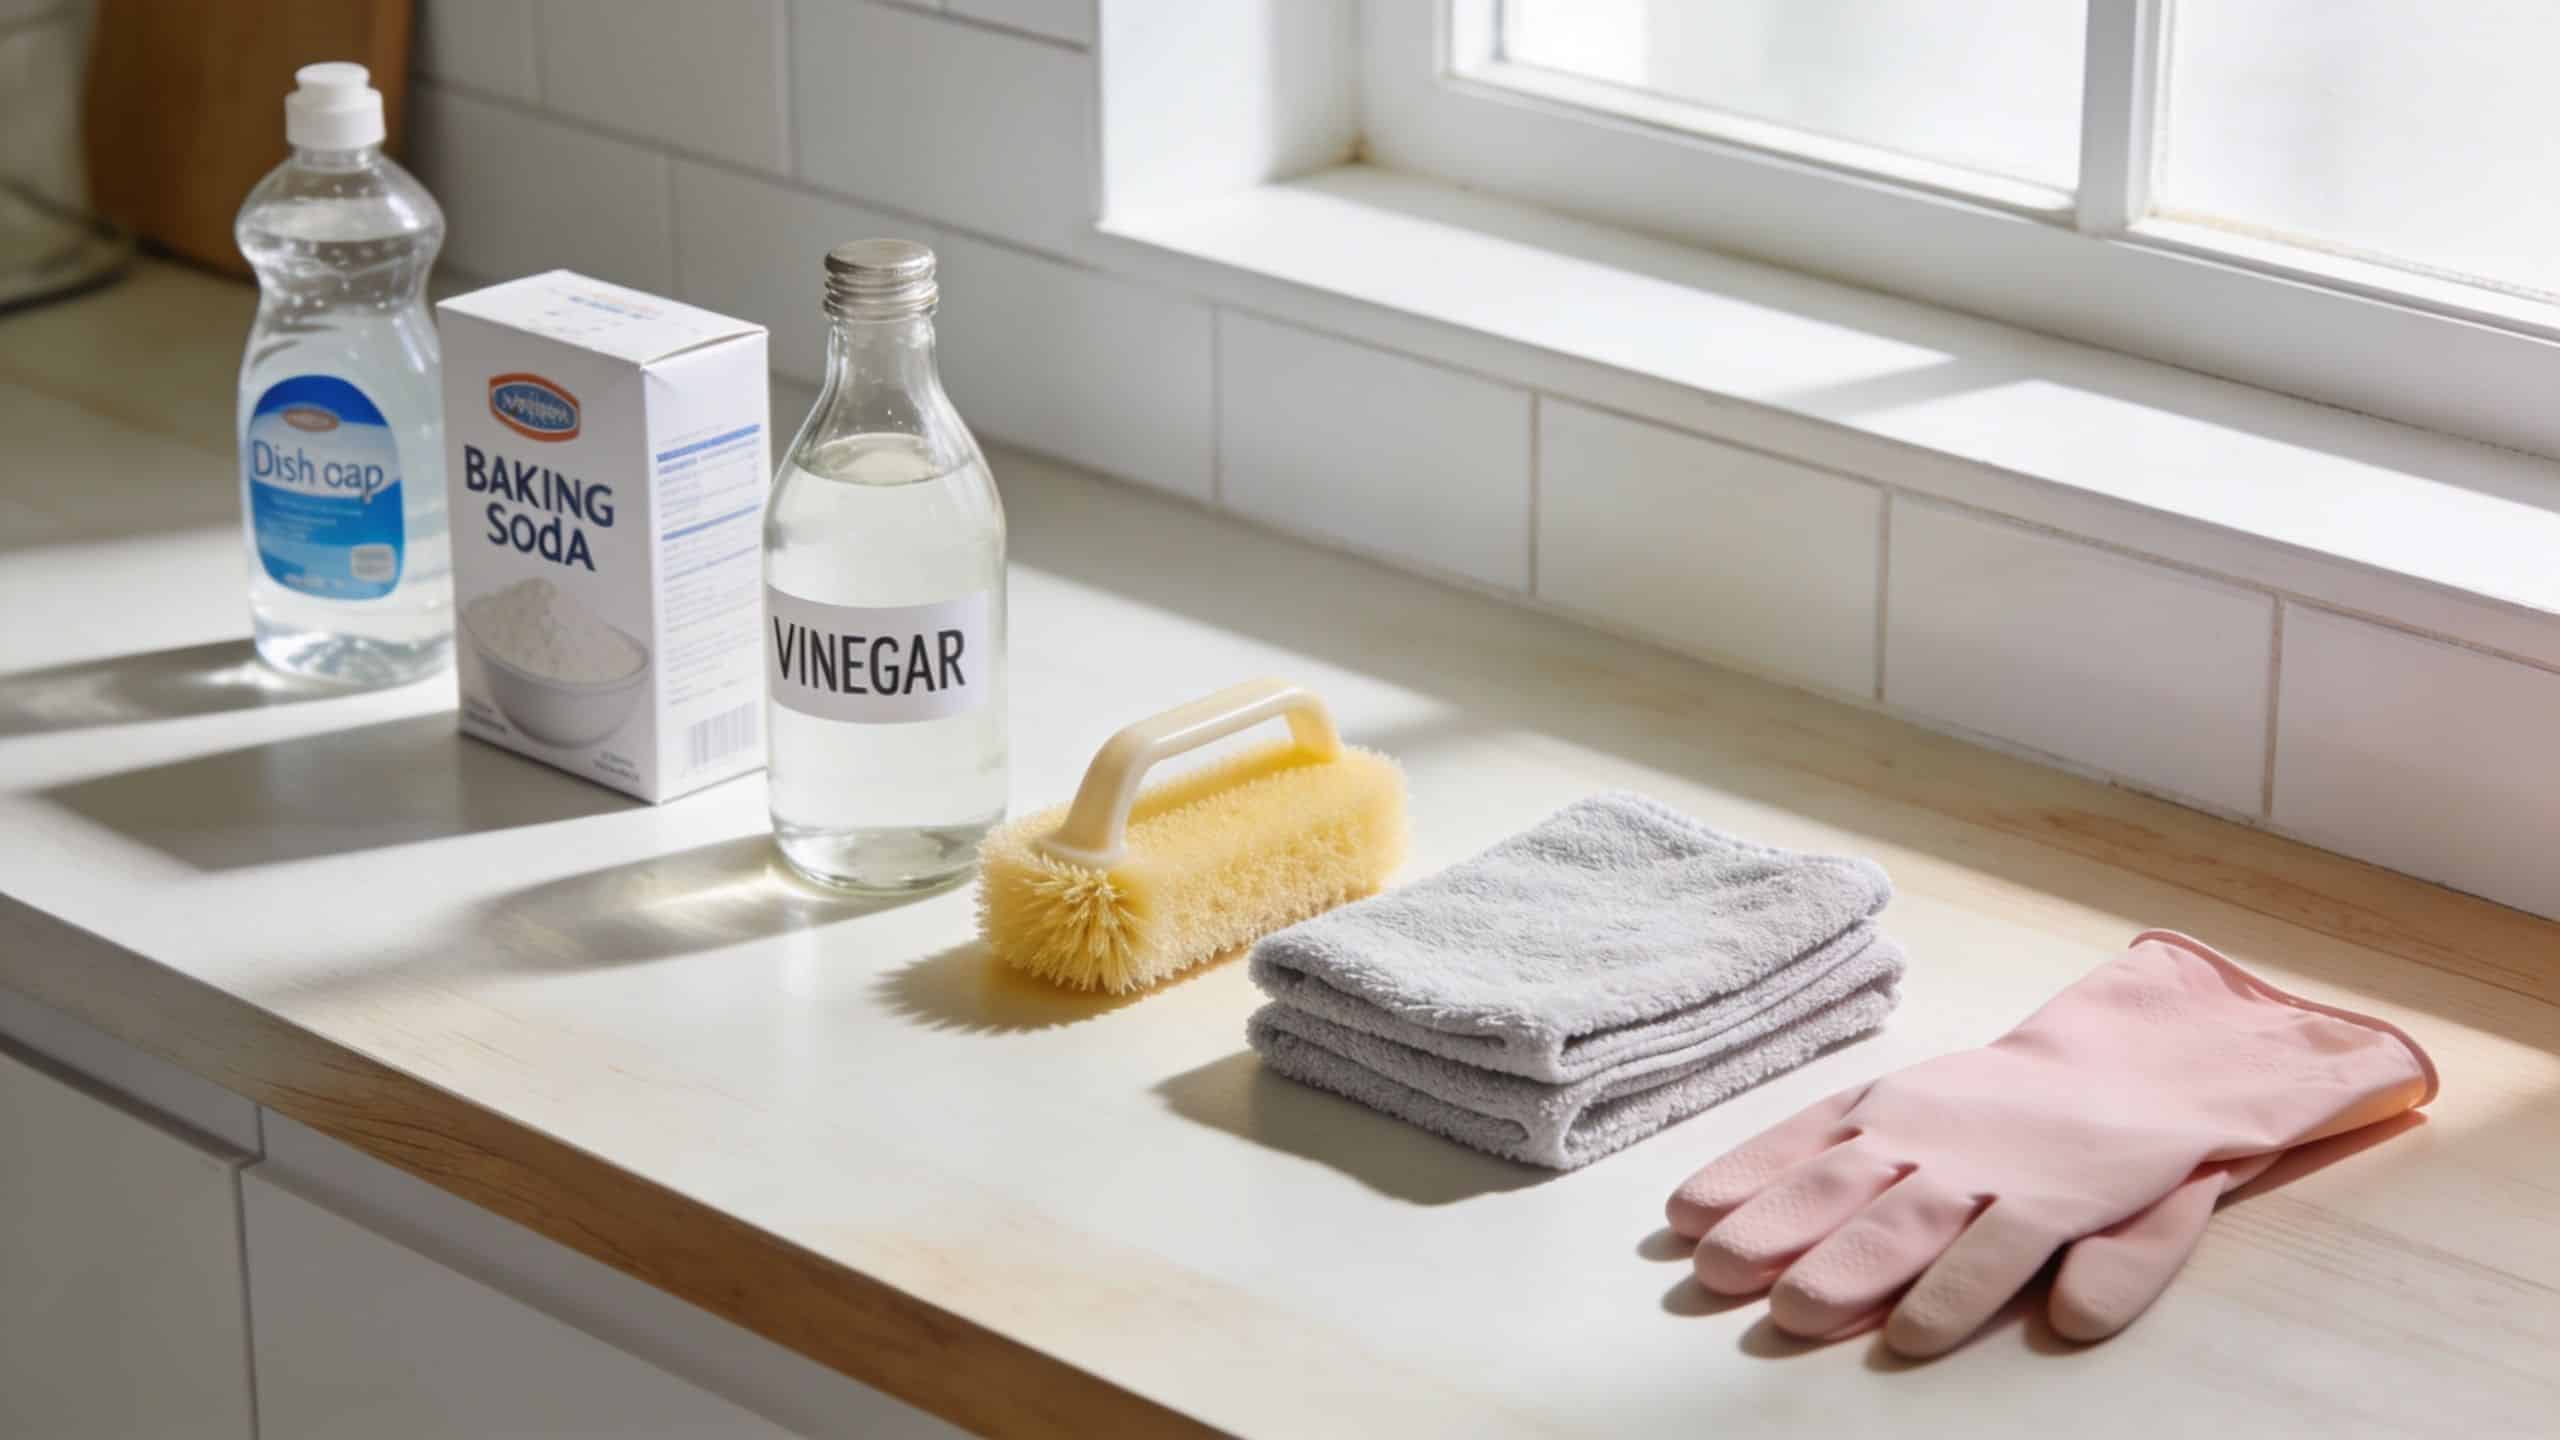
Good prep makes this job straightforward. Bad prep turns it into greasy drips on the cooktop, scratches on the steel, and a lot of wiping things twice. Before you remove a single filter, clear the stove area and protect the surface below with old towels.
The essential first step is power. Switch the hood off and disconnect it from power before cleaning around the filter housing or interior surfaces. If your model is hardwired, use the circuit breaker. Water, degreaser, and appliance electrics don’t mix.
What to have within arm’s reach
You don’t need a trolley full of products. You do need tools that clean without damaging finishes.
- Microfibre cloths for wiping stainless steel, painted surfaces, and final buffing.
- Rubber gloves because old kitchen grease is messy and degreasers can dry your skin out.
- A soft nylon brush for filter vanes, corners, and stubborn residue.
- Dish soap and baking soda for the filter soak and for a simple paste on greasy spots.
- A basin or laundry tub large enough to submerge the filters.
- A spray bottle with vinegar and water for final finishing on stainless steel where appropriate.
- Old towels or absorbent cloths to protect the cooktop and catch drips.
If you prefer milder chemistry over harsher cleaners, a pH-neutral cleaner guide is a useful reference for choosing products that clean well without being rough on finishes.
What to avoid from the start
Some mistakes create more work than the grease itself. Steel wool is the big one. Abrasive pads can scratch stainless steel and painted canopies, and those scratches hold onto more grime later. Spraying liquid directly into switches, light fittings, or the motor area is another one.
Lay everything out before you start. Once the filters are out and the grease starts moving, you don’t want to be hunting for a cloth with slippery hands.
A bucket of warm water nearby helps too. It gives you a rinse option for cloths as you go, which keeps you from smearing dissolved grease back over the hood.
How to Deep Clean Your Range Hood Filters
Filters do the heavy lifting. When people ask how do you clean a range hood, this is usually the part they most need help with. It’s also the part that gives the biggest improvement in performance when done properly.
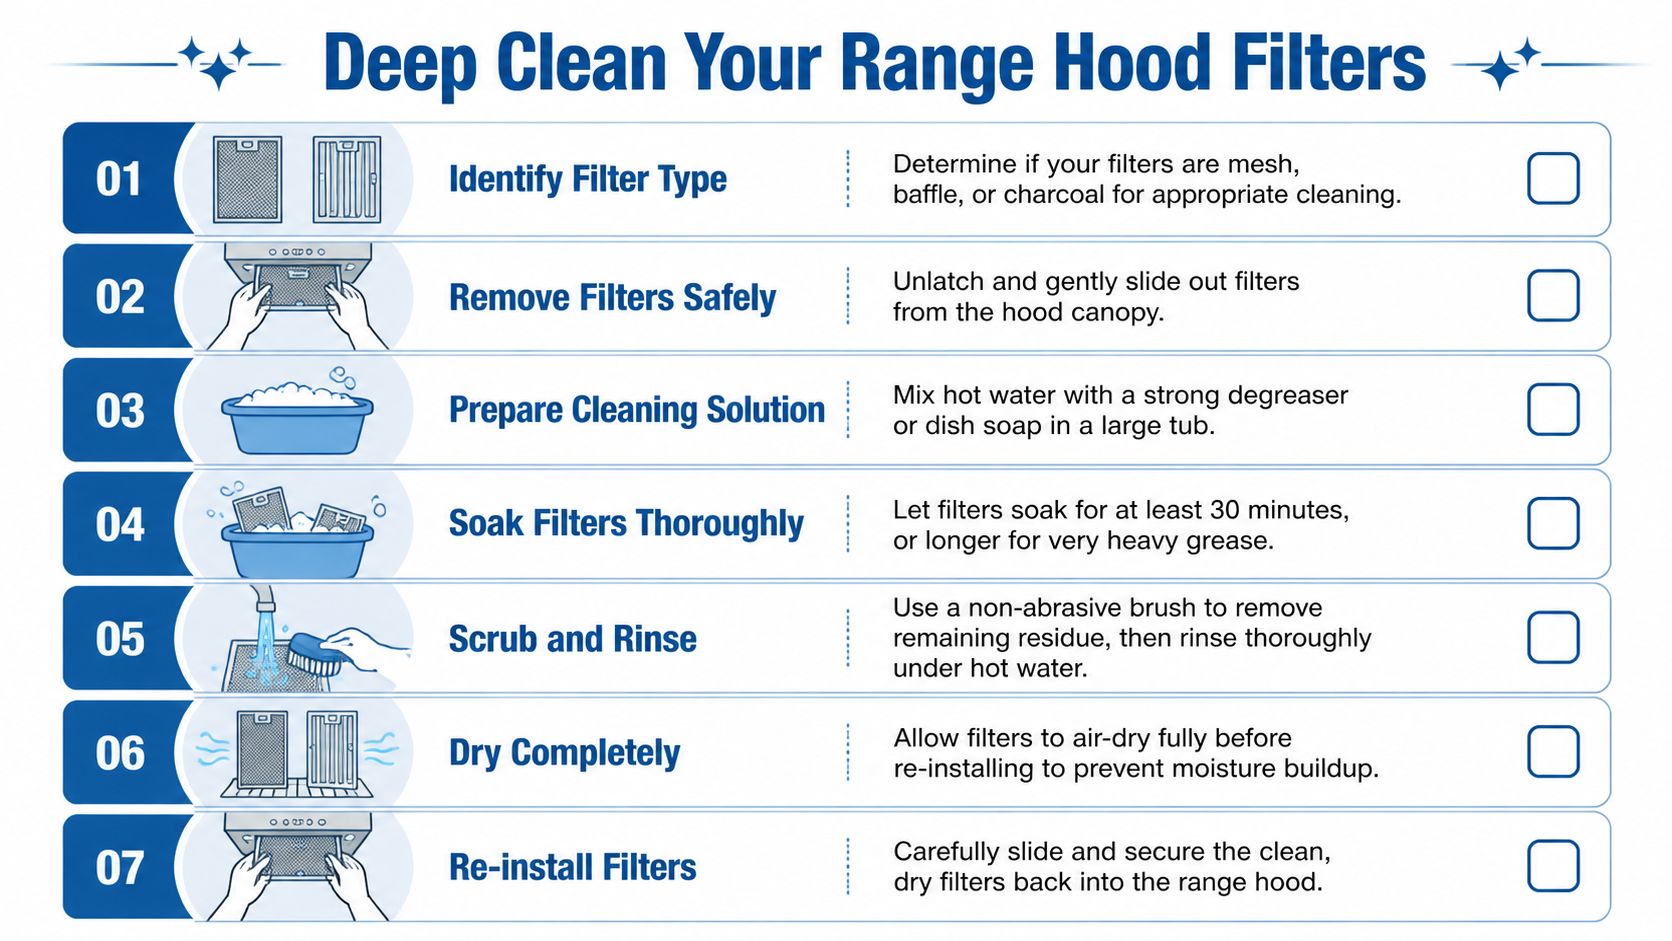
First, identify the filter type
Not every filter should be cleaned the same way.
| Filter type | What it looks like | What to do |
|---|---|---|
| Metal mesh | Fine aluminium or stainless mesh | Washable |
| Baffle filter | Layered metal channels or vanes | Washable |
| Charcoal filter | Usually a dark insert in recirculating units | Replace, not wash |
If you’ve got a ducted hood, you’ll usually be dealing with metal mesh or baffle filters. If it’s a recirculating unit, there may also be charcoal filters inside. Those are generally there for odour absorption, and they’re not the same as the metal grease filters. If you’re unsure, check the appliance manual before soaking anything.
Remove the filters carefully
Most filters unclip with a latch or small handle. Support them with one hand while releasing the clip with the other so they don’t drop onto the cooktop. Set them straight into your basin or onto an old towel.
This is also the moment to inspect them. If the frame is bent, the mesh is damaged, or the filter won’t sit properly anymore, cleaning won’t fix the fit. A damaged filter can let grease bypass the part of the hood designed to catch it.
Use a soak that actually breaks the grease down
For metal filters, the most effective home method is simple and specific. Soak them in a basin with 1L hot water, 50ml degreasing dish soap, and 2 tbsp baking soda for 15 to 20 minutes. According to CHOICE-based cleaning guidance for Australian-market hoods, this method helps break down saponified grease and, when done monthly, can restore airflow by up to 95%.
That mix works because hot water softens the buildup, dish soap cuts through oily residue, and baking soda helps loosen the stuck film that plain rinsing won’t shift.
A few details matter
- Use hot water, not lukewarm. Cooler water won’t soften thick grease nearly as well.
- Don’t overcrowd the basin. Each filter needs enough exposure to the solution.
- Give heavily soiled filters more attention. If the first soak loosens only the outer layer, refresh the solution and repeat.
If the water turns brown fast, it’s doing its job. Don’t keep scrubbing in dirty solution. Replace it and keep going.
Scrub gently, not aggressively
Once the soak has done the first half of the work, scrub along the mesh or baffle channels with a soft nylon brush. The goal is to lift residue out of the openings, not flatten or gouge the metal. Short strokes work better than heavy pressure.
A few spots usually hold on longer than the rest. Corners, latch edges, and the top border of the frame are common trouble areas. Reapply a little dish soap there and work them separately rather than attacking the whole filter harder.
What doesn’t work well:
- Steel wool or scouring pads that leave scratches and roughen the surface.
- Brute force bending when the filter feels stiff or sticky.
- Quick rinses with no soak time, which leave grease deep in the mesh.
Rinse until there’s no residue left
Rinse each filter under hot running water until it feels clean and no suds remain. If the water beads on a greasy patch or you can still see amber residue in the mesh, it needs another pass. Filters that look clean but still feel tacky aren’t ready to go back in.
Then let them air-dry completely before reinstalling. Damp filters can hold onto odours and grime faster than dry ones. I’d rather leave them on a rack a bit longer than rush them back into place.
Reinstall and check performance
When the filters are fully dry, slide or clip them back into the hood. Make sure each one sits squarely. A loose filter can rattle, and a badly seated one can leave gaps around the edges.
Turn the hood on and test it at the highest setting. You’re listening for normal fan sound and looking for stronger pull over the cooktop. A clean filter won’t make the motor brand new, but it should make the hood feel less laboured.
When filters still don’t come clean
Some filters are past the point of easy restoration. That usually shows up as:
- Permanent discolouration that remains after grease is gone
- Warping or bent corners that stop proper seating
- Sticky residue inside damaged mesh that won’t release
- Persistent odours even after a thorough wash
At that stage, replacement often makes more sense than repeated soaking. Cleaning should restore function. If it doesn’t, the filter itself may be the problem.
Cleaning the Hood Canopy Body and Interior
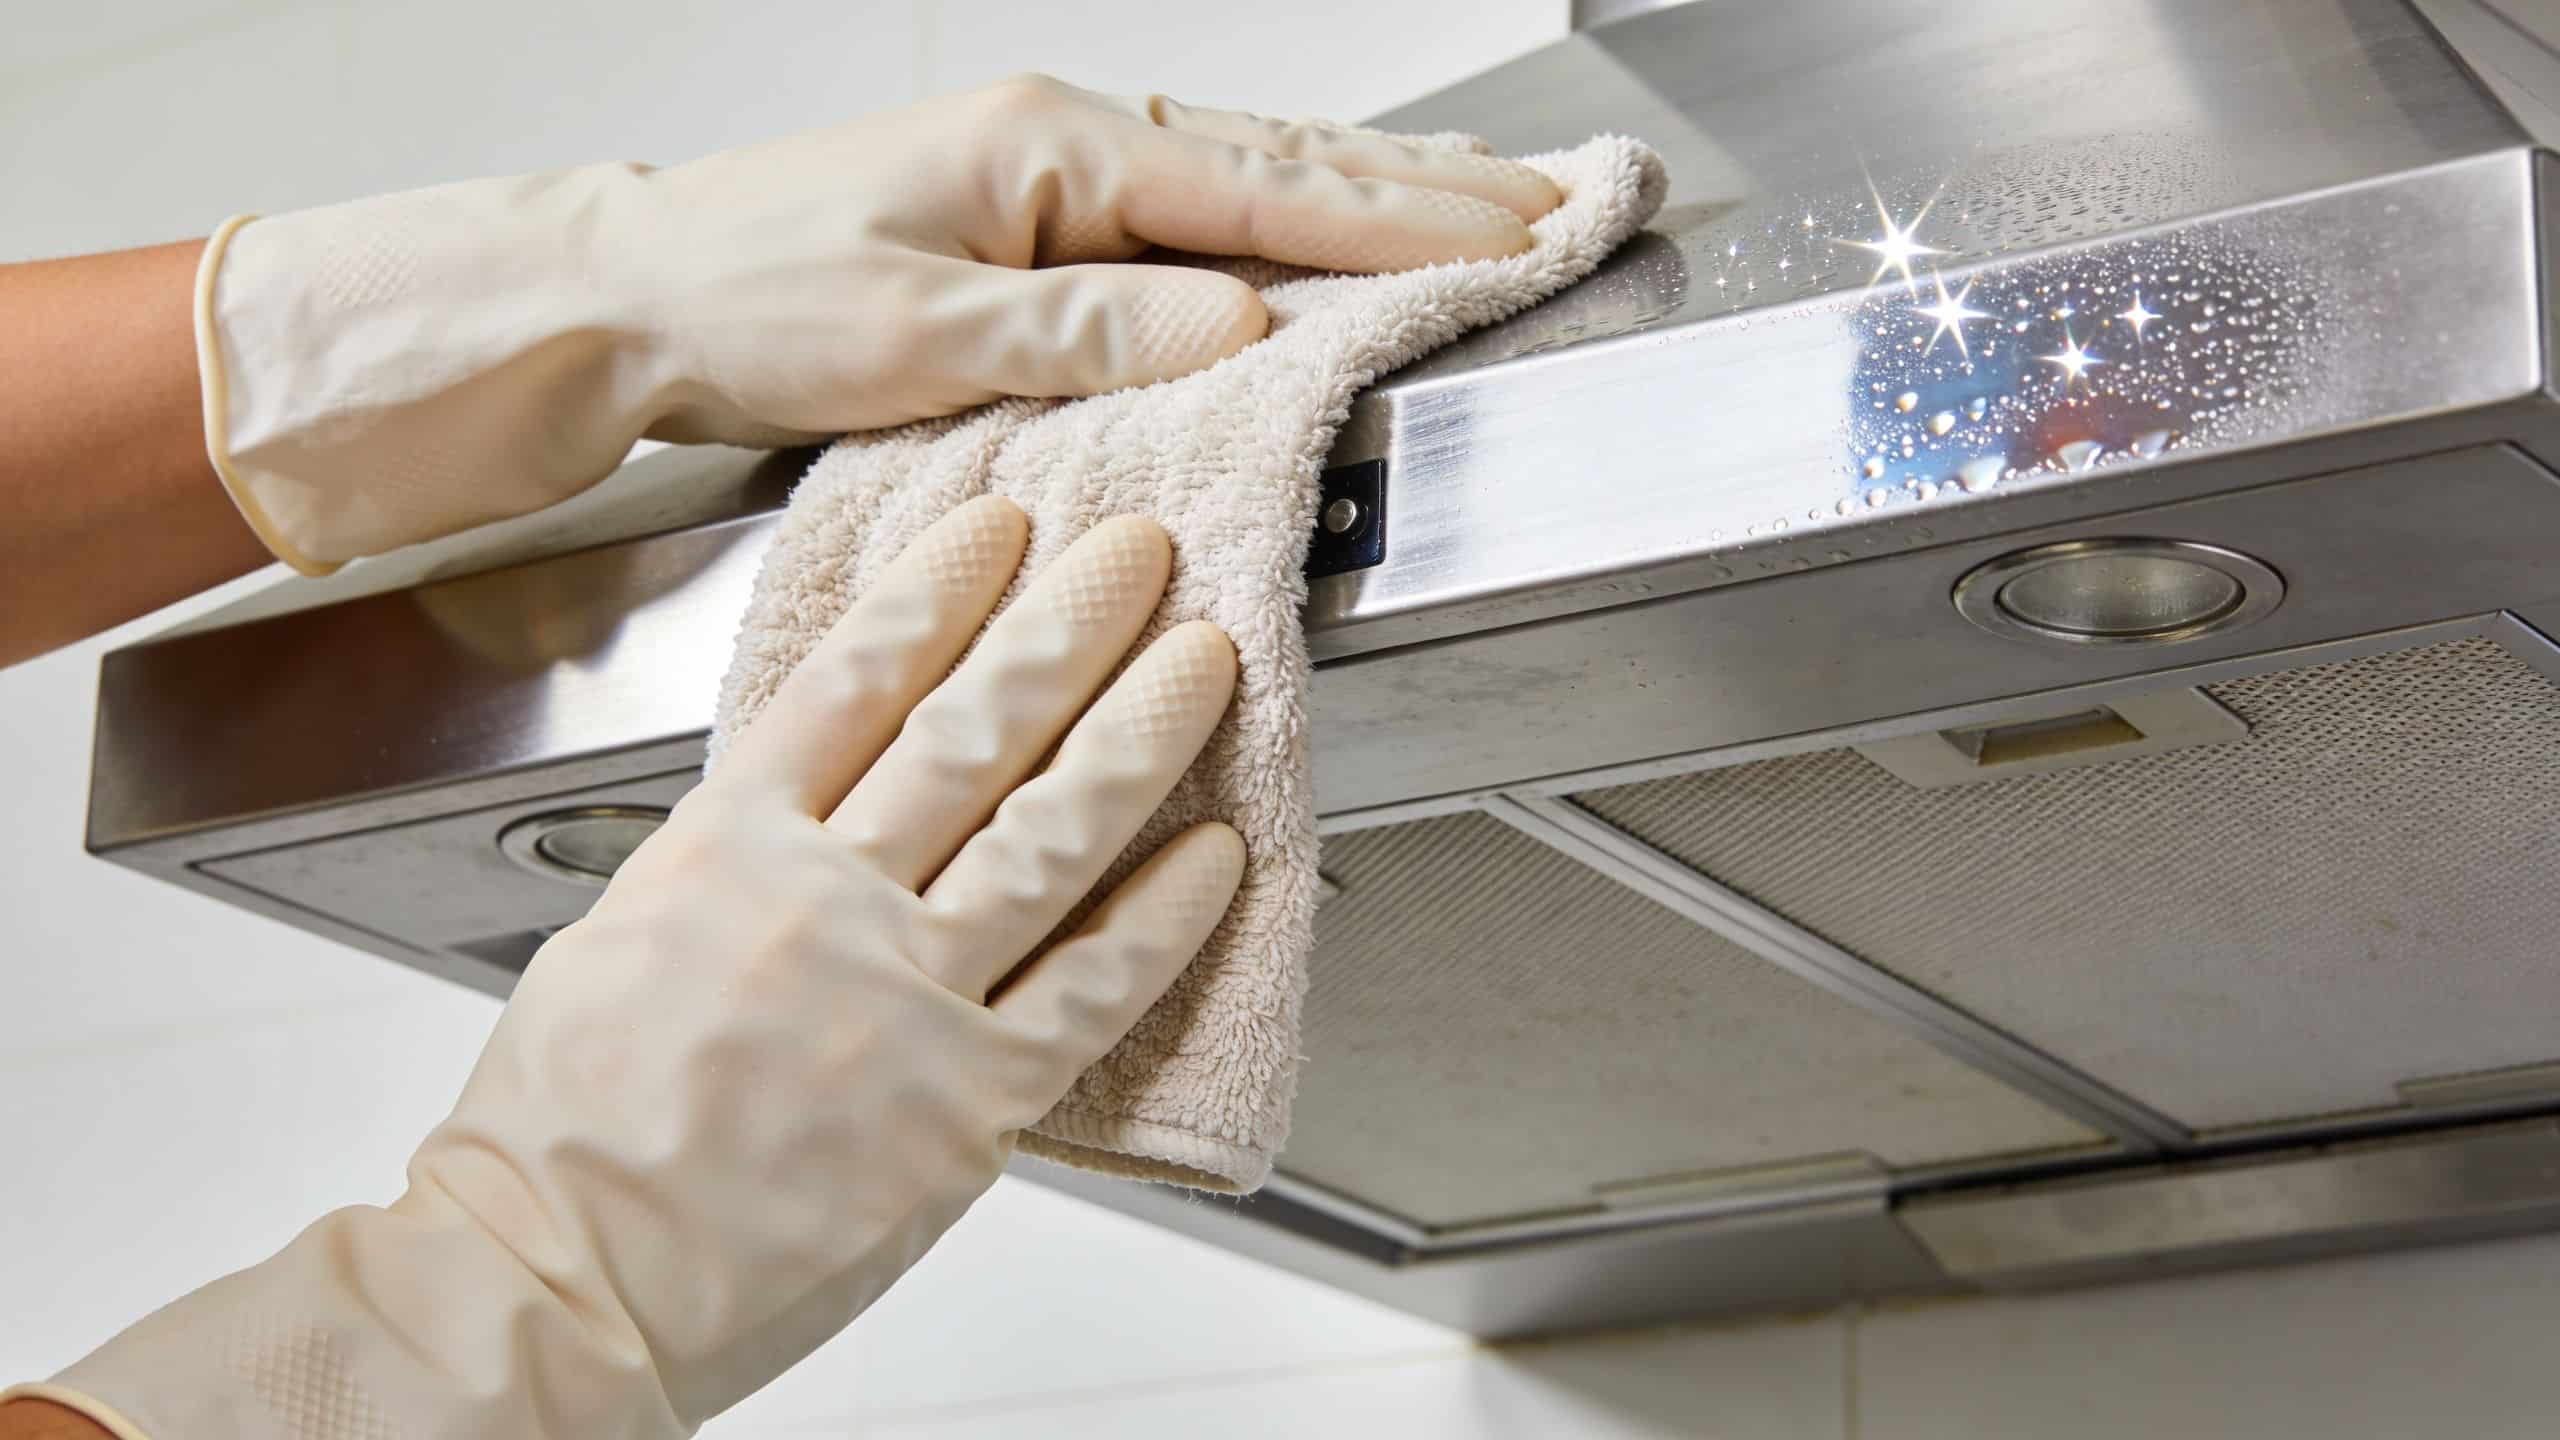
With the filters out, the rest of the hood is much easier to reach. In these areas, much of the hidden grime accumulates. The underside catches splatter and steam. The canopy face picks up a fine film. Inside the opening, grease often settles around the rim and internal surfaces just beyond the filter line.
Stainless steel needs a careful hand
Stainless looks tough, but it marks easily if you use the wrong tool or wipe the wrong way. For greasy stainless steel range hoods, a paste of baking soda and water in a 1:3 ratio left on for 10 minutes can achieve 92% grease removal, and wiping with the grain is important because micro-scratches can trap 50% more particulates, according to stainless steel cleaning guidance from Fotile.
Start by applying the paste to the underside and any sticky sections on the canopy. Let it sit briefly, then wipe with a damp microfibre cloth in the direction of the grain. Follow with a clean damp cloth to remove residue, then dry straight away.
Best practice on stainless steel
- Wipe with the grain so you clean the grooves instead of roughing them up.
- Put product on the cloth or sponge, not directly over controls and seams.
- Dry after rinsing so you don’t leave water marks behind.
Painted hoods need a milder approach
Painted or coated canopies don’t respond well to harsh degreasers or aggressive scrubbing. Use warm water, dish soap, and a soft cloth first. If there’s sticky residue underneath, work it slowly with a mild baking soda mix and a light touch.
The finish matters more than speed here. If you scrub too hard, you can dull the paint or create shiny patches where the coating wears unevenly. That’s why I tell people to let the cleaner do the work first and the cloth do the finishing.
Clean the underside more carefully than the front. It usually carries the thickest residue and gets ignored the longest.
Don’t skip the interior lip and edges
The visible canopy gets attention because you can see it. The interior edge just above the filters often gets missed, and that’s where grease likes to collect in a thick line. Wipe that area with a cloth wrung out well so it’s damp, not dripping.
For corners and seams, a soft brush helps. Work gently, especially near wiring, switches, and light covers. You want to lift residue, not push moisture deeper into the unit.
Here’s a simple comparison for the body of the hood:
| Surface | Best approach | Avoid |
|---|---|---|
| Stainless steel | Baking soda paste, microfibre cloth, wipe with grain | Steel wool, harsh abrasive pads |
| Painted finish | Warm soapy water, soft cloth, gentle spot treatment | Strong solvents, hard scrubbing |
| Underside and inner rim | Damp cloth, mild degreaser, soft brush for corners | Overspraying into electrics |
Finish dry, not streaky
Once the grease is off, use a clean dry microfibre cloth for the final pass. This is what brings the canopy back from dull to presentable. If you leave cleaner behind, it attracts fresh dust and can leave a smeary finish the next day.
A clean hood should feel smooth, not tacky. If your hand still drags across the surface, there’s usually a residue layer left behind, either grease or cleaning product. Wipe it again with clean water, then dry properly.
Creating a Simple Maintenance Schedule
Deep cleaning fixes the problem. A maintenance schedule stops it becoming a bigger one. The most practical approach is to tie range hood cleaning to how often you cook, not to a random date on the calendar.
In Australian homes, range hood filters need cleaning every 1 to 2 months, and neglected filters can accumulate 5mm of grease buildup within three months of regular cooking, increasing fire risk by 40%, according to Australian range hood filter cleaning guidance. That’s why waiting until the hood looks filthy isn’t a smart plan. By then, the buildup is already well established.
A schedule that works in real homes
You don’t need an elaborate spreadsheet. You need a routine simple enough to keep doing.
- Weekly wipe-down. Clean the front, underside edge, and control area with a damp microfibre cloth and a little dish soap.
- Monthly filter check. If you cook often with oil, check the filters every month and clean them as soon as they start looking loaded.
- Regular deeper clean. Wash the filters properly and clean the canopy interior on a repeating cycle that suits your cooking habits.
People who fry often, cook in batches, or use high heat regularly will need to clean sooner. People who mostly boil, steam, or cook lightly can usually stretch things a bit, but not indefinitely.
Why small jobs beat infrequent big ones
A hood that gets light attention regularly is easier to maintain and less frustrating to clean. Grease that’s a week or two old usually wipes off. Grease that’s been baked on for months becomes a scraping job.
There’s also the performance side. A cleaner hood runs closer to the way it was designed to run. The fan doesn’t have to pull through a blocked filter, and the kitchen clears faster after cooking.
If you’re trying to build household routines that people follow, this guide to implementing cleaning schedules is useful because it focuses on making tasks repeatable rather than perfect.
Match the schedule to the household
A single person cooking a few nights a week has different needs from a family using the cooktop every day. Property managers and renters should also be more deliberate, because range hood grease is one of those details that stands out at inspection time.
The best cleaning schedule is the one you’ll still be using six months from now.
A phone reminder works. So does linking the task to another routine, like wiping cupboard fronts or cleaning splashbacks. Keep it simple, keep it regular, and the hood rarely becomes a difficult job.
Troubleshooting Stubborn Grease and Lingering Smells
Sometimes you clean the hood properly and still end up with one of three annoyances. Grease won’t budge, the stainless steel looks streaky, or the smell hangs around. Each problem has a different cause, so the fix needs to match it.
When grease still feels baked on
If the first clean didn’t remove everything, don’t jump straight to harsher tools. Repeat the soak for the filters, and for the canopy use another round of baking soda paste with a bit more dwell time. Let chemistry soften the residue before you scrub again.
Persistent grime inside hidden recesses can also mean grease has moved beyond the easy-to-reach surfaces. If you’re dealing with fan housings, duct entries, or delicate components near the motor, that’s usually the point where DIY should stop.
When the smell won’t leave
Lingering odours often mean the problem isn’t just on the visible metal. In recirculating models, charcoal filters may need replacement. In ducted systems, the smell can sit further up in the ducting. General stale-air issues in the kitchen can also overlap with broader household odour problems, so this guide on getting rid of musty smells in the house is worth a look.
If you want a broader read on odour-focused cleaning approaches around the home, you can also explore Sunset Shine's cleaning options for ideas on how pros think about smell sources rather than just surface cleaning.
When stainless steel goes cloudy or streaky
This is common in Greater Melbourne because hard water leaves minerals behind. In hard water areas, mineral deposits can cause streaking and corrosion on stainless steel, and a final rinse with a 1:1 white vinegar-water solution can cut streaks by 70%, according to Bosch ventilation cleaning guidance.
Use that mix on a cloth for the final pass, then buff dry with a clean microfibre cloth. Don’t leave the surface wet. The drying step matters as much as the rinse.
Know when to call a professional
Call for help if:
- The fan or motor is noisy after cleaning and the filters are seated properly
- Grease has built up inside areas you can’t safely reach
- The hood still smells strongly after filters and visible surfaces are cleaned
- Electrical parts, lights, or switches have grease around them and need careful cleaning
A range hood should be cleaner, quieter, and fresher after proper maintenance. If it isn’t, the issue may be mechanical or deeper in the system than a household clean can address.
A clean range hood makes the whole kitchen feel lighter, safer, and easier to live with. If you’re also dealing with stale air, built-up odours, or soft furnishings that are holding onto dust and grime, Right Price Carpet Cleaning helps Melbourne homes with professional carpet, rug, upholstery, mattress, and tile cleaning that supports a fresher indoor environment.
Recent Comments