
Before you even think about cleaning that leather sofa or jacket, you need to figure out exactly what you're dealing with. Just grabbing any old cleaner off the shelf is a recipe for disaster. I've seen it happen—a beautiful, soft aniline lounge ruined by a harsh chemical meant for a tough, coated car seat. The results can be permanent.
So, the single most important thing you can do is identify the type of leather you have. This one step will guide every decision you make next, from the products you choose to the technique you use. Taking a few moments to get this right is your best defence against a costly, irreversible mistake.
Identifying Your Leather Type
Most leather you'll come across falls into a few key categories, and each one needs a different approach.
Finished leather is the most common type out there. It has a protective topcoat, making it quite resilient and much easier to clean. You’ll find it on family-friendly sofas, in car interiors, and on a lot of handbags. It's built to handle daily life.
Then you have aniline and semi-aniline leathers. These are loved for their incredibly soft, natural feel, but that comes at a cost. They have little to no protective coating, which means they soak up spills in an instant and are prone to staining.
Even more delicate are nubuck and suede. With their velvety texture, they can't handle water at all and require special brushes and cleaning methods.
Pro Tip: Before you start guessing, hunt for a manufacturer's tag or label. It's often tucked away under a cushion or inside a pocket. This little tag is your golden ticket—it can tell you the exact type of leather and give you specific care instructions, taking all the guesswork out of the process.
The Simple Water Drop Test
Don't have a tag? No problem. There's a quick and easy way to figure out if your leather has a protective coating: the water drop test. Just place a single drop of water on a hidden spot, like the underside of a cushion or an inside seam.
- If the drop beads up and sits on top, you're likely working with finished or protected leather. That sealant is doing its job repelling liquid, which makes it much safer to clean.
- If the drop soaks in right away and darkens the leather, you're dealing with a more delicate, absorbent type like aniline or nubuck. This is a clear sign to avoid water-based cleaners at all costs.
Here’s a quick summary to help you get it right.
Quick Leather Identification For Safe Cleaning
Use this table to quickly identify your leather type and the recommended cleaning approach before you begin.
| Leather Type | What It Feels Like | Water Drop Test Result | Best Cleaning Method |
|---|---|---|---|
| Finished/Protected | Smooth, sometimes slightly plastic-like, uniform colour. | Water beads up on the surface. | Mild soap and water solution, gentle leather cleaner. |
| Aniline | Very soft, natural, warm to the touch. You can see the natural grain. | Water soaks in quickly and darkens the area. | Specialised aniline cleaner, no water. Often best left to a pro. |
| Nubuck/Suede | Velvety, soft, with a fuzzy nap. | Water absorbs instantly and leaves a dark spot. | Suede brush and eraser, specialised solvent-based cleaners only. |
Once you know what you have, you can clean with confidence.
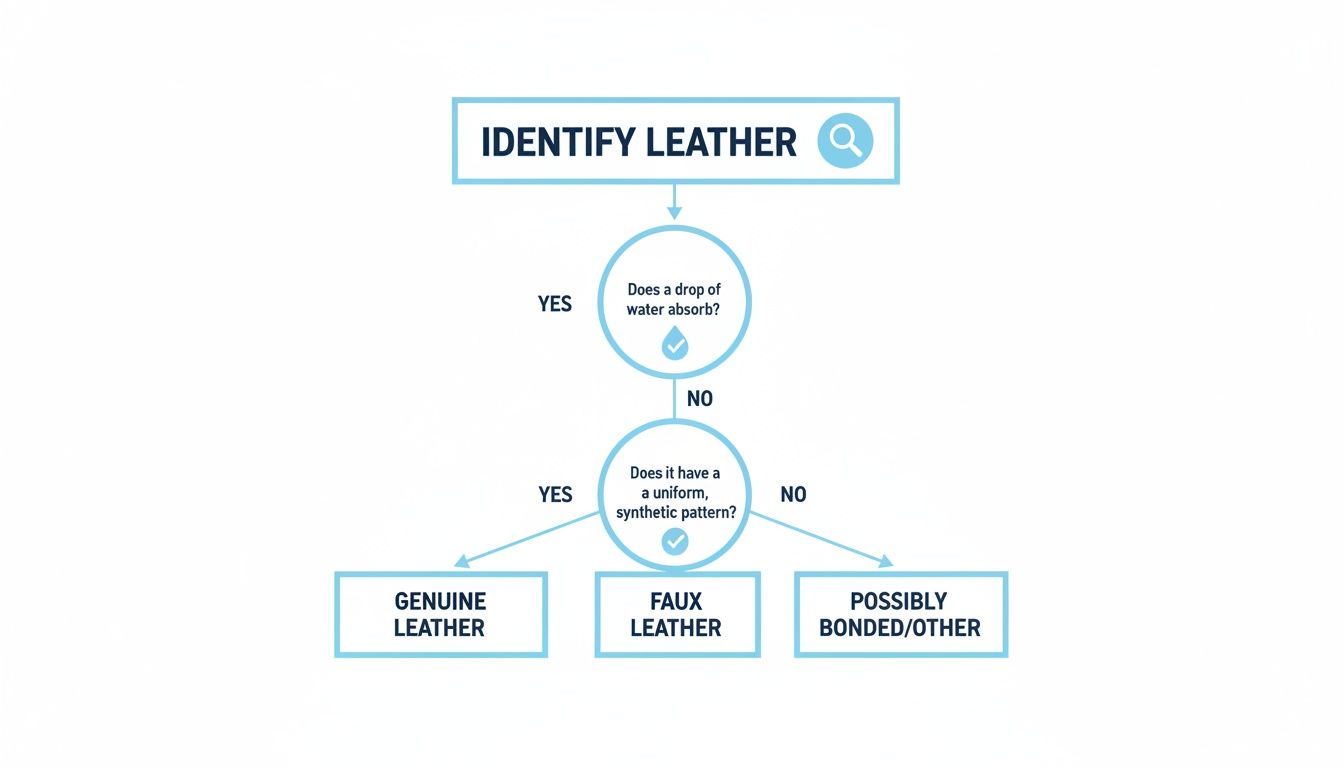
This flowchart gives you a visual path to follow. By looking at the pattern and checking how absorbent the material is, you can confidently distinguish between different leather types. Getting this right from the start ensures you won’t accidentally damage a sensitive finish with the wrong approach.
Cleaning Everyday Finished Leather Furniture
Finished leather is the workhorse in most Australian homes. It’s the sturdy sofa that handles movie nights, the reliable car seats on the daily commute, and the dining chairs that have seen it all. Its protective topcoat gives it a real edge in durability, making it much more forgiving than its more delicate cousins.
But "durable" definitely doesn't mean "invincible." Over time, body oils, dust, and general grime will build up, especially on high-traffic spots like armrests and headrests. A regular, gentle clean is the key to keeping it looking great and stopping that build-up from causing long-term damage.
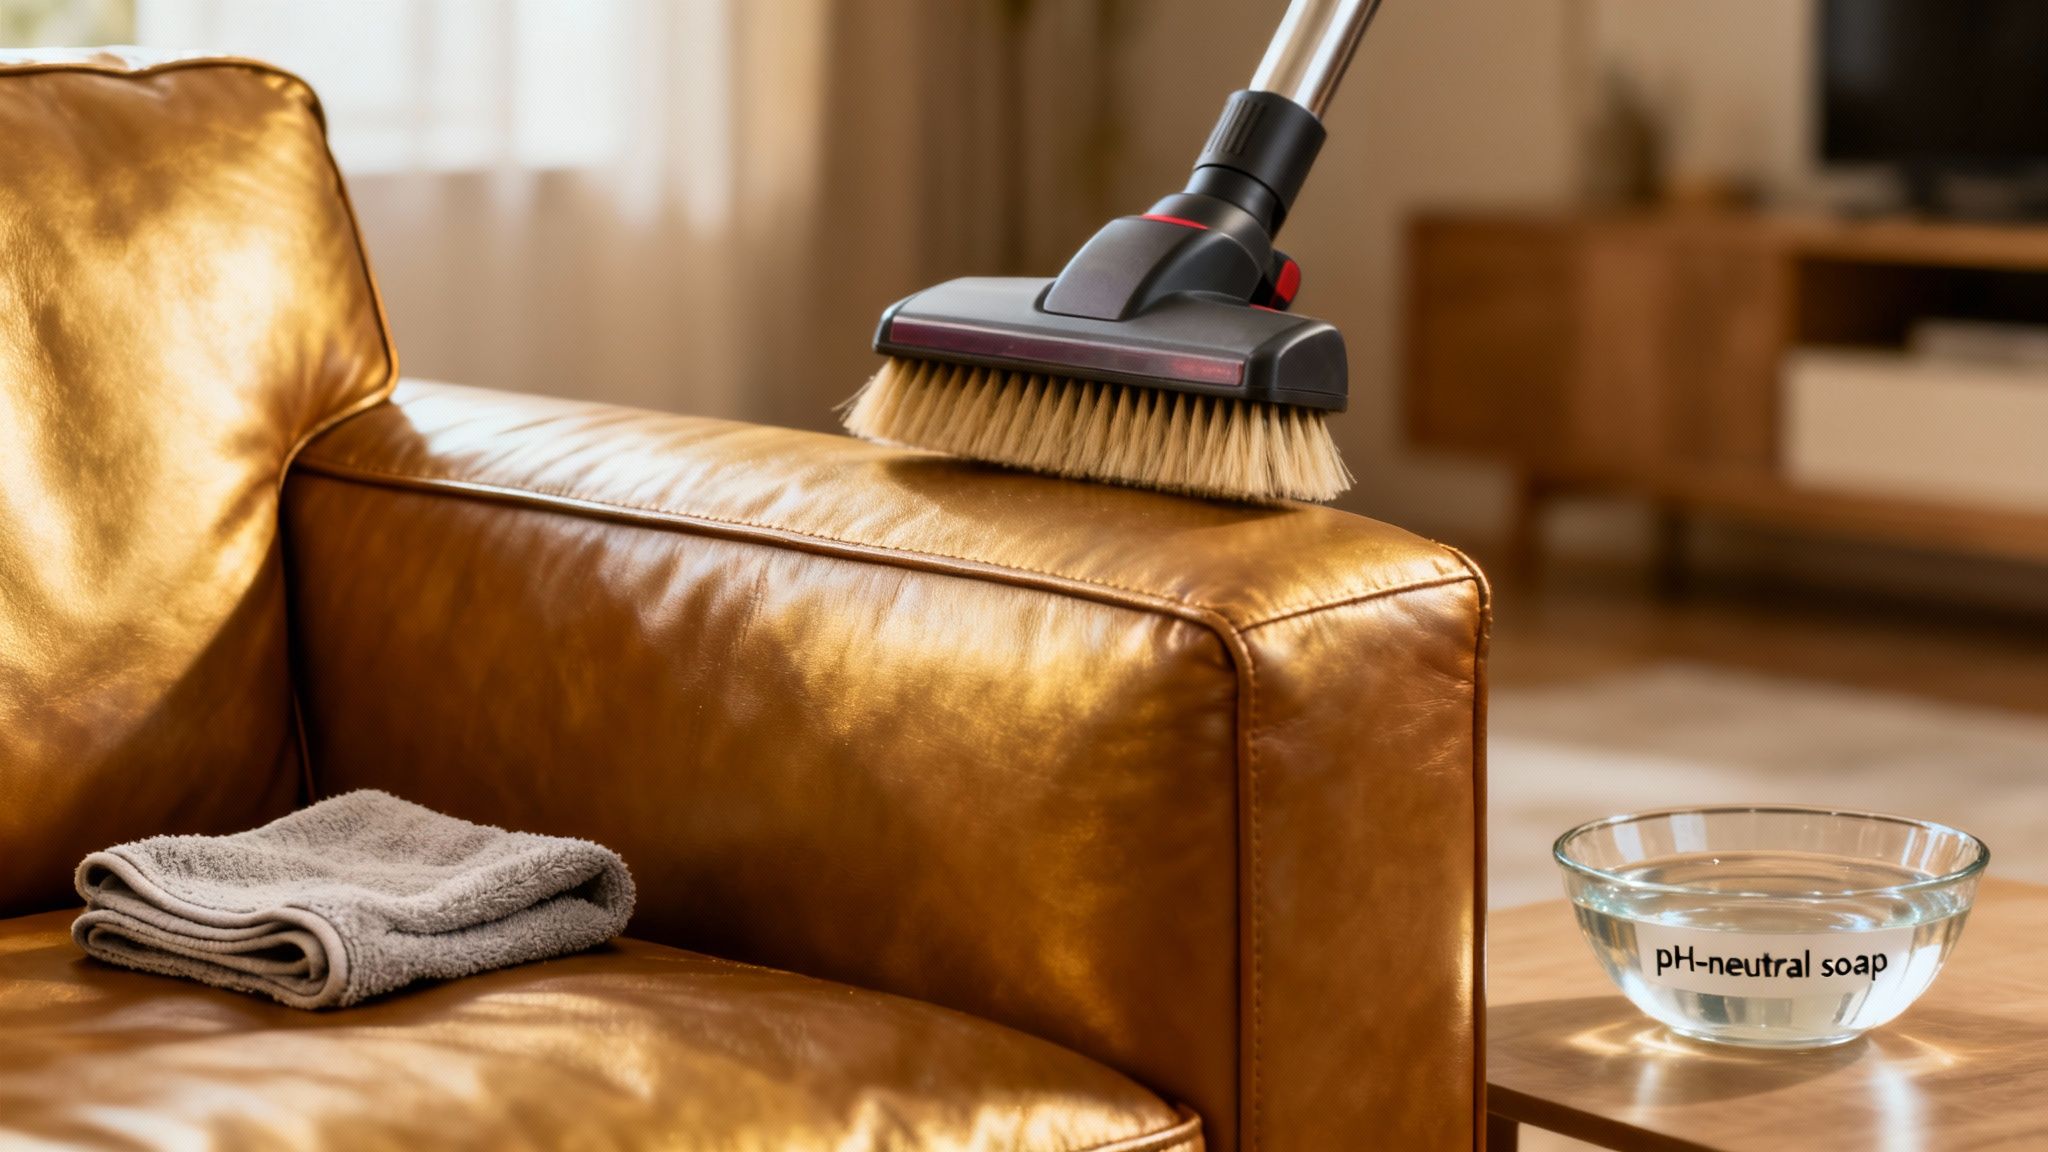
First, Grab the Vacuum
Before you even think about introducing any liquids, your first job is to get rid of all the loose debris. Think of it as prepping your canvas. Couches with deep button tufting or those C-shaped sectionals are notorious for trapping crumbs, pet hair, and dust.
Get your vacuum and pop on the soft brush head. A hard plastic attachment can easily scratch the leather's surface, so those soft bristles are non-negotiable. Gently run it over the entire piece, paying close attention to the seams, crevices, and underneath the cushions. This simple step prevents you from turning dry dust into muddy streaks later on.
Mixing Up a Gentle Cleaning Solution
You really don't need harsh, aggressive chemicals to clean finished leather. In fact, they can do more harm than good by stripping the protective coating, which leads to drying and cracking. A simple, homemade solution is often the safest and most effective option.
Here’s what you’ll need:
- Distilled Water: This is a small detail that makes a big difference. Tap water in Australia often contains minerals that can leave behind white spots or a chalky residue on your leather.
- Mild, pH-Neutral Soap: A few drops of a gentle, dye-free liquid soap are perfect. A simple castile soap or a specially formulated leather soap works wonders. Steer clear of dishwashing liquids or harsh detergents.
Just mix a tiny amount of soap into a bowl of the distilled water until it's slightly sudsy. You're aiming for gentle bubbles, not a thick foam. If you're interested in eco-friendly alternatives, this guide on natural leather furniture cleaning methods has some excellent ideas.
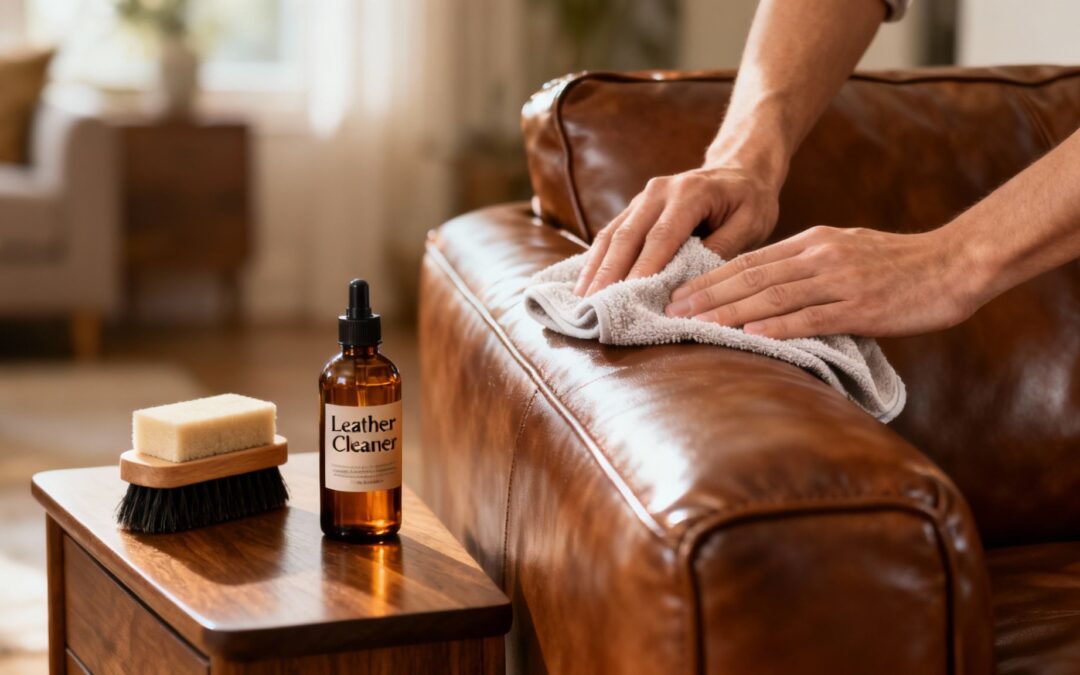
The Right Way to Clean and Dry
Now for the actual cleaning. Dip a clean, soft microfibre cloth into your soapy water and wring it out until it’s just damp, not wet. This part is crucial. Oversaturating the leather can lead to water stains and cause damage from the inside out.
The goal here is to lift the dirt off the surface, not to soak the leather itself. A really common mistake is using way too much water, which ends up creating more problems than it solves. Always, always work with a well-wrung-out cloth.
Wipe the leather in gentle, overlapping sections. I always recommend starting from the top and working your way down—it stops dirty drips from running over the areas you’ve just cleaned. Give the headrests and armrests a little extra attention, as these are hotspots for body oil build-up.
As soon as you finish cleaning a section, grab a second, dry microfibre cloth and buff the area. This lifts any leftover moisture and soap residue, which is the secret to preventing streaks and getting that beautiful, clean finish. Let the furniture air dry completely before anyone sits on it again.
Caring For Delicate Aniline And Nubuck Leathers
Moving from the resilience of finished leather to the world of aniline and nubuck is like switching from a sturdy work ute to a classic convertible. These materials are prized for their incredibly soft, natural feel, but that beauty comes from their vulnerability. They have little to no protective topcoat, which makes them highly absorbent and prone to permanent stains.
When you're dealing with leather of this calibre, the usual rules just don't apply. Water is the absolute enemy. Even a small spill can leave a dark, lasting mark that’s impossible to shift later on. The approach must be exceptionally gentle, focusing on preservation rather than aggressive cleaning. One wrong move can instantly ruin a premium piece of furniture or a favourite jacket.
The Gentle Approach For Aniline Leather
For aniline leather, the guiding principle is always "less is more." This type of leather proudly displays every natural marking of the hide, and its porous nature means it will soak up oils and liquids almost instantly. Your routine care should be almost entirely dry.
Start by regularly dusting the surface with a clean, dry microfibre cloth. You can also use a vacuum with a soft brush attachment. This simple step prevents dust from settling into the grain and becoming abrasive over time.
For minor scuffs or light soiling, your options are limited but very specific:
- Specialised Aniline Cleaner: Only ever use a product explicitly formulated for aniline leather. These are often cream-based and designed to clean without penetrating too deeply or altering the colour.
- Aniline Protector: After a very gentle clean, applying an aniline-specific protector can offer a slight barrier against future spills, but it won’t make it waterproof. Think of it as a light moisturiser, not a rain jacket.
Never, ever use water, soap, saddle soap, or any cleaners meant for finished leather. These products will strip the natural oils and leave behind unsightly watermarks you can't get rid of.
With aniline, you are not cleaning a surface; you are treating the hide itself. Think of it as caring for sensitive skin. You wouldn't use a harsh scrubbing agent, and the same logic applies here. Gentle, specialised care is the only way to maintain its unique character.
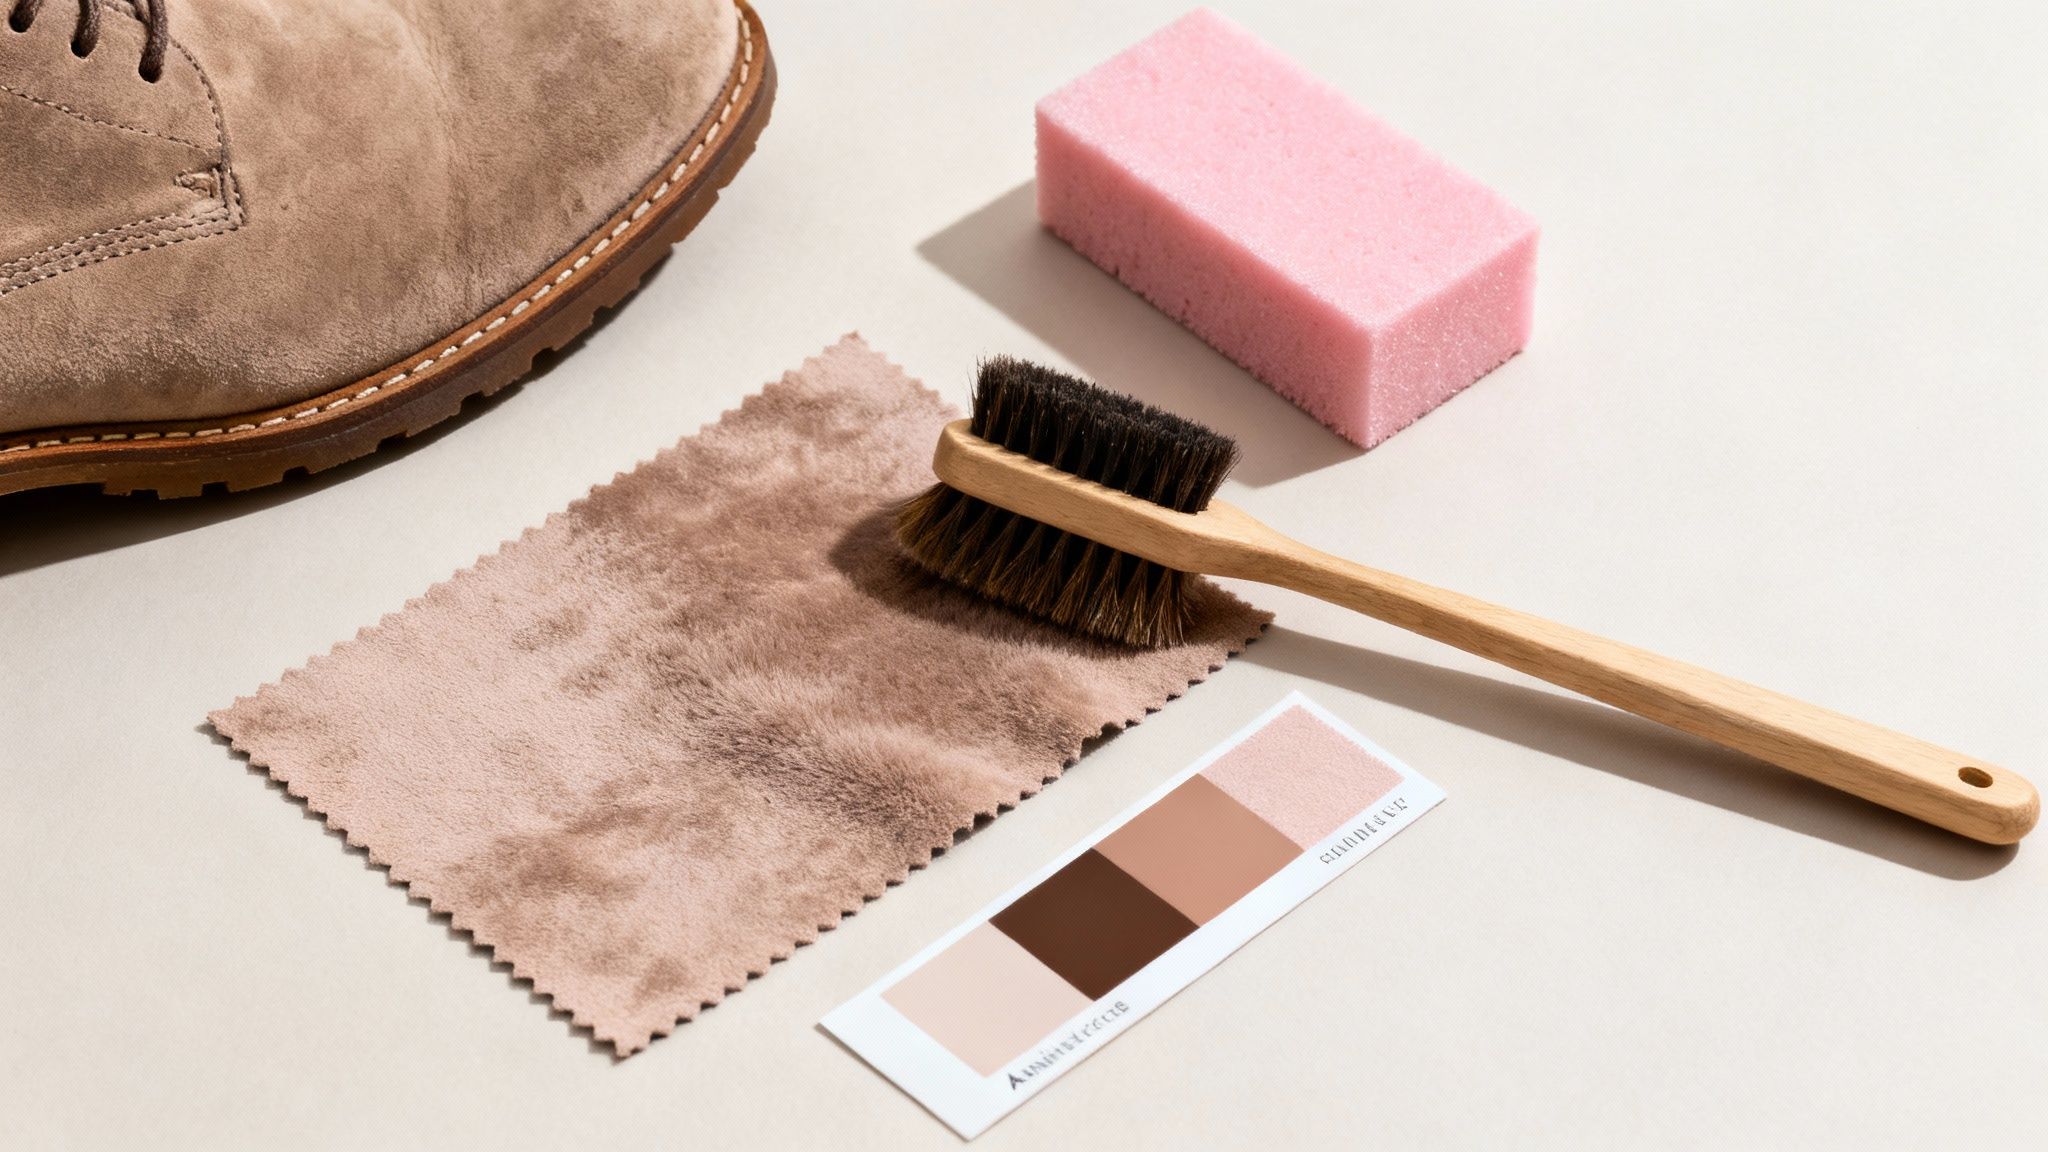
Reviving Suede And Nubuck
Suede and nubuck have a delicate, velvety texture known as a "nap." Cleaning these materials is all about maintaining that soft texture while carefully lifting dirt from the fibres. Water is a disaster here—it will instantly flatten the nap and cause discolouration.
Your essential toolkit for these leathers is completely different from anything else.
- A suede brush is your go-to tool. It usually has soft bristles (often brass or nylon) to lift dirt and restore the nap without causing damage.
- A suede eraser or cleaning block works just like a pencil eraser, letting you gently rub away dry marks and small, stubborn spots.
To clean, use the brush to gently sweep away any loose dirt, always brushing in the same direction to keep the nap uniform. For scuffs, grab the eraser and use light pressure. After you’ve treated a spot, give it a quick brush to blend the nap back into place. For anything more serious, a solvent-based cleaner made specifically for suede is the only safe bet—and even then, a spot test is non-negotiable.
A Realistic Guide To Removing Common Stains
Life happens. A splash of red wine during a party, a leaky pen on your favourite armchair, or a greasy mark from Friday night’s takeaway can feel like a disaster for your leather furniture. The key is to act quickly but calmly. Don't panic. The longer a stain sits, the deeper it sinks into the leather, making it much harder to get out.
But before you reach for the first household cleaner you see, take a breath. Your very first move should always be to blot, not rub. Grab a clean, dry microfibre cloth or paper towel and gently press down to absorb as much of the spill as you can. Rubbing just spreads the stain and grinds it deeper into the leather's pores, which is the last thing you want.
Tackling Specific Spills On Finished Leather
Once you’ve blotted up the excess liquid, what you do next depends entirely on the culprit. Different stains need different treatments. Just remember, these tips are designed for durable, finished leather only—never try them on delicate aniline or nubuck.
For grease or oil stains (think pizza drips or salad dressing):
- Immediately cover the spot with a generous amount of cornstarch or talcum powder.
- Let it sit for a few hours, or even overnight if you can. The powder is fantastic at drawing the oil out of the leather.
- Gently brush the powder away with a soft-bristled brush. You might need to repeat this if the stain is stubborn.
For ink stains from a ballpoint pen:
- This one is tricky, so a spot test in a hidden area is non-negotiable.
- Dip a cotton swab into a small amount of isopropyl (rubbing) alcohol.
- Lightly dab the ink mark, being extremely careful not to spread it. The idea is to lift the ink onto the swab, so switch to a clean part of the swab for each dab.
- Once you've lifted as much as you can, gently wipe the area with a damp cloth and dry it immediately.
The most important piece of advice for any DIY stain removal is knowing when to stop. If a gentle attempt isn't working, adding more pressure or more product will likely cause permanent damage or discolouration to the leather's protective topcoat.
The Critical Window For Stain Removal
Timing is everything, especially in Australia's varied climate where humidity can affect how quickly stains set. For businesses and homes with leather furniture, understanding this urgency is critical. Local cleaning data shows that a staggering 90% of stains from coffee or pet accidents can become permanent within just 48 hours.
This narrow window highlights why immediate action is so important. For deep-set issues that DIY methods just can't shift, professionals use specialised equipment designed to tackle what household remedies can't. You can learn more about how the Australian leather industry approaches this by exploring these insights on leather industry standards.
When coffee or wine spills happen, blot immediately. Then, use a slightly damp cloth with a single drop of mild, pH-neutral soap if needed. Always work from the outside of the stain inward to stop it from spreading. Once the stain is gone, wipe the area with a clean, damp cloth to remove any soap residue and buff it dry straight away.
Long-Term Care To Keep Your Leather Looking New
Knowing how to clean up a spill on your leather lounge is one thing, but making it last a lifetime? That comes down to a solid maintenance routine. Think of leather like skin—it has natural oils that keep it supple and strong. Over time, especially when exposed to heat and dry air, those oils evaporate. That’s what leads to stiffness, brittleness, and eventually, those unsightly cracks.
A smart maintenance plan is all about preventing that damage before it even has a chance to start. The cornerstone of this approach is regular conditioning. It’s a simple step that replenishes the essential moisture leather needs to stand up to everyday wear and tear.
The Importance Of Regular Conditioning
Conditioning isn’t just a cosmetic touch-up; it’s a vital health treatment for your leather goods. Indoor heating, in particular, is a major culprit, quietly sucking the moisture right out of your furniture. This is especially true for Australian homes during the cooler months.
Did you know that in Melbourne's cool temperate climate, leather furniture needs conditioning every 2-3 months to prevent cracking? It's a surprising fact, but expert leather care guides tailored for Australian conditions show that cities like Melbourne and Hobart experience low humidity from heating systems in winter, which can sap up to 30-40% of natural moisture from unprotected leather over a single season. You can discover more about these climate-specific leather care recommendations to better protect your investments.
When choosing a conditioner, look for a quality, pH-balanced product made specifically for your type of leather. Steer clear of anything that feels overly greasy or contains silicone, as these can clog the leather's pores and leave a sticky residue behind.
A good rule of thumb is to apply a light coat of conditioner with a soft microfibre cloth every two to three months. Work it in using gentle circular motions, let it soak in for about an hour, then buff off any excess with a clean, dry cloth. This small effort makes a huge difference.
Smart Habits To Prevent Damage
Beyond conditioning, a few simple habits can dramatically extend the life of your leather items. These preventative measures are easy to adopt and will save you from having to deal with bigger problems down the road.
- Avoid Direct Sunlight: Just as UV rays damage our skin, they can cause leather to fade, dry out, and crack. It’s best to position your leather furniture away from windows that get intense, direct sun.
- Keep a Safe Distance from Heat: Placing leather too close to heaters, fireplaces, or radiators will speed up the drying process. Aim for at least 30 centimetres of clearance to be safe.
- Be Mindful of Sharp Objects: Keys, belt buckles, and even the claws of a beloved pet can easily scratch or puncture the surface. A little awareness goes a long way.
Beyond your routine cleaning, ensuring the longevity of your leather involves building these consistent care practices into your habits. An expert guide on how to care for leather bags offers some brilliant tips on simple cleaning and conditioning techniques that are just as relevant for other leather goods. By combining these smart habits with regular conditioning, you’ll keep your leather looking and feeling fantastic for years.
Knowing When to Call a Professional Leather Cleaner
DIY cleaning is fantastic for routine upkeep and tackling those small, heart-stopping spills. But there comes a point where even the best intentions can fall short or, worse, cause irreversible damage.
Knowing when to step back and call in a professional isn't admitting defeat. It’s making a smart call to protect a piece of furniture you love. Recognising your limits is the best way to ensure that beautiful leather lounge lasts for years to come.
Sometimes, the problem is just too big or too delicate for household solutions. If you're facing widespread issues or stains that look like they've settled in for good, a professional's expertise is non-negotiable. They have access to industrial-grade equipment and specialised chemical treatments that you simply can't buy off the shelf.
Clear Signs It’s Time to Make the Call
Certain situations are immediate red flags. Trying to fix these yourself can quickly turn a repairable problem into a permanent, costly one. Don't hesitate to get an expert opinion if you see any of the following:
- Widespread Mould or Mildew: If you spot mould covering a large area or notice a strong, musty smell that won't go away, it's a sign the problem has sunk deep into the leather and the padding underneath.
- Major Water Damage: A serious leak or flood can leave leather stiff, discoloured, and warped. Professionals use specialised drying equipment and conditioning techniques to restore it without causing it to crack.
- Unknown or Set-In Stains: If you have no idea what caused a stain or it’s been sitting there for weeks, a DIY attempt is a gamble. You could accidentally react with the substance and set it permanently into the grain.
The Value of Professional Expertise
The cost of professional cleaning might seem high at first glance, but it's an investment in preservation. For Melbourne renters trying to get their bond back or real estate agents staging a home, this is a familiar calculation. Professional leather cleaning can cost between $300-$500 per sofa.
While a proper DIY technique can match 95% of a pro's results for general cleaning, it’s that tricky 5% where they truly earn their keep. This is especially true within Australia's leather sector, where improper cleaning is a leading cause of damage to high-value sofas. You can get a better sense of the industry by reading more about the Australian leather manufacturing landscape.
Ultimately, a professional brings two things you can’t replicate at home: experience and powerful equipment. They can accurately identify your leather type and its specific needs, choosing the perfect treatment to lift stubborn stains without damaging the delicate finish. Think of it as hiring a specialist surgeon for a complex operation—it's precision work.
A trained technician can also tackle jobs like colour restoration for faded areas or repairing minor scuffs and scratches—services that are well beyond the scope of a simple clean. When you're dealing with an expensive or sentimentally valuable piece of furniture, calling a professional is the safest and most effective choice you can make.
For those tough jobs that need an expert touch, Right Price Carpet Cleaning offers professional leather and sofa care across Melbourne. Our trained, police-checked technicians use powerful equipment to safely restore your furniture. Get an instant quote and book your service online today at https://rightpricecarpetcleaning.com.au.
Recent Comments